

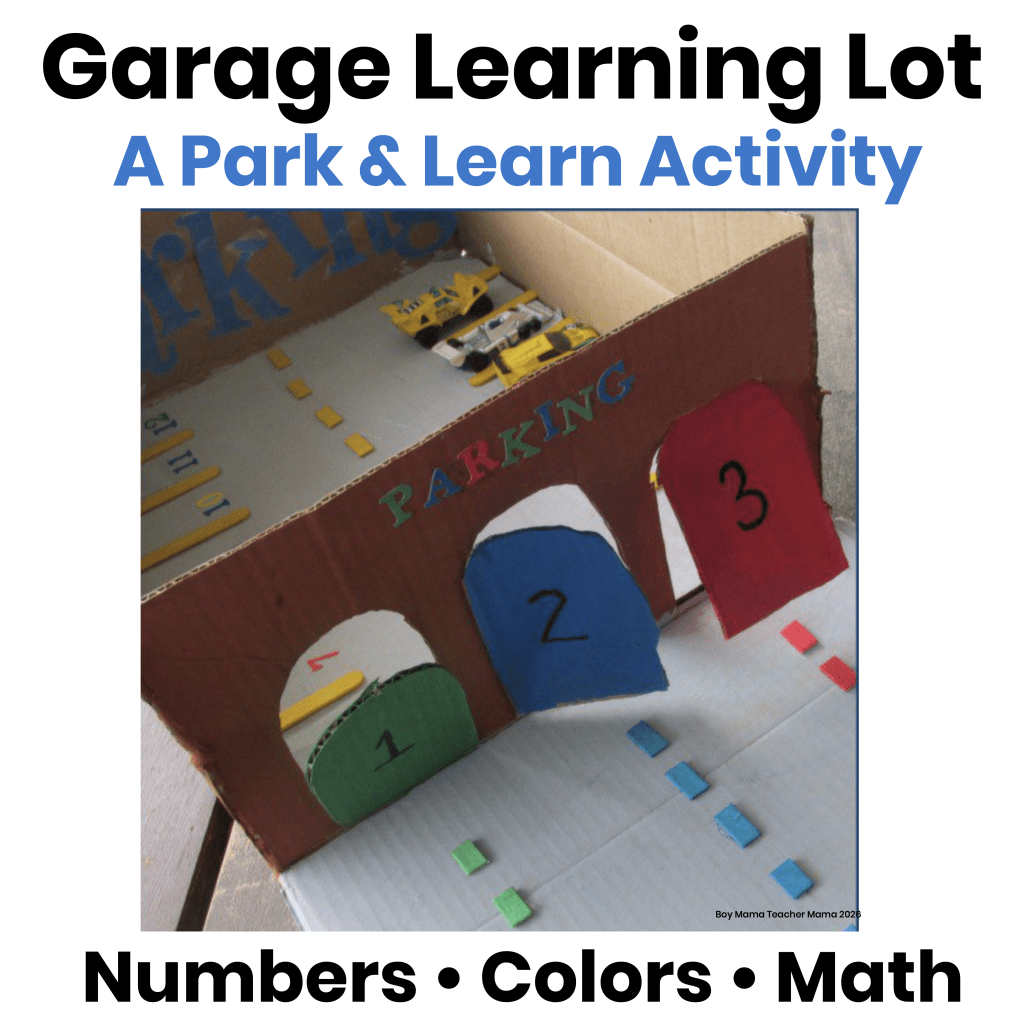
Parking Garage Learning Lot
📝 This post, Parking Garage Learning Lot, was originally published in 2014 and has been updated with new information and resources.
I loved this parking garage idea and I couldn’t wait to make one for my youngest son. I’d seen similar ideas over the years, but this was my first time creating one like this.
When my oldest was little, we made a different homemade parking garage that he absolutely loved. Sadly, it didn’t survive the years, but you can still see how we made it by clicking the Cardboard Parking Garage link here.
Materials Needed
✔️ Cardboard box
✔️ Hot glue gun and glue sticks
✔️ Craft knife or other sharp blade (adult use only)
✔️ Paint (brown, gray, blue, green, red, black, and white)
✔️ Yellow, blue, and green craft sticks
✔️ Letter stickers (optional)
✔️ Download Color and Number Cards here
Creating the Parking Garage Learning Lot
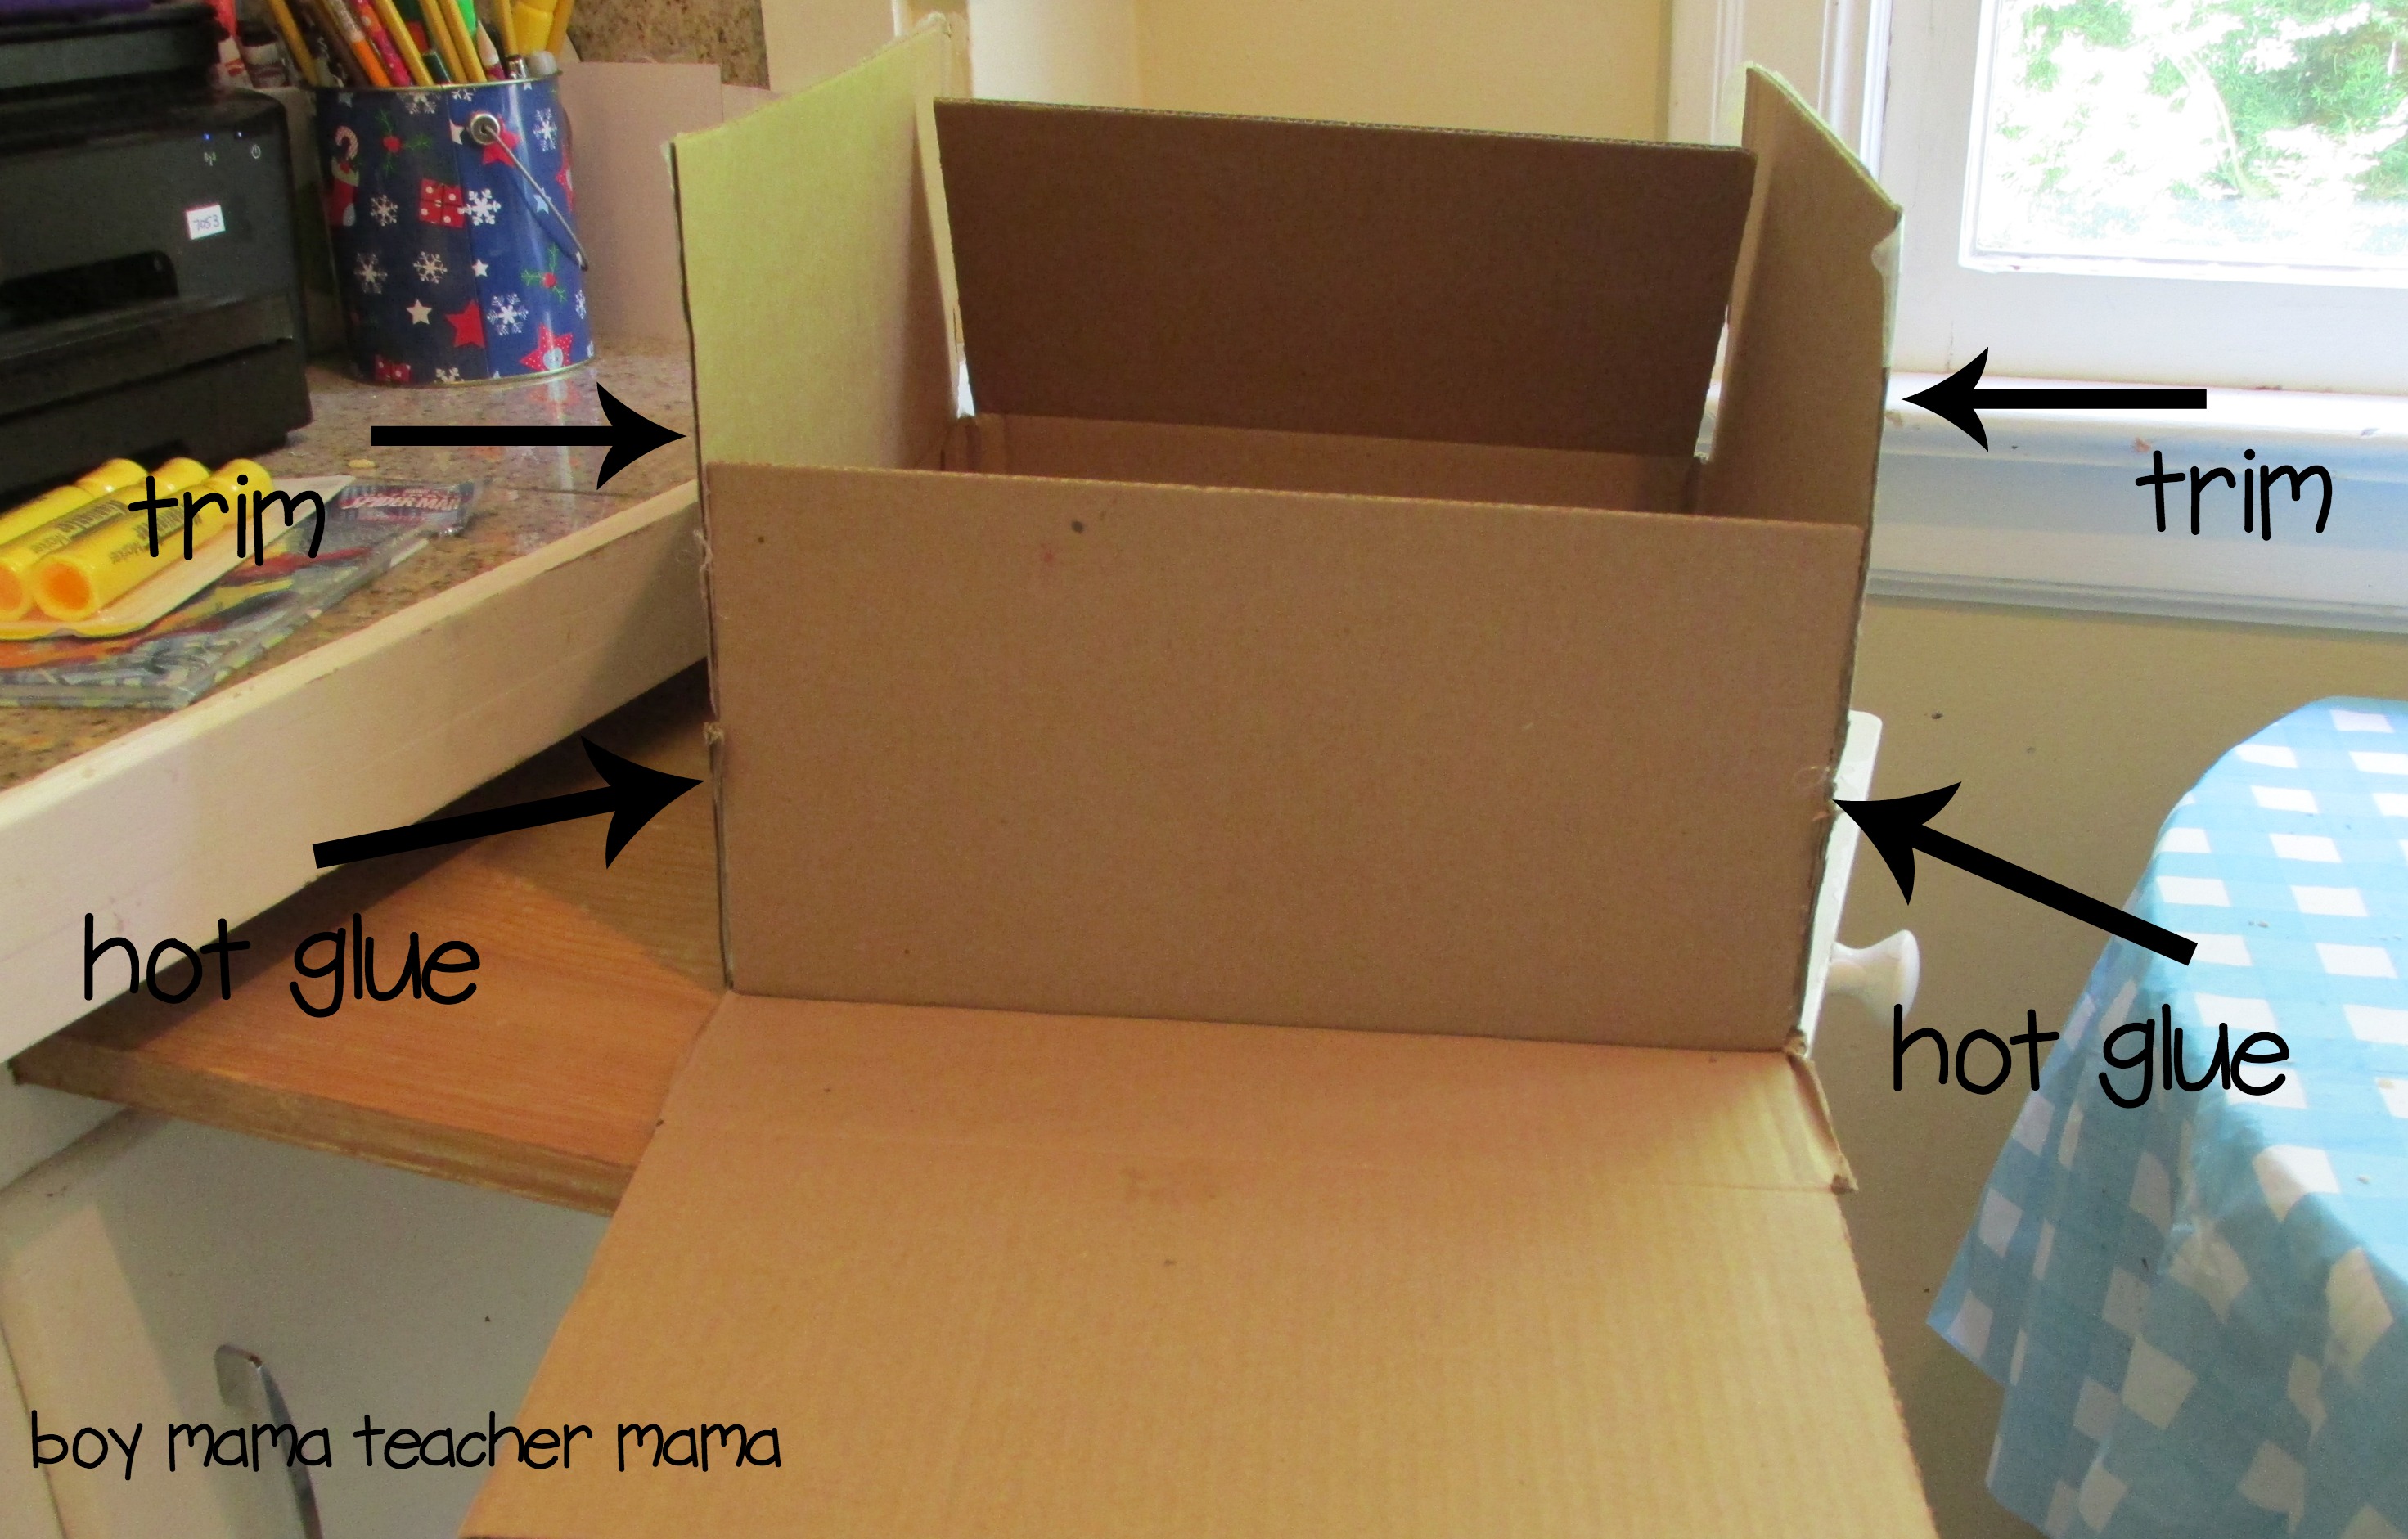
Start with a cardboard box. A shorter box is a little easier to work with, but almost any size will do. My box needed one end hot glued into place before I started, then I trimmed the sides so they were all the same height. Keeping the sides low enough for little hands to reach inside makes play much easier.
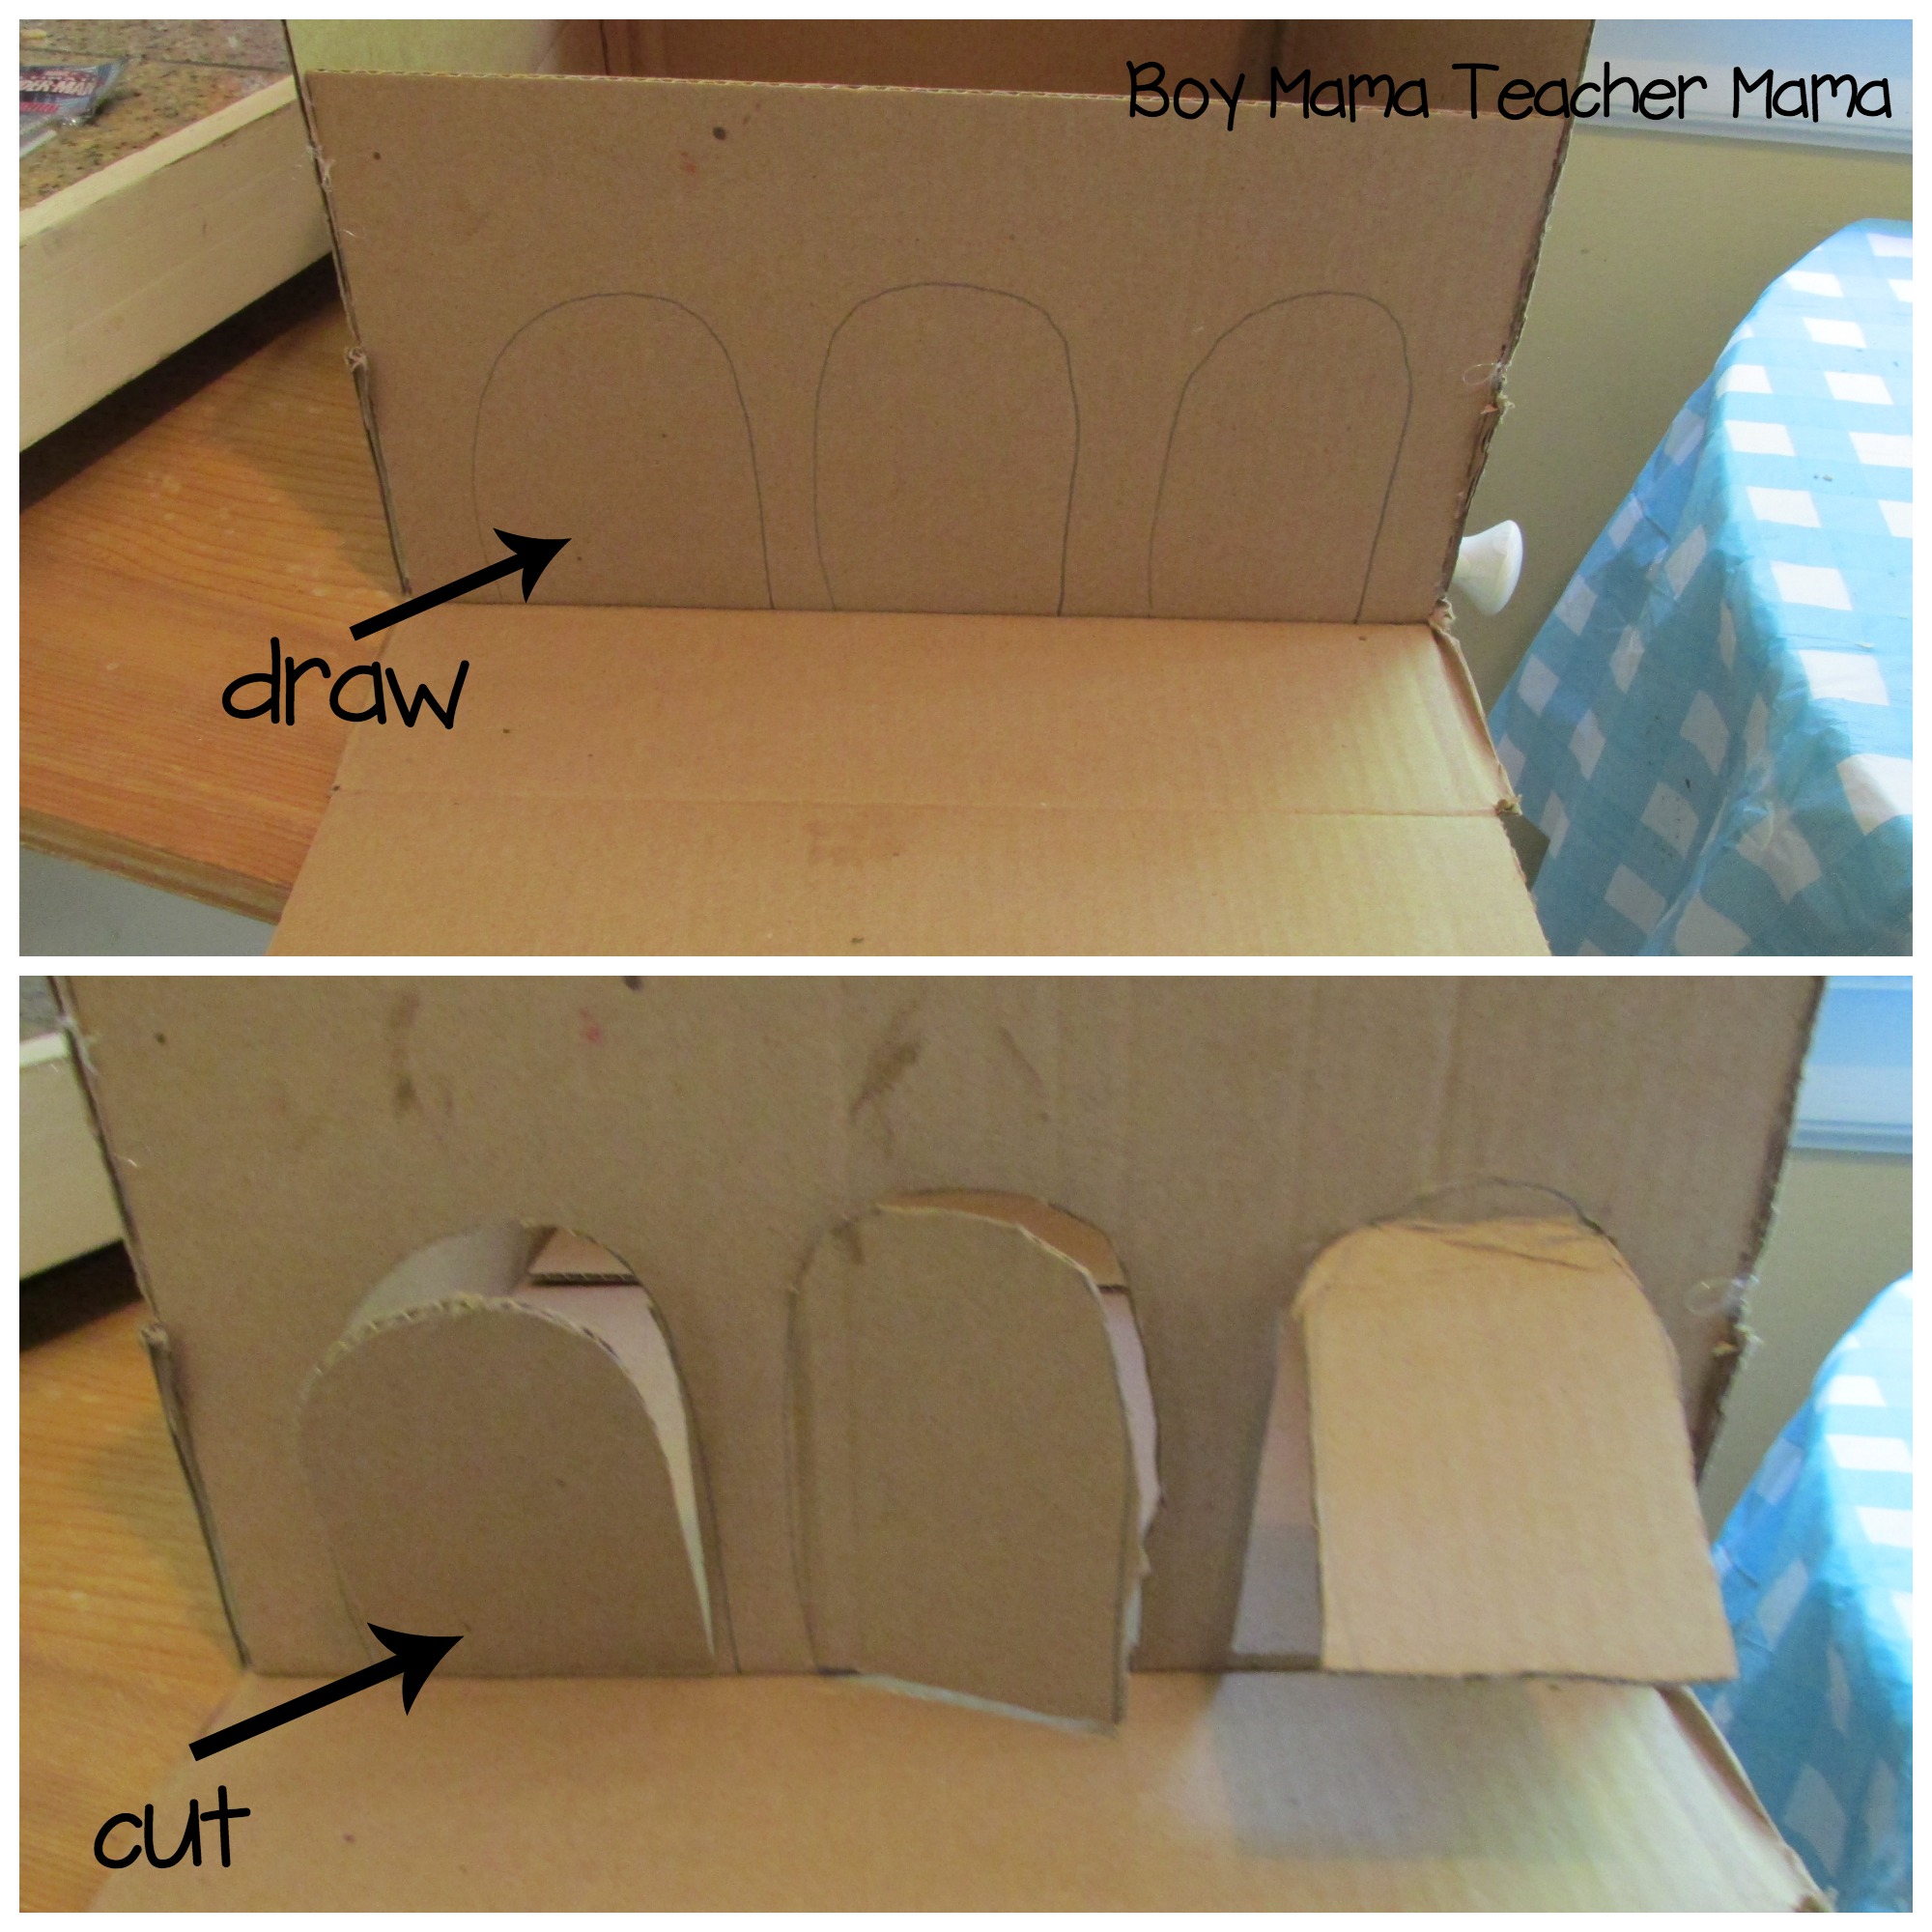
I drew three garage doors on one end of the box and carefully cut them out with a craft knife. To make them more fun, I made each door open a different way—one swings open like a regular door, one lifts up, and one folds down.
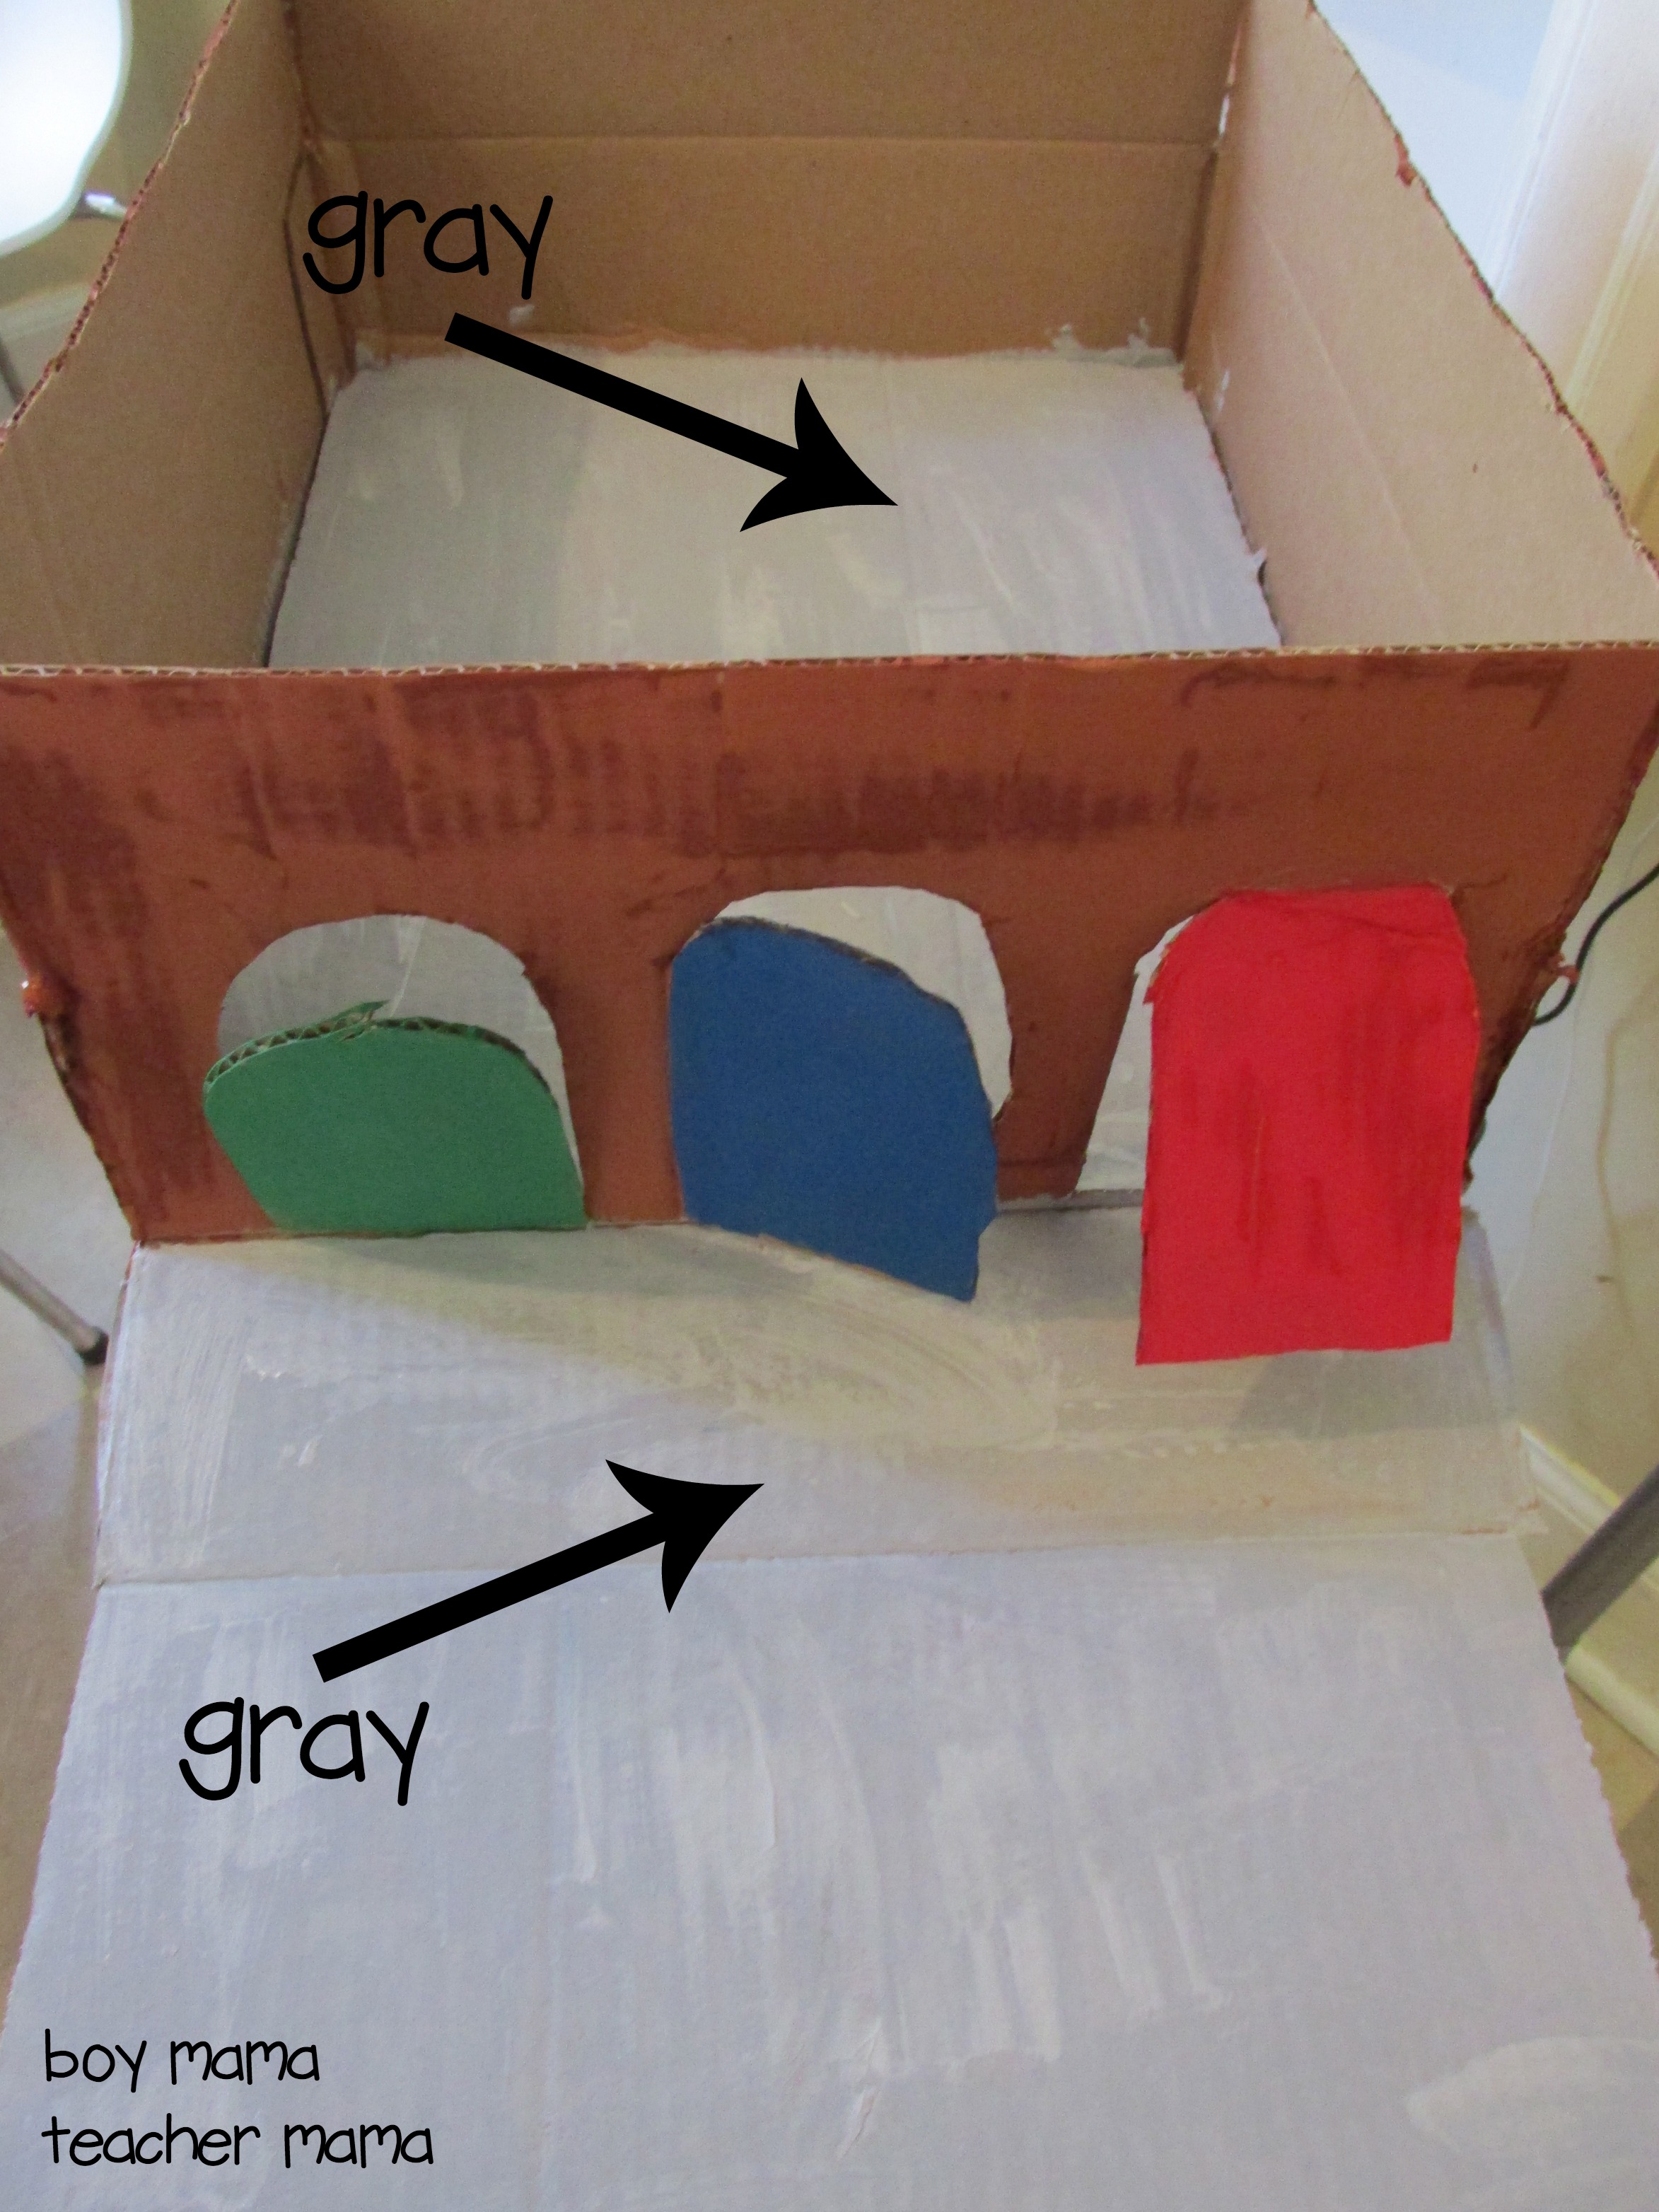
After that, my son painted the outside of the box brown while we painted the three doors blue, green, and red.

To make the floors look like real concrete, I mixed black and white paint to create gray and painted the inside of the garage.
Once the paint dried, it was time to add the details. Yellow craft sticks became the parking space lines, and I cut additional sticks into smaller pieces to create the dashed center line.
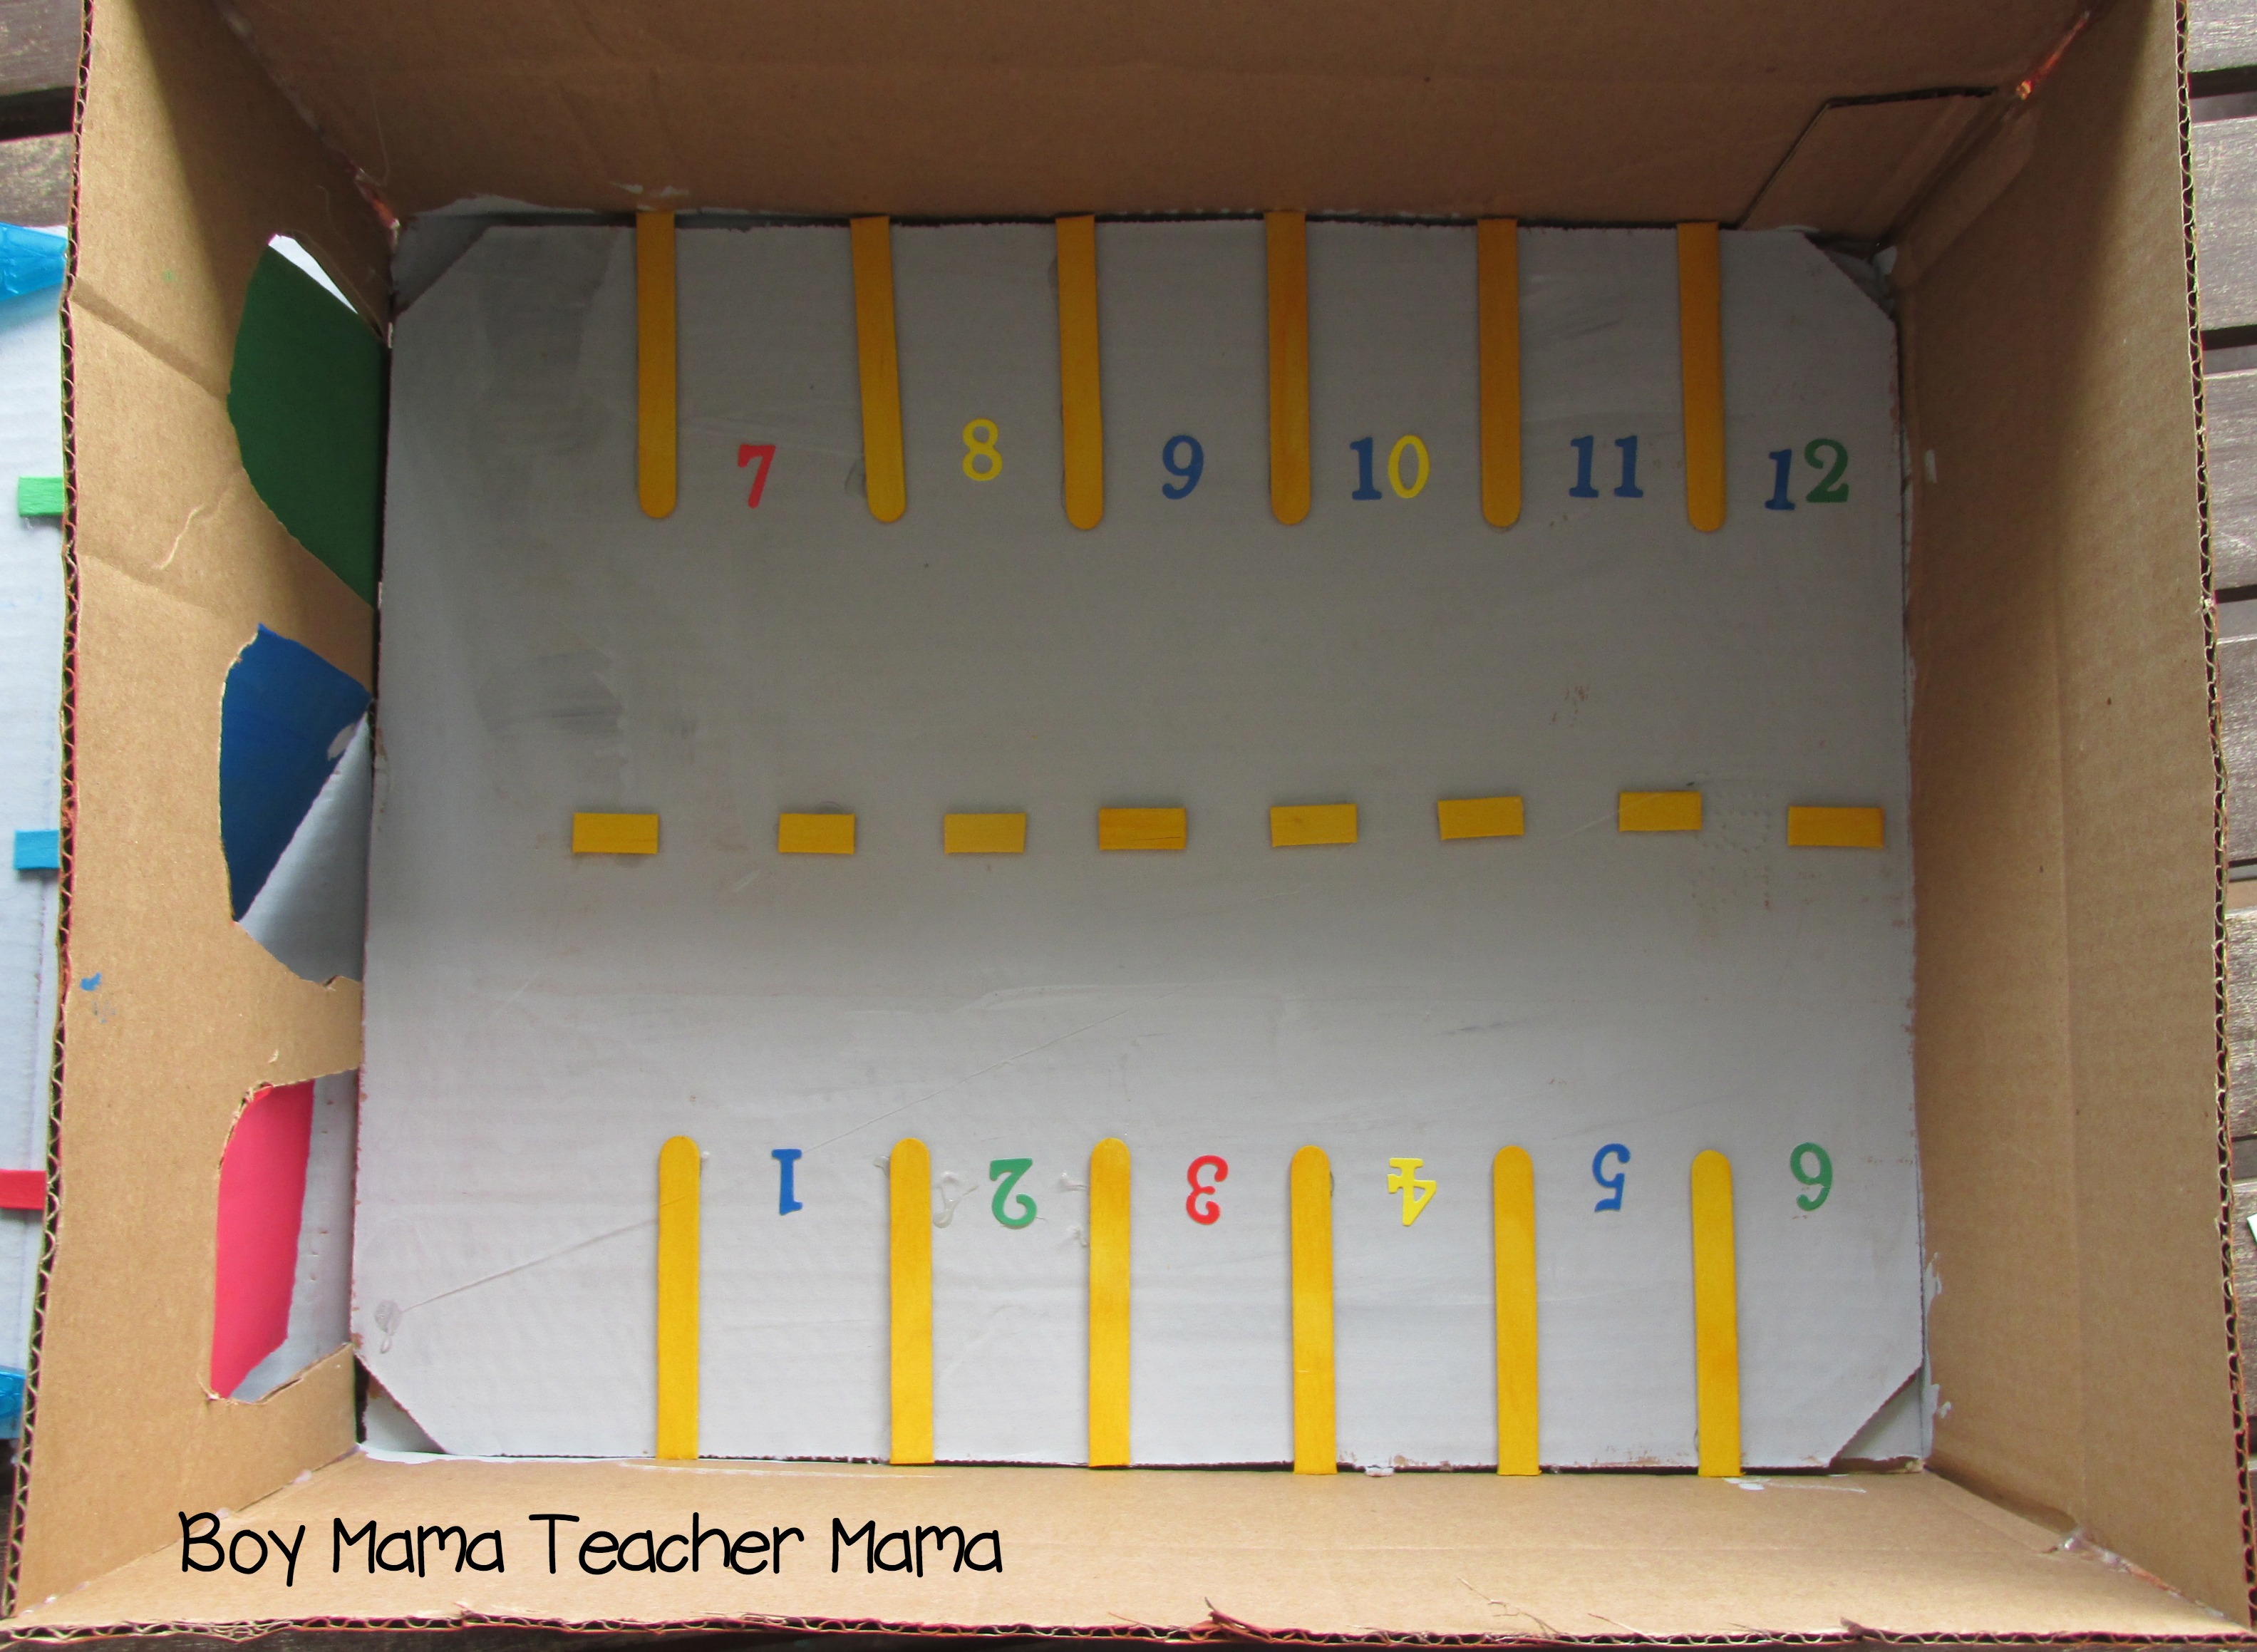
I used number stickers to label each parking space, then finished the outside by numbering each garage door and adding matching colored dashed lines leading to each entrance.

Finally, I added the word Parking to the back of the garage. My stickers refused to stick, and my son was so excited to play that I simply taped them in place!
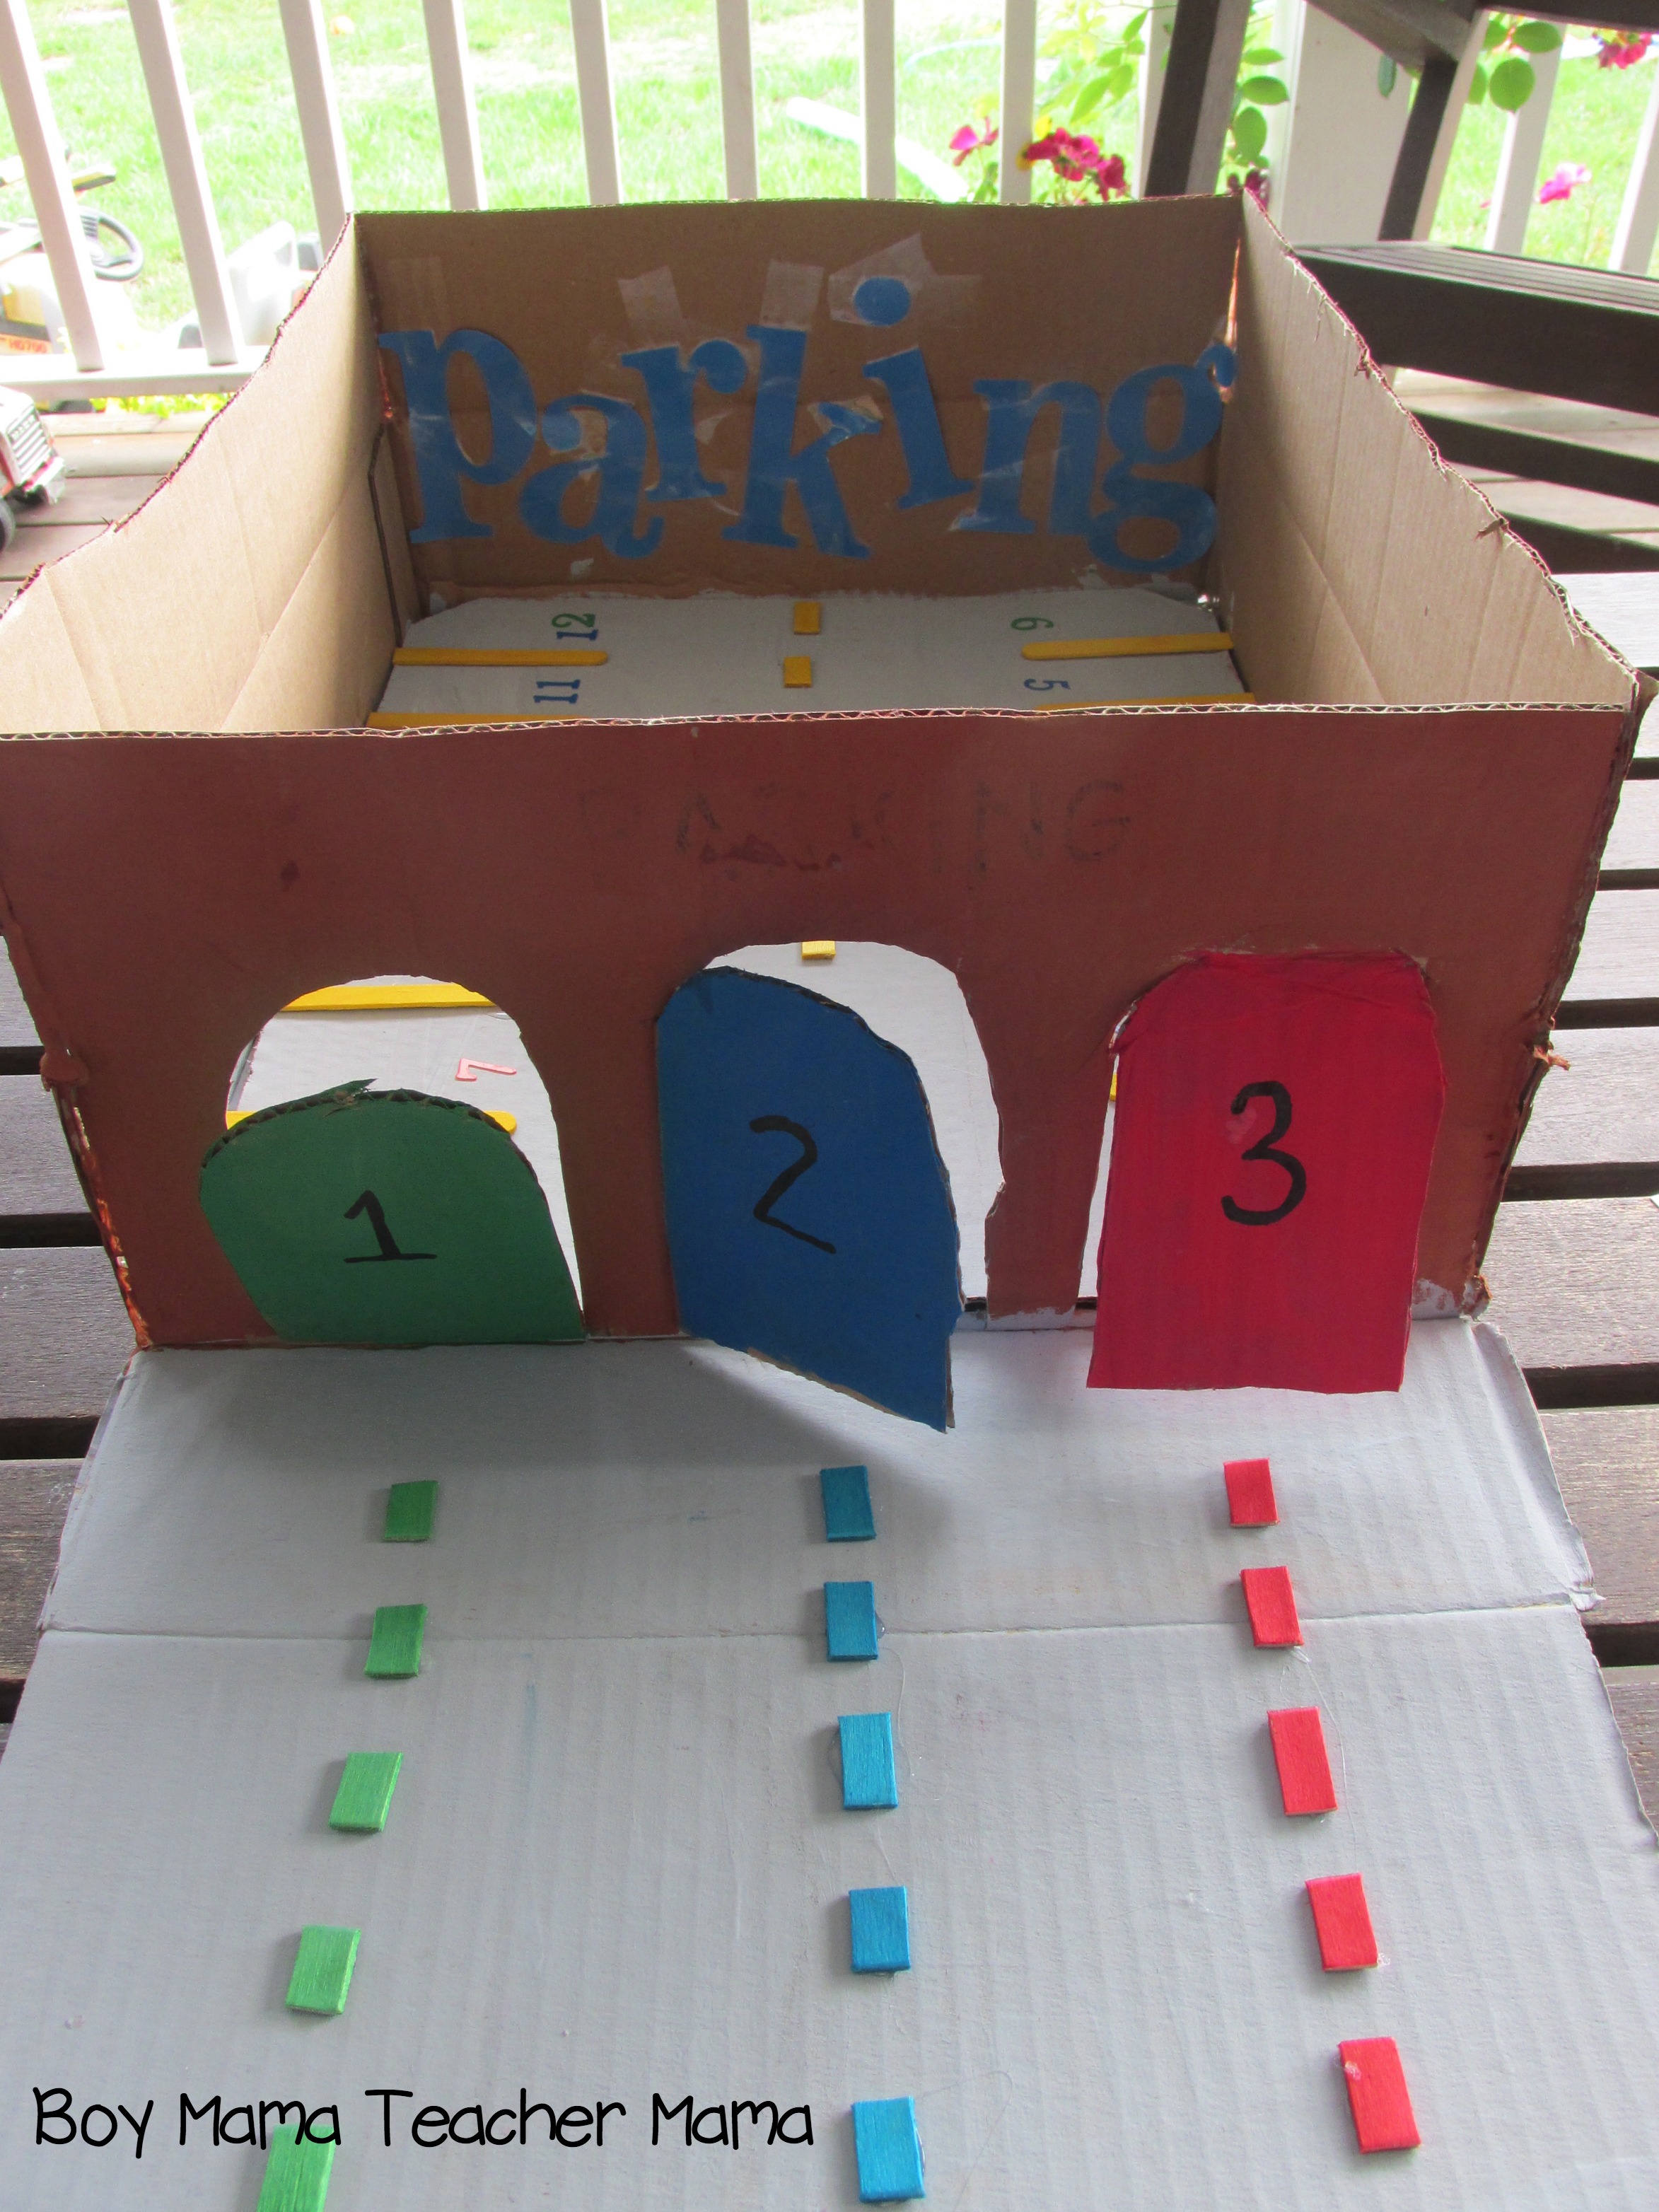
And that was it! He grabbed the garage, ran outside to the porch, and immediately started playing. Sometimes kids don’t need elaborate directions—they just need something fun to spark their imagination. I did come up with a few learning activities to use with it later, though.

Parking Garage Learning Lot Activities
Even without any structured activities, my son learned a lot simply by playing with the parking garage. If you’d like to add some extra learning, here are a few ideas.
Color Practice
Using only the color cards, have your child choose a card and drive into the garage through the matching colored door.
Color and Number Practice
Have your child choose one color card and one number card. They drive through the matching colored door and park in the corresponding numbered space. For example, a green card and the number 9 means entering through the green door and parking in space 9.
Number Matching
Label 12 small cars with the numbers 1–12 using masking tape or stickers. Have your child choose a color card and a numbered car, then drive the correct car through the matching colored door and park in the matching numbered space.
Simple Addition
Using the number cards 1–6, have your child choose two cards, add the numbers together, then drive through the colored door shown on the color card and park in the correct space.
Plus One, Plus Two, or Plus Three
Using the numbered cars, have your child choose a car—for example, number 4. Then have them drive through the +1, +2, or +3 door (however you choose to label it), solve the addition problem, and park in the correct numbered space.
Sometimes the simplest homemade toys become the most loved. This parking garage kept my son busy for hours while sneaking in plenty of learning along the way.

If this is your first time visiting Boy Mama Teacher Mama, welcome!
Did you know that you can also find us on Facebook, Instagram, Pinterest, and Teachers Pay Teachers?
© Boy Mama Teacher Mama 2026
All Rights Reserved


I love cardboard crafts and my son loves cars… I see a variation of this in our near future!
Thank you for stopping by the Thoughtful Spot Weekly Blog Hop this week. We hope to see you drop by our neck of the woods next week!
Such a great project for boys who love their cars! I love how it involves so many learning experiences! Pinned and shared!
Thank you!