

Creating a Digital Clock
📝 This post, How to Make a Digital Clock, was originally published in 2014 and has been updated with new information and resources.
Telling time on an analog clock seems to be becoming less common these days. Even my own kids, now 16 and 19, sometimes pause when reading one! As a teacher, I always stressed the importance of learning to use both analog and digital clocks and helping students understand the strengths of each.
Analog clocks are still a valuable teaching tool and should not be ignored. Students learn a great deal from understanding how an analog clock works. Analog clocks support important math skills such as fractions, skip-counting, and understanding elapsed time. And, if the power goes out, you need to be able to read an analog clock!! That’s why I love teaching both — and making it hands-on!
Digital clocks play a big role in students’ everyday lives. Digital time is on phones, computers, microwaves, ovens, and car displays. They are easy to teach and easy for students to read. eaching digital time also creates opportunities to discuss a 12-hour and a 24-hour clock, as well as AM and PM.
Every year in my classroom, students create their own analog clocks. One year, we decided to extend our learning and create digital clocks too — and they quickly became a student favorite!
What Do Students Need to Know about a Digital Clock?
Students need to know…
✔️the parts of a digital clock (the parts of a digital clock (layout, colon, and reading the zeros)
✔️ how to read the clock (left to right, ‘:00’ means ‘o’clock,’ and ‘:05’ is read as ‘oh-five’)
✔️ the “Reset Rule” or when the time moves from: ’59’ to ‘:00’
✔️the similarities and differences between the types of clocks
Making a Digital Clock
This hands-on digital clock activity is a fun way to teach time-telling while helping students compare analog and digital clocks.
Materials Needed
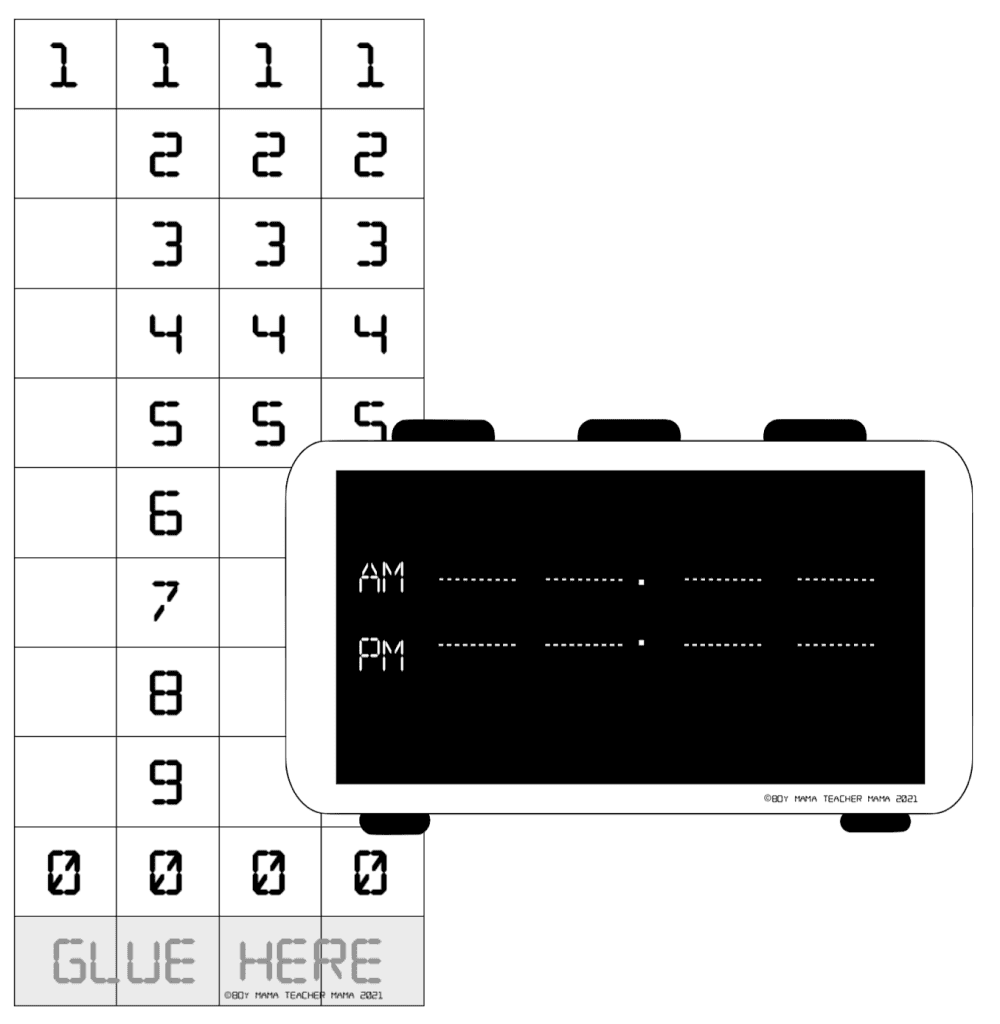
✔️digital clock templates
✔️scissors
✔️tape or glue
✔️optional: digital clock for reference
Step-by-Step Directions
✔️Print the templates on card stock or similar paper.
✔️Cut out the clock and cut or score along the white dotted lines.
✔️Cut the number template into 4 strips. Thread the first strip through the first set of white dotted lines, the second through the second etc. Tape the strips together behind the clock, but avoid attaching them directly to the clock so they remain movable.
✔️Once the strips are secured in place, the clock is complete and ready to be used!


Suggestions for Using Your Digital Clock
💡 Say and Make the Time
💡 Practice elapsed time by adjusting the numbers on the clock
💡Practice the “Reset Rule”
💡Practice reading the time on the clock
💡Practice writing the time on paper
⭐️For an extra challenge, practice making the time on both clocks!
A Book About Digital Time
Here is one of my favorite books to pair with our digital clock activity.
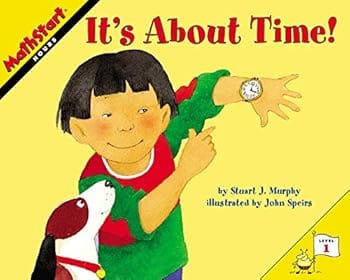
📘It’s About Time! Stuart J. Murphy
It’s About Time! is perfect for teaching the concept of hours and time telling to young learners. A twenty-four-hour day is full of great things to do! And the things kids do every day are depicted in this book, making it an easy introduction to the skill of telling time.
Grab Making a Digital Clock Activity here!
Creating a digital clock quickly became one of our favorite time-telling activities and was a great hands-on way to help students better understand digital time.
How will you use your digital clock? Drop a photo in the comments — I would love to see your students’ clocks!
Other Ideas about Clocks and Telling Time
Simple Ideas for Teaching Time with an Analog Clock
Easy Wall Clock for Teaching Children to Tell Time

If this is your first time visiting Boy Mama Teacher Mama, welcome!
Did you know that you can also find us on Facebook, Instagram, Pinterest, and Teachers Pay Teachers?
© Boy Mama Teacher Mama 2026
All Rights Reserved