


Analog Clock Time
📝 This post, Teaching Time with an Analog Clock, was originally published in 2012 and has been updated with new information and resources.
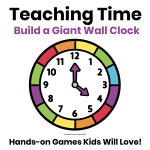
Does your child or student keep looking at the wrong hand on the clock? Or maybe they can read a digital clock just fine but freeze when they see an analog one? You are not alone — analog clocks can be tricky for young learners! The good news is that with the right tools and a little practice, telling time on an analog clock is a skill every child can master. Keep reading for our favorite ideas, and a homemade teaching clock your kids will love!
Why Teach Students to Use an Analog Clock?
In a world full of digital clocks on phones, tablets, and microwaves, you might wonder why we still bother teaching analog clock skills. The truth is, analog clocks are still everywhere — on classroom walls, in doctors’ offices, in churches, and on watches — and being able to read one is an important life skill. But beyond that, learning to tell time on an analog clock builds so much more than just time-telling skills! It strengthens number sense, skip counting by fives, fractions, and even spatial reasoning. When a child understands that the clock face is divided into halves and quarters, they are building a foundation for so many other math concepts down the road. It is one of those skills that looks simple on the surface but is actually doing a lot of heavy lifting!
Materials Needed
✔️ large piece of cardboard
✔️ colored paper
✔️ 1 piece of heavy-duty paper like card stock
✔️ 1 brad/fastener
✔️ velcro
✔️ scissors
✔️ glue
✔️ pen
Directions for Assembling the Analog Clock
✔️ Cut a circle from the cardboard. I traced a dinner plate.
✔️ Trace the circle on a piece of colored paper and glue it to the cardboard circle.
✔️ Print the numbers on card stock and cut them out.
✔️Laminate the numbers or glue them onto heavy paper for durability.
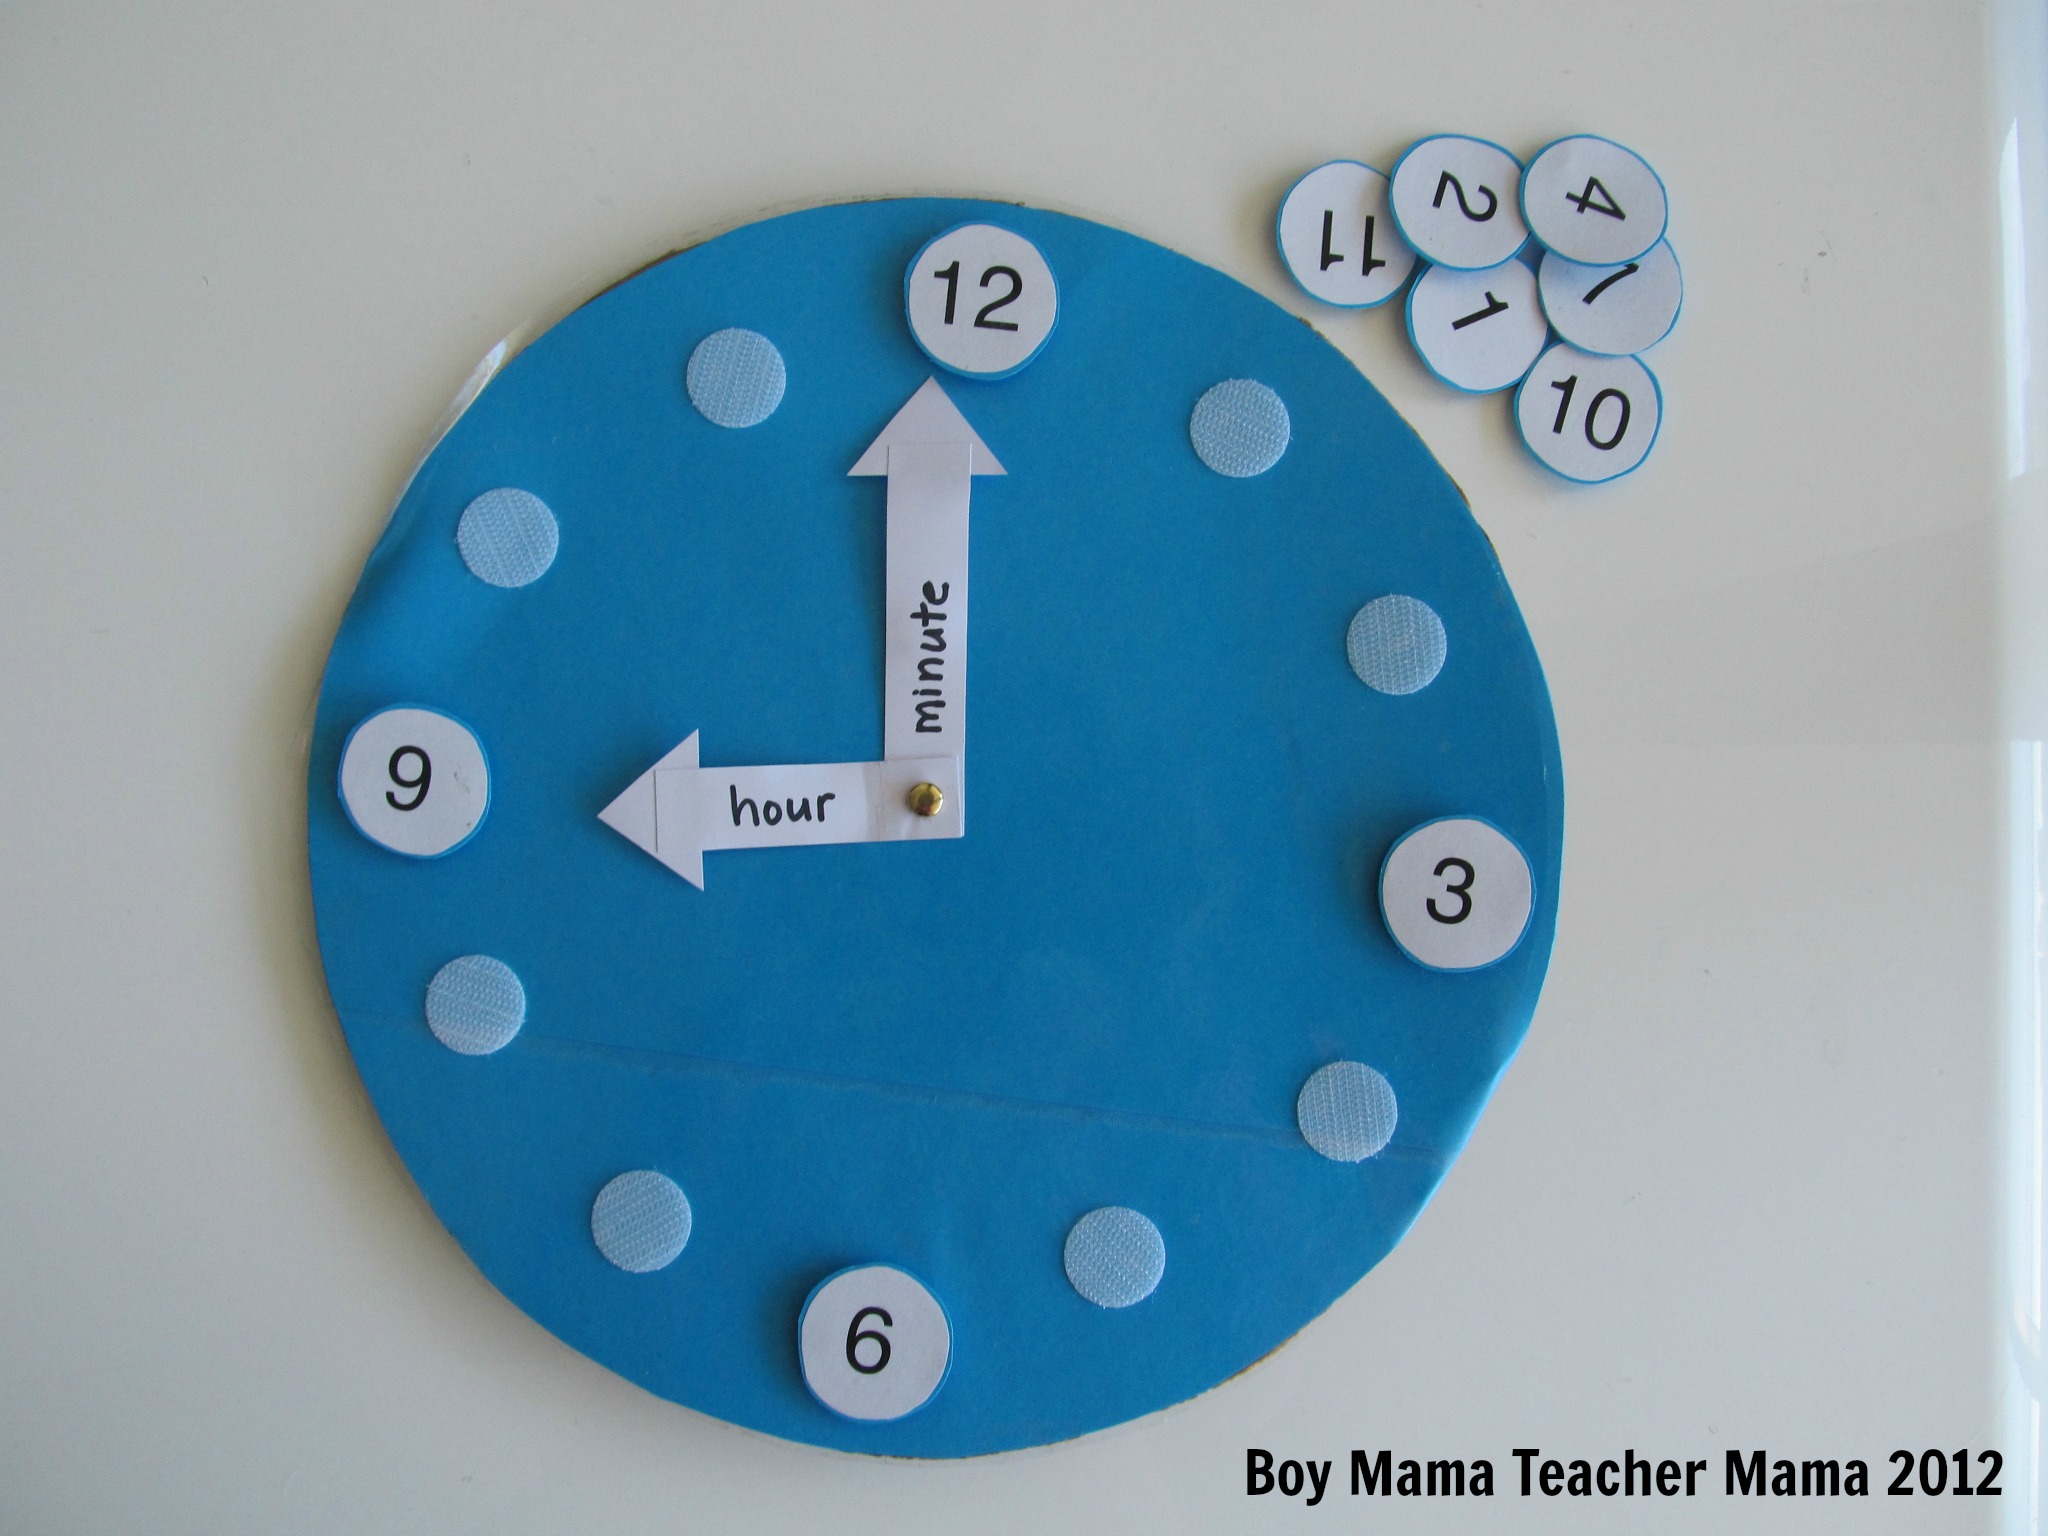
✔️ Attach one side of the velcro on the back of the numbers and the other pieces on the clock face.
✔️ Poke a hole in the middle of the clock.
✔️Cut out a long arrow for the hour hand and a shorter arrow for the minute hand.
✔️ Punch a hole in the end of each hand.
✔️ Write “hour” on the hour hand and “minute” on the minute hand.
✔️ Put the brad through the holes in the two hands and then through the hole in the center of the clock.
✔️ Place the numbers on the Velcro on the clock face.
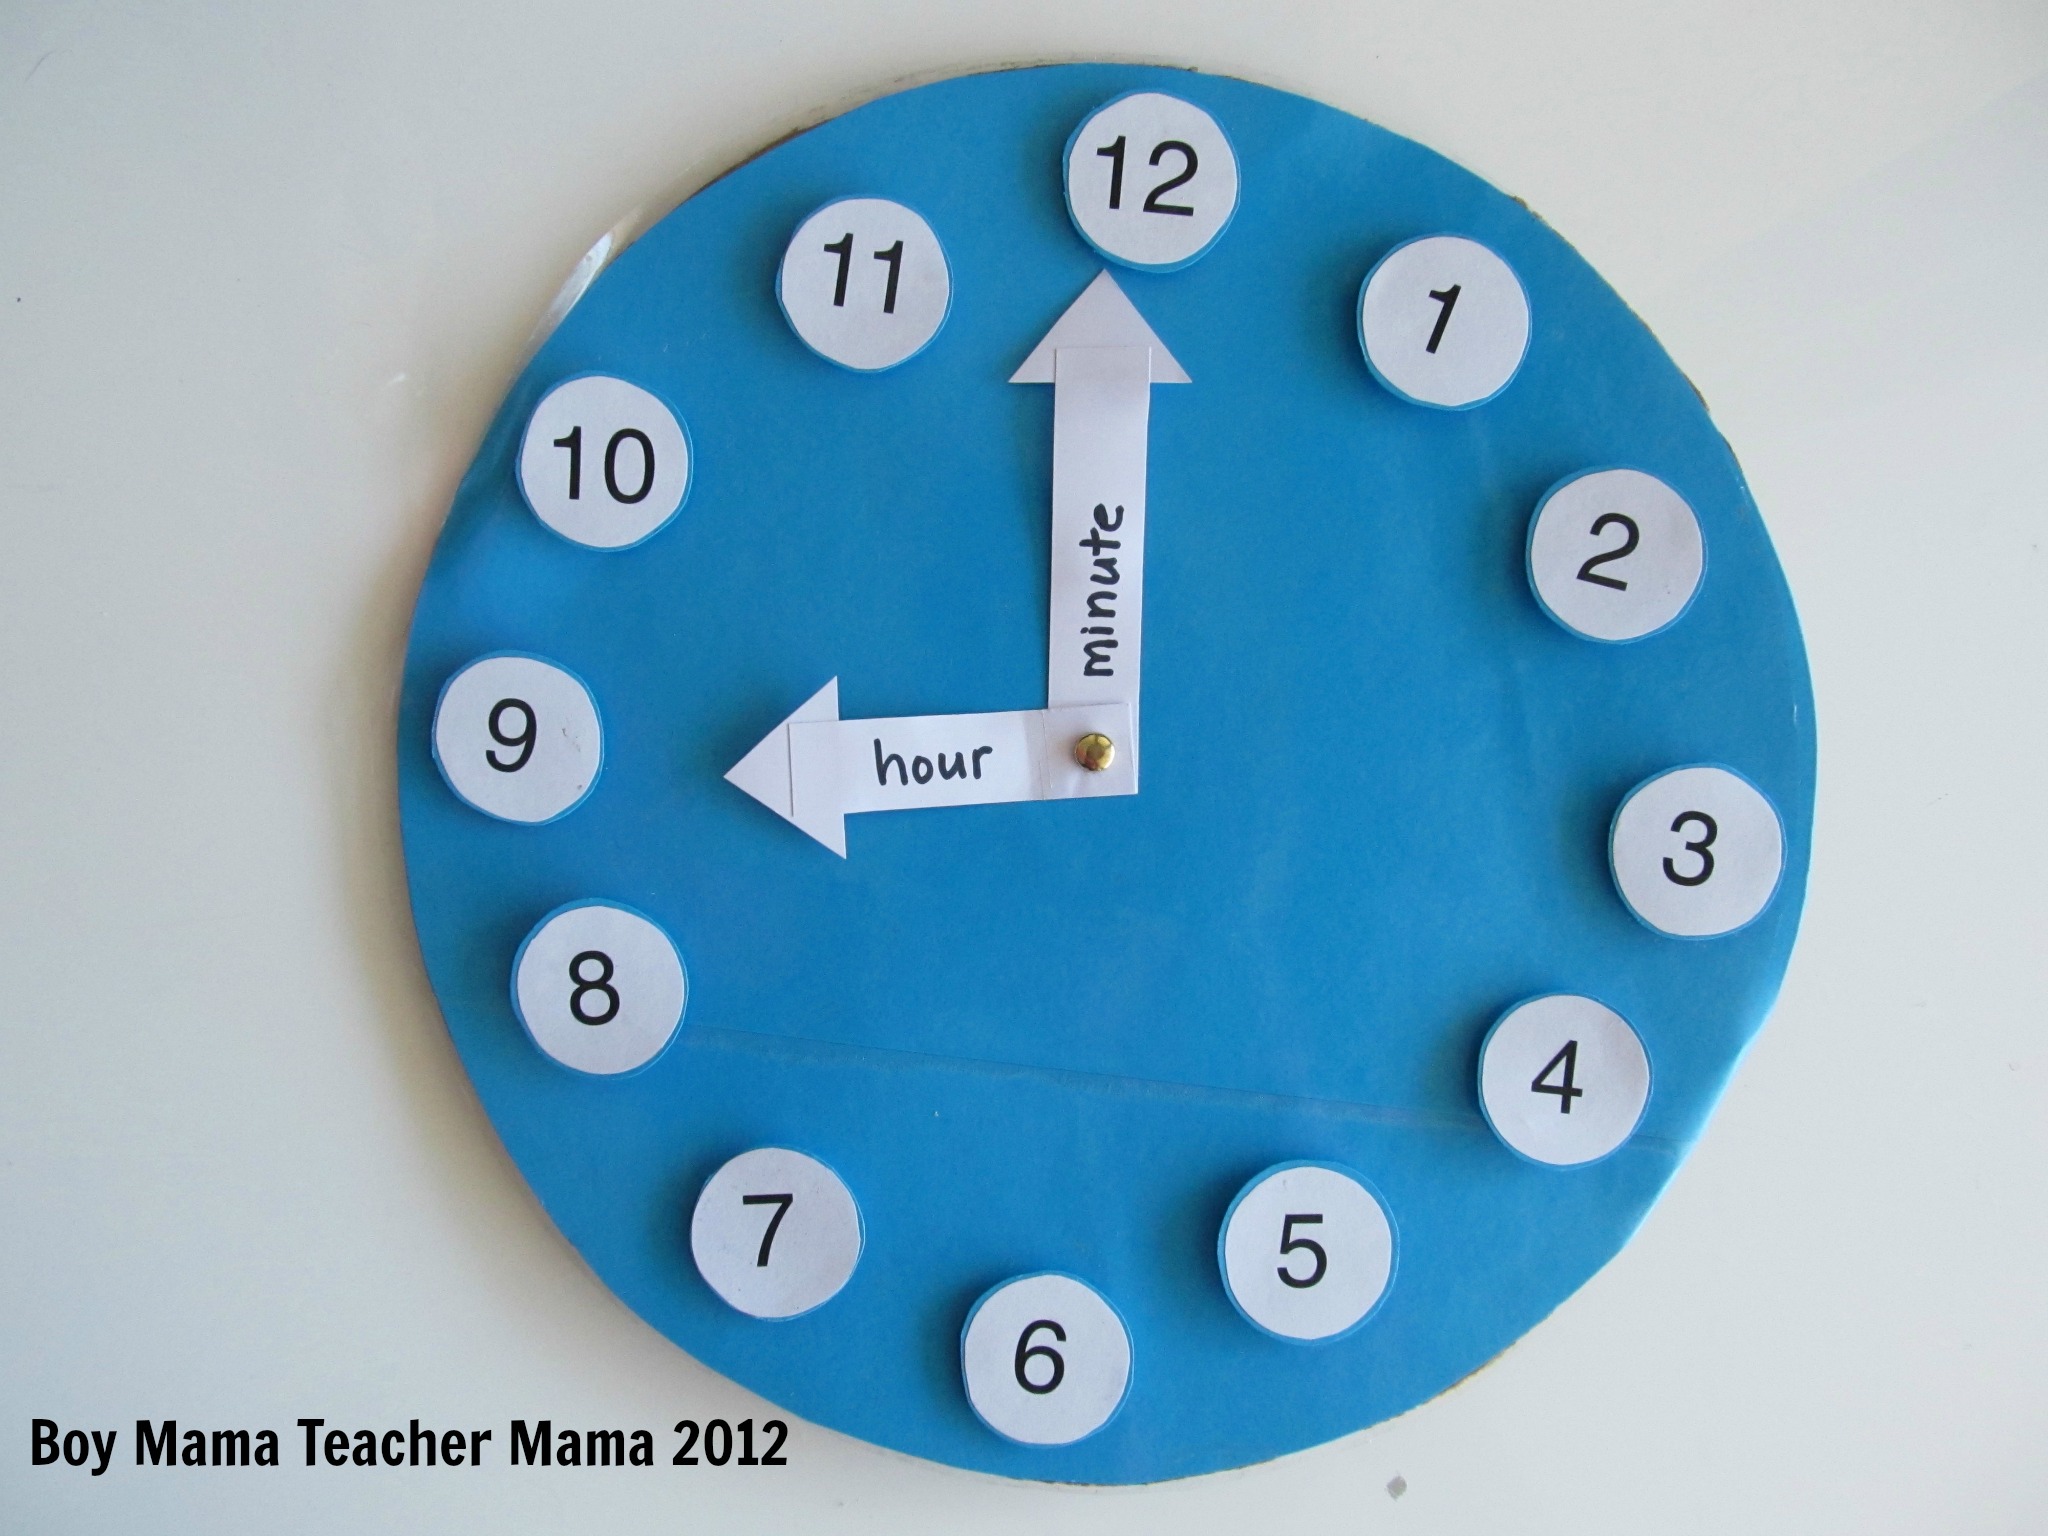
How to Use Your Analog Clock
Clock Skills
🕰️ Analog vs Digital: Don’t be afraid of big words — kids love them and feel empowered by them! Explain that this is an analog clock and discuss how it differs from and resembles the digital clocks they see every day.
🕰️ Clock Face: Explain the parts of the clock face. Show students where the numbers start and how you go around the clock. Then take all the parts off and put them back together — together!
🕰️ Hour Hand and Minute Hand: Building on the clock face discussion, talk with your students about the hour and minute hands. Highlight that the hour hand is shorter and moves more slowly than the minute hand. Discuss how the two hands are alike and different, explain their jobs, and show students how they work together as they move around the clock.
🕰️ O’Clock: O’Clock is usually the first time concept introduced — and students typically catch on quickly! Show your students that when the minute hand is on the 12, it is always o’clock. Demonstrate and practice. Put the minute hand on 12 and the hour hand on 1 and say, “It is one o’clock because the hour hand is on the one and the minute hand is on the twelve.” Move the hour hand to different numbers and repeat, then have students give it a try!
🕰️ Counting by 5s: It’s an important skill for telling time. Practice counting by fives with and without the clock. Do not expect young children to master this right away — it is typically a skill introduced in Kindergarten and Grade 1.
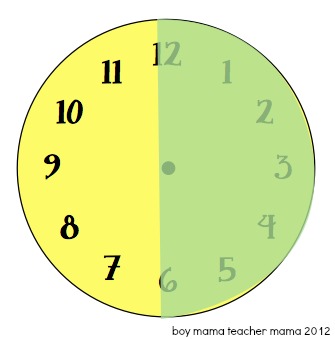
🕰️ Half-Past / :30: Half past is usually the next clock skill taught after o’clock. Follow a similar routine as above. Take a crayon and shade half the clock one color and the other half another color to visually show what “half” means!
More Challenging Clock Concepts
🕰️ Quarter to / Quarter Past: Follow the same routine as above, adding in quarter to, quarter past, 15, and 45. This concept is more challenging than o’clock and half past and is typically introduced in Grade 1 and mastered by Grade 2 or 3, depending on the child. Divide the clock into quarters and color each quarter a different color to help students visualize the concept!
🕰️ Telling Time to the Minute: This is where counting by 5s really comes into play — and a more detailed clock is essential! Add 4 small lines between each number on your teaching clock to show the individual minutes. Explain that there are 5 minutes between each number on the clock and review counting by 5s. Once students understand this, you can introduce times like 8:05 or 8:35 by counting by 5s around the clock. When that concept is solid, students can count by 5s and then add on the remaining minutes. For example, for 8:23, students count “5, 10, 15, 20 — then 21, 22, 23.” For 4:52, they count “5, 10, 15, 20, 25, 30, 35, 40, 45, 50 — then 51, 52!”
🕰️ Passage of Time: As children grow more confident with telling time, you can begin exploring the passage of time. For example, if Bob goes to the zoo at 9:00 and gets home at 11:00, how many hours was Bob at the zoo? This is a more advanced concept, so save it for later, but keep it in the back of your mind for when your child or student is ready!
Student-Made Clock

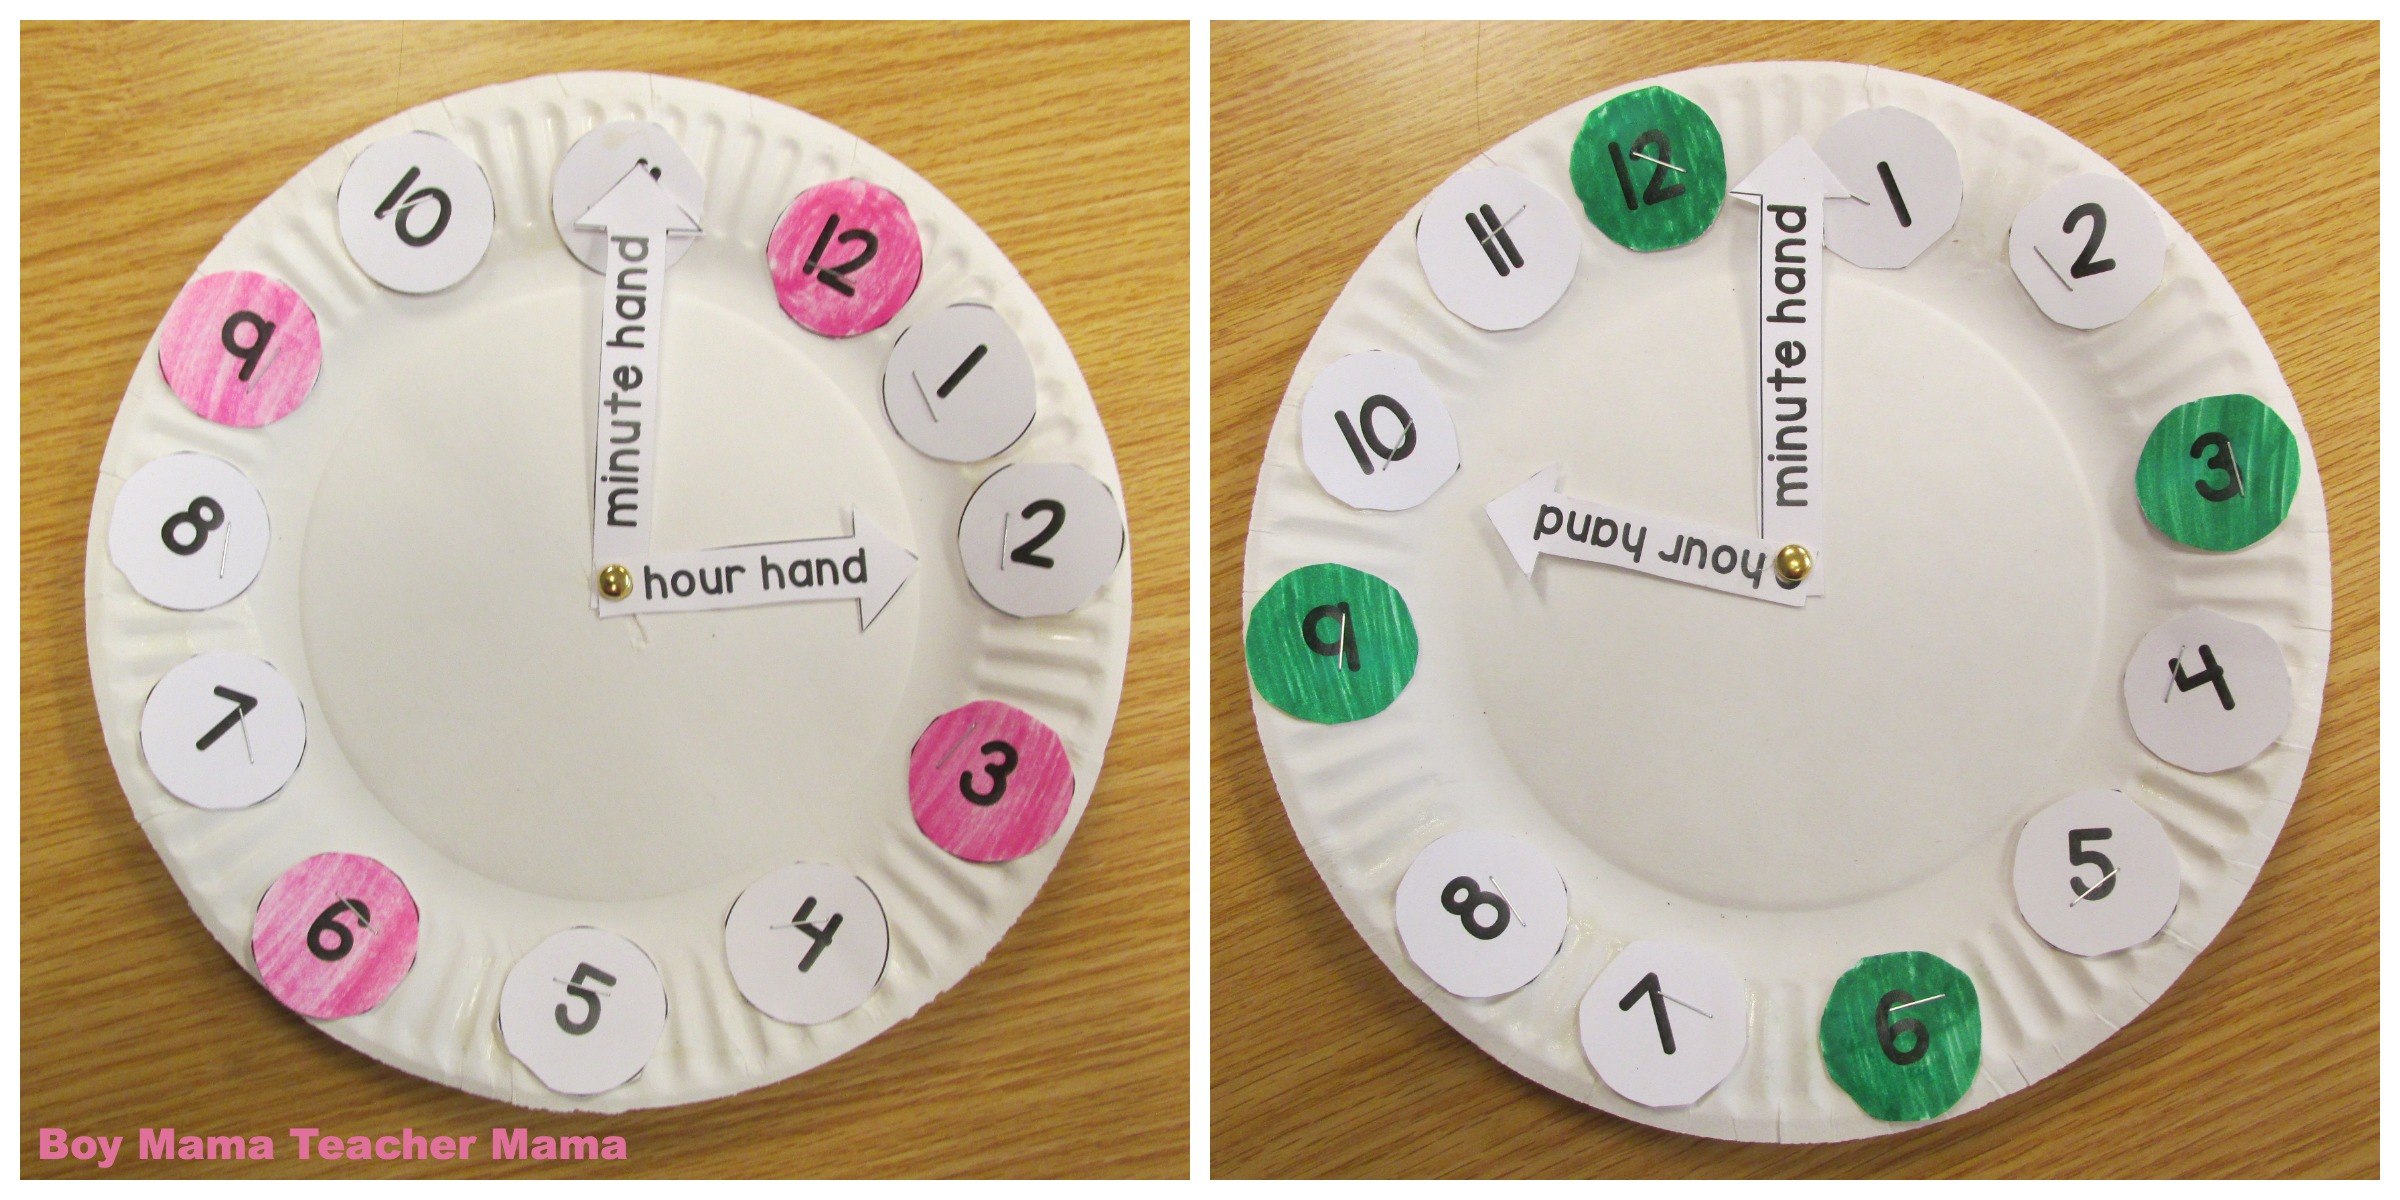
You can also have your child or students create their own clocks using a paper plate! Making their own clock helps students understand how a clock goes together — and when kids build something themselves, they remember it so much better. It is a simple but powerful way to deepen their understanding of analog clocks!
Teaching time takes patience and plenty of practice — but breaking it down into small, manageable steps makes all the difference! Whether you are just introducing o’clock or working up to telling time to the minute, this homemade teaching clock is a great tool to have on hand. The best part? Your child can help make it — and kids always love using something they helped create!
Have you made a homemade teaching clock with your child or students? We would love to hear how it went — share in the comments below! And if you are looking for more time-telling practice, check out our Happy Faces O’Clock and Half-Past Bump Game in our TPT store! 💚

If this is your first time visiting Boy Mama Teacher Mama, welcome!
Did you know that you can also find us on Facebook, Instagram, Pinterest, and Teachers Pay Teachers?
© Boy Mama Teacher Mama 2026
All Rights Reserved


Hi Stephanie,
I came across your updated “Analog Clock Time: The Simple Ideas for K-2 Teachers” and liked the way you build from o’clock and half-past to quarter hours, counting by fives, and finally telling time to the minute. Your note about giving children plenty of additional practice made me think UhrenABC could be a useful complement.
I created UhrenABC and an English guide that follows a similar progression with an interactive clock: children can move the hands, compare analog and digital time, listen to spoken times, and increase the difficulty gradually:
https://www.dokubasis.de/uhrenabc/en/blog/learn-telling-time-kids-clock-app
If you update the Learning Hub or the extra-practice section again, perhaps it could be useful to your K–2 readers. Of course, only if it fits how you curate external resources.
Best regards
Marcus
Pingback: Teacher Mama: Creating a Digital Clock for Teaching Time | Boy Mama Teacher Mama
Pingback: Teacher Mama: Time Bingo Games | Boy Mama Teacher Mama
Pingback: Teacher Mama: Giant Clock | Boy Mama Teacher Mama
Pingback: Teacher Mama: O’Clock Cards- Games for Teaching Time to the Hour | Boy Mama Teacher Mama
This is perfect for us at the moment. Miss Possum is so into clocks. Its such a long comprehensive list too. Very impressive post Steph.
Thanks Penny– more clock posts coming!
I have just pinned this – having taught time to children aged 5 – 8 years old I understand well how completely frustrating and overwhelming it can be to little people. It’s one of the tricker things to learn, I think. Great ideas here.
I agree!
Pssst! Your hour and minute hands are labelled backwards in your cover photo.
How embarassing! Thanks for the heads up.
You’re welcome 🙂
I tell my students that the Hour hand is the shorter one because the word has less letters the word minute has more letters so it is the longer hand.
Great idea!
My 8 year olds are still trying to master telling time… thanks for the great tips!
Hope they help!
Thanks for writing this. We have been teaching our child for a while and she seems to forget or not understand. After reading this ,now I know I missed things in telling her that will help her understand better.
Hope it helps!
Goodness…you are just so clever! i am really enjoying your posts…just wish my girls were older lol!
Thanks Jode!
What great teaching points. I’ve always found teaching time a tricky one. Thank you. Pinning and sharing 🙂 xoxo P
Thank you Pauline!!
Oh you’re fabulous! I looked at a book with a clock face toy the other day… but this is simple and effective and I’ve got most things here at home! 🙂 Thanks for sharing! I’ve pinned this!
Thanks Bek!