

Egg Carton Flowers
Spring is finally here! The sun is shining, the birds are chirping, the tulips are in full bloom, and the weather is just begging us to get outside and create something beautiful. And that is exactly what we did! We made some egg carton flowers!
I had some egg cartons and popsicle sticks waiting in our craft closet, and I knew it was the perfect day for a spring craft. So we made these absolutely adorable egg carton flowers — and I just love with how they turned out!
These egg carton flowers are not hard to make at all, but there is a bit of drying time between steps, so you may want to spread this craft over a day or two, or have some other activities ready during the waiting time. I have included both written and picture directions to make it as easy as possible to follow along!
They make a wonderful addition to your garden or spring decorations and also make the most beautiful Mother’s Day or teacher gifts. A perfect craft for ages 3 and up!
What you need:
✔️egg carton
✔️popsicle sticks
✔️Q-tips
✔️ scissors
✔️ glue
✔️acrylic paints (these work best on the egg carton)
✔️paintbrushes
Preparation:
Before you begin, take a few minutes to prep your materials:
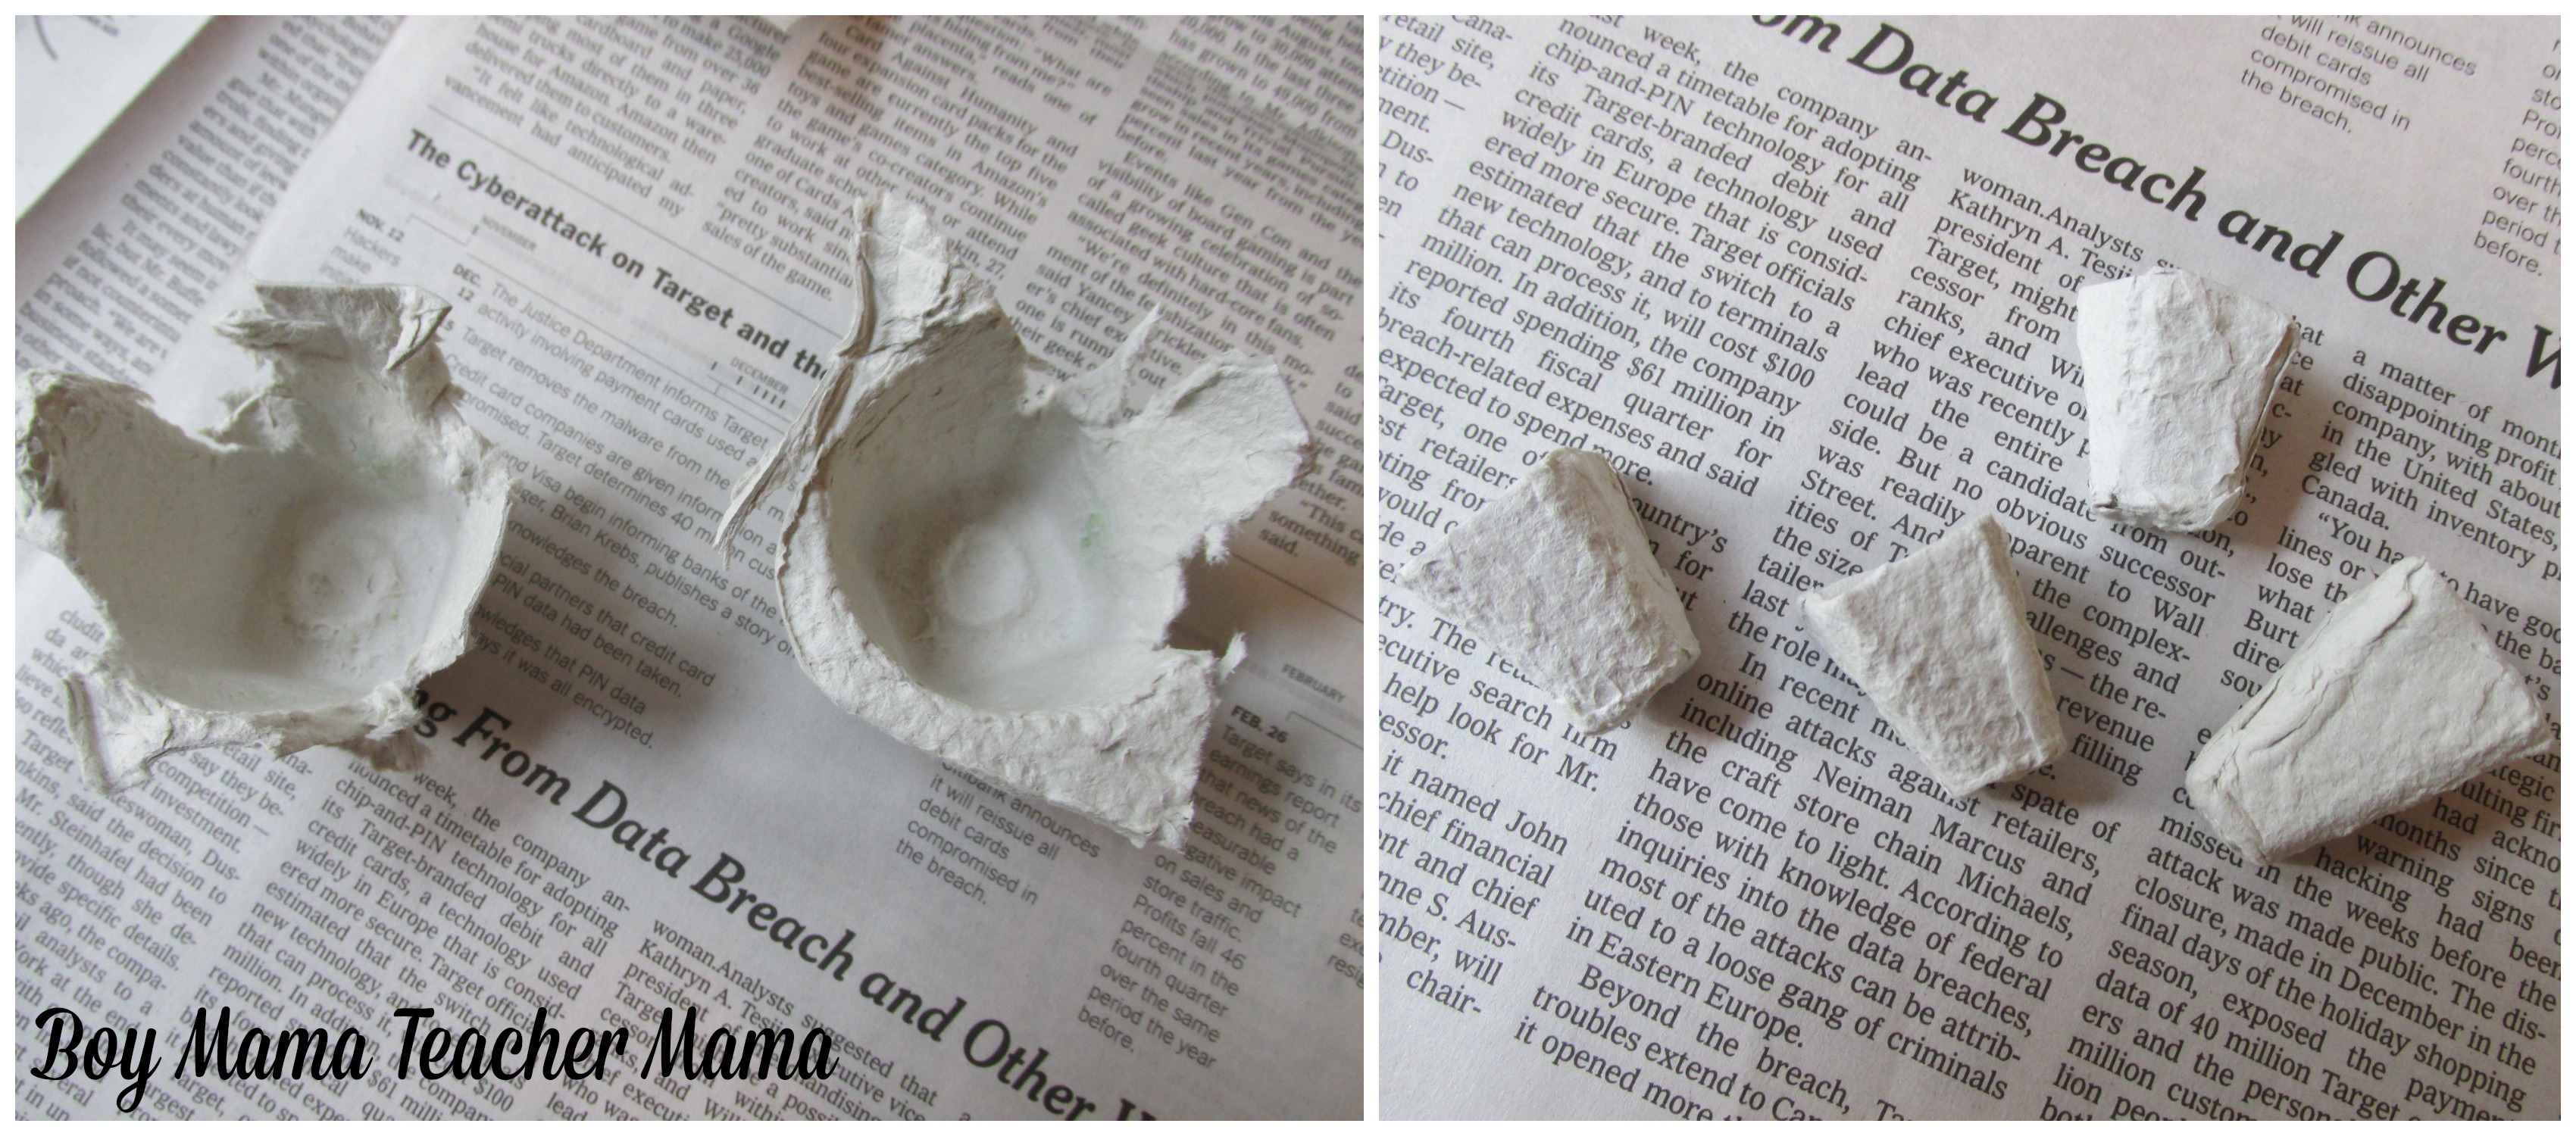
- Cut the egg carton apart so each cup is its own individual piece.
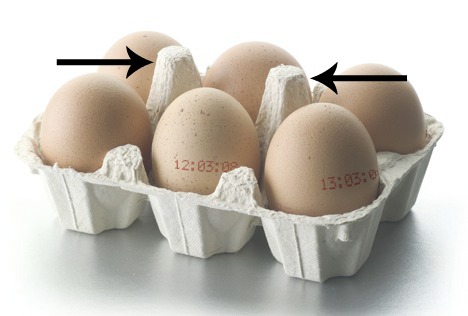
- Cut away the pointed tips that stick up between the egg holes — but save them for later! You will need them!
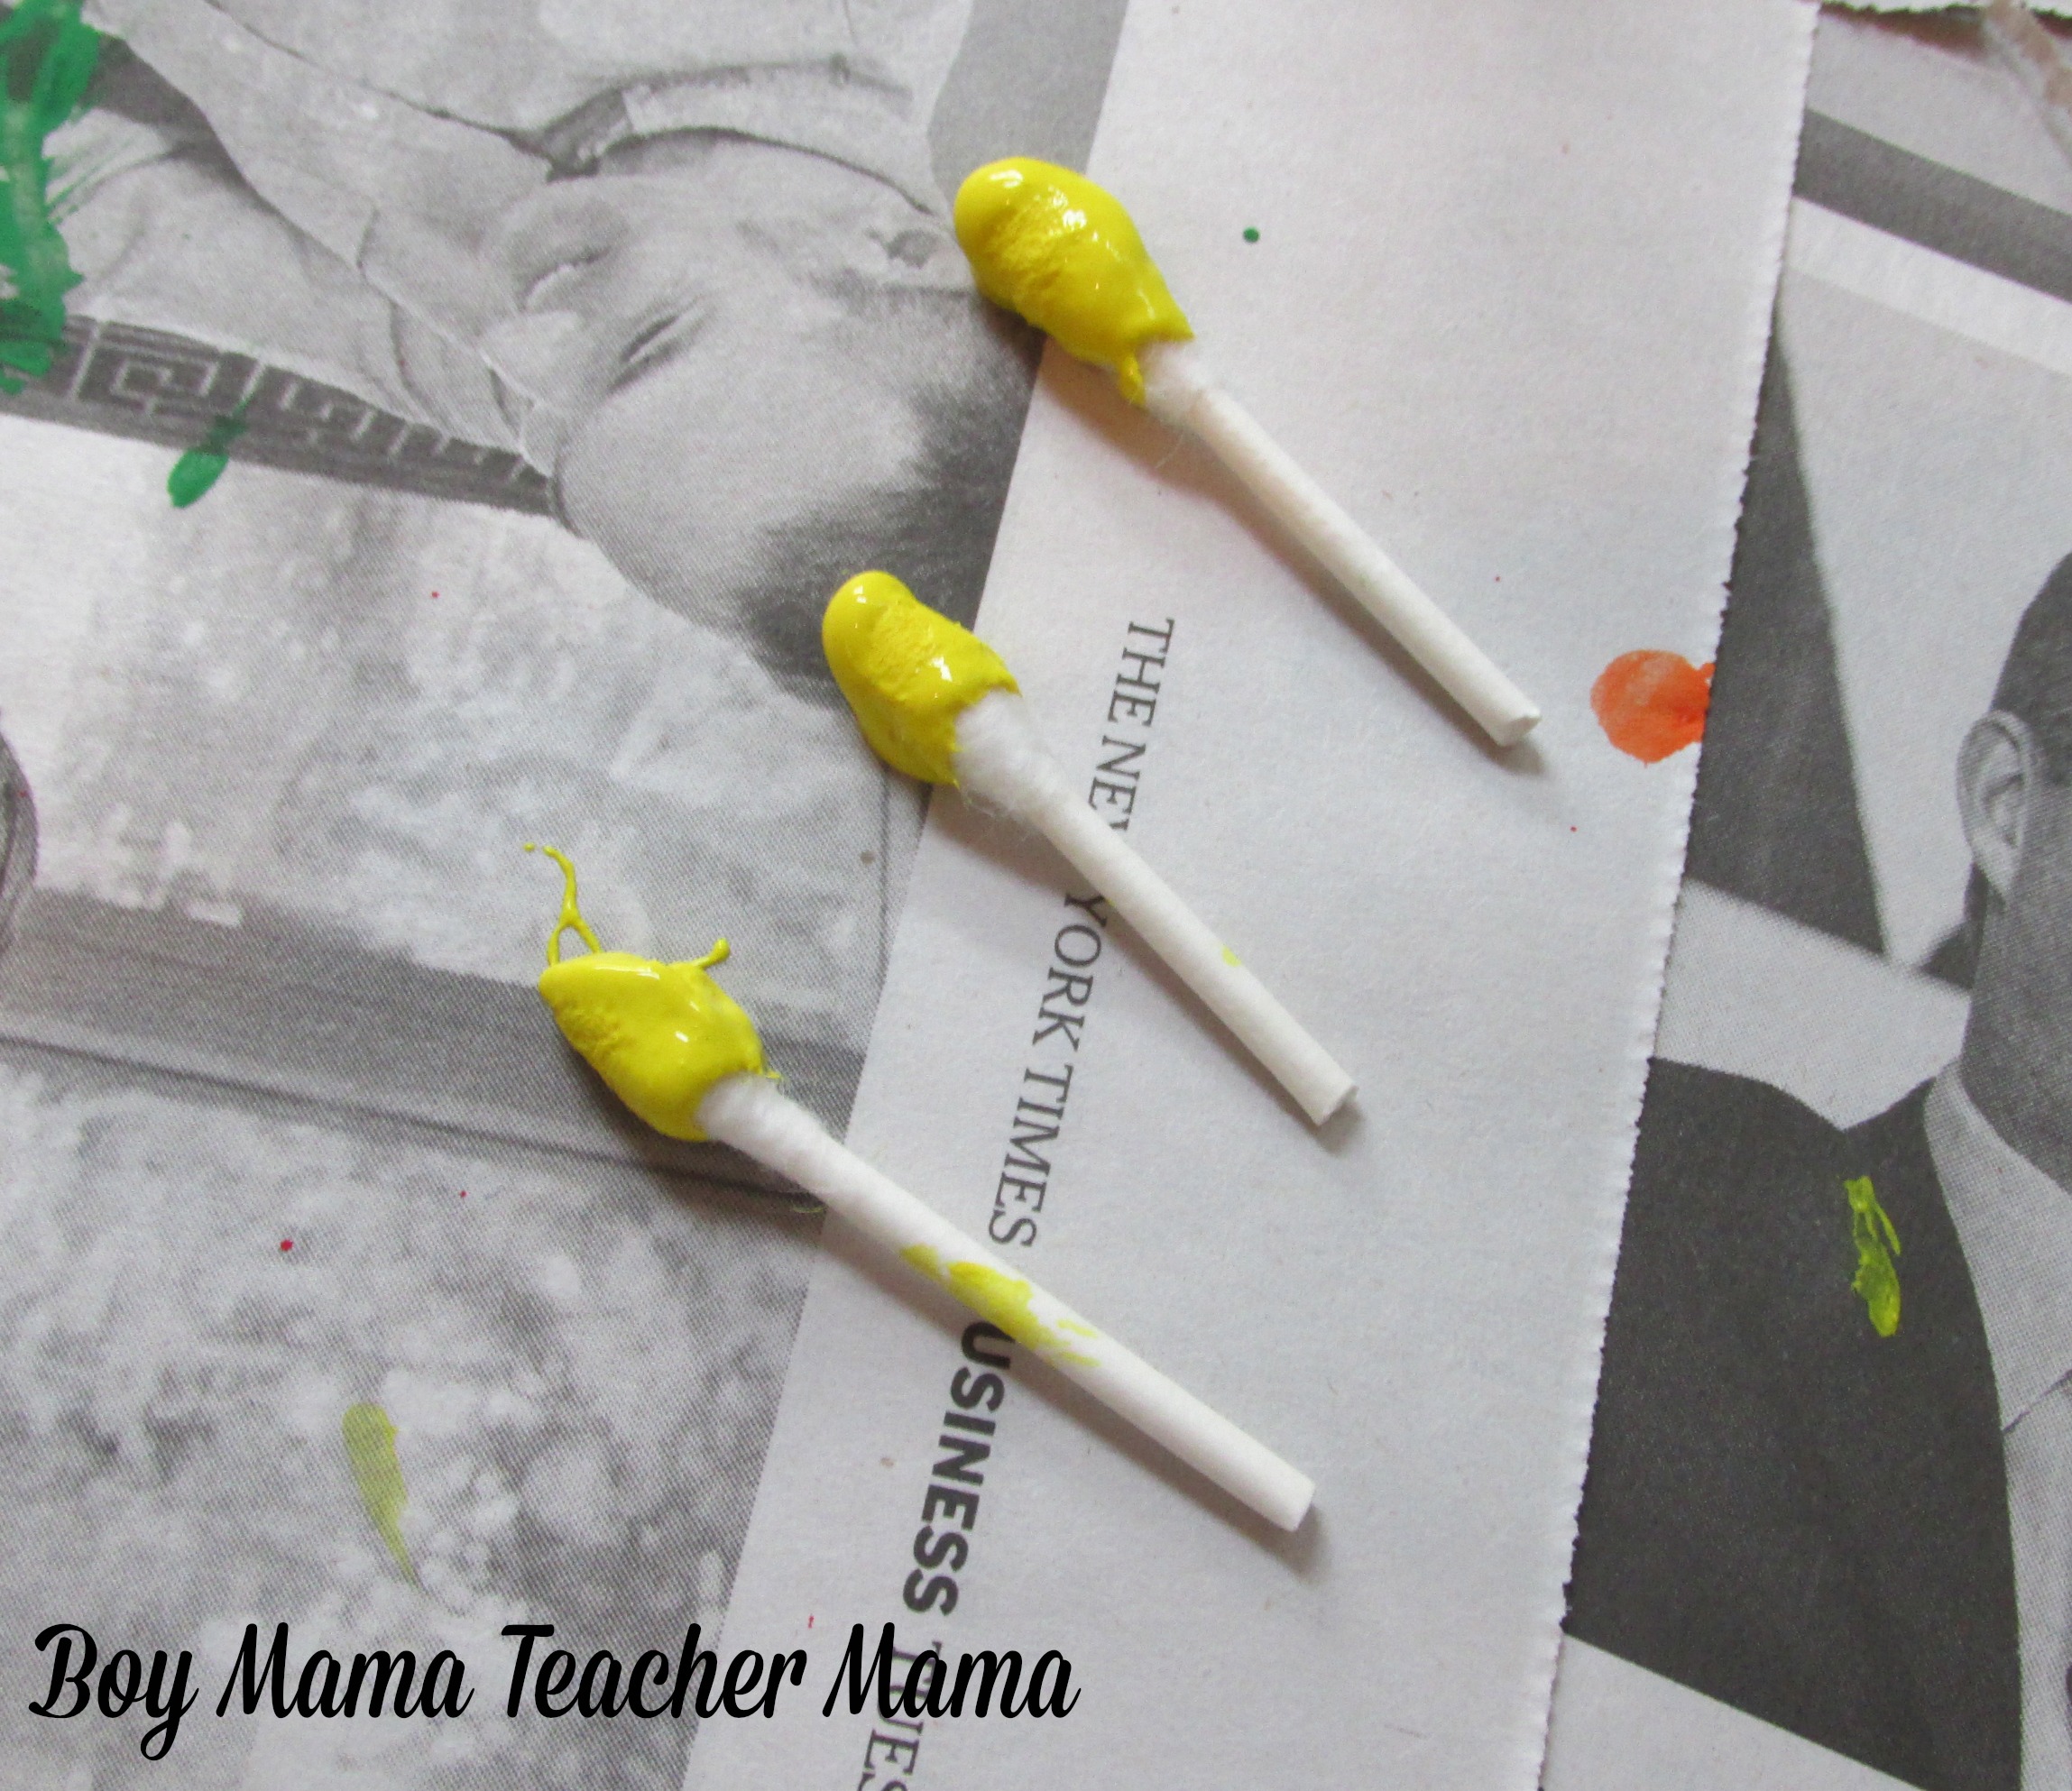
- Cut the Q-tips in half. You will need 3 halves for each flower.

Painting Your Egg Carton Flowers:
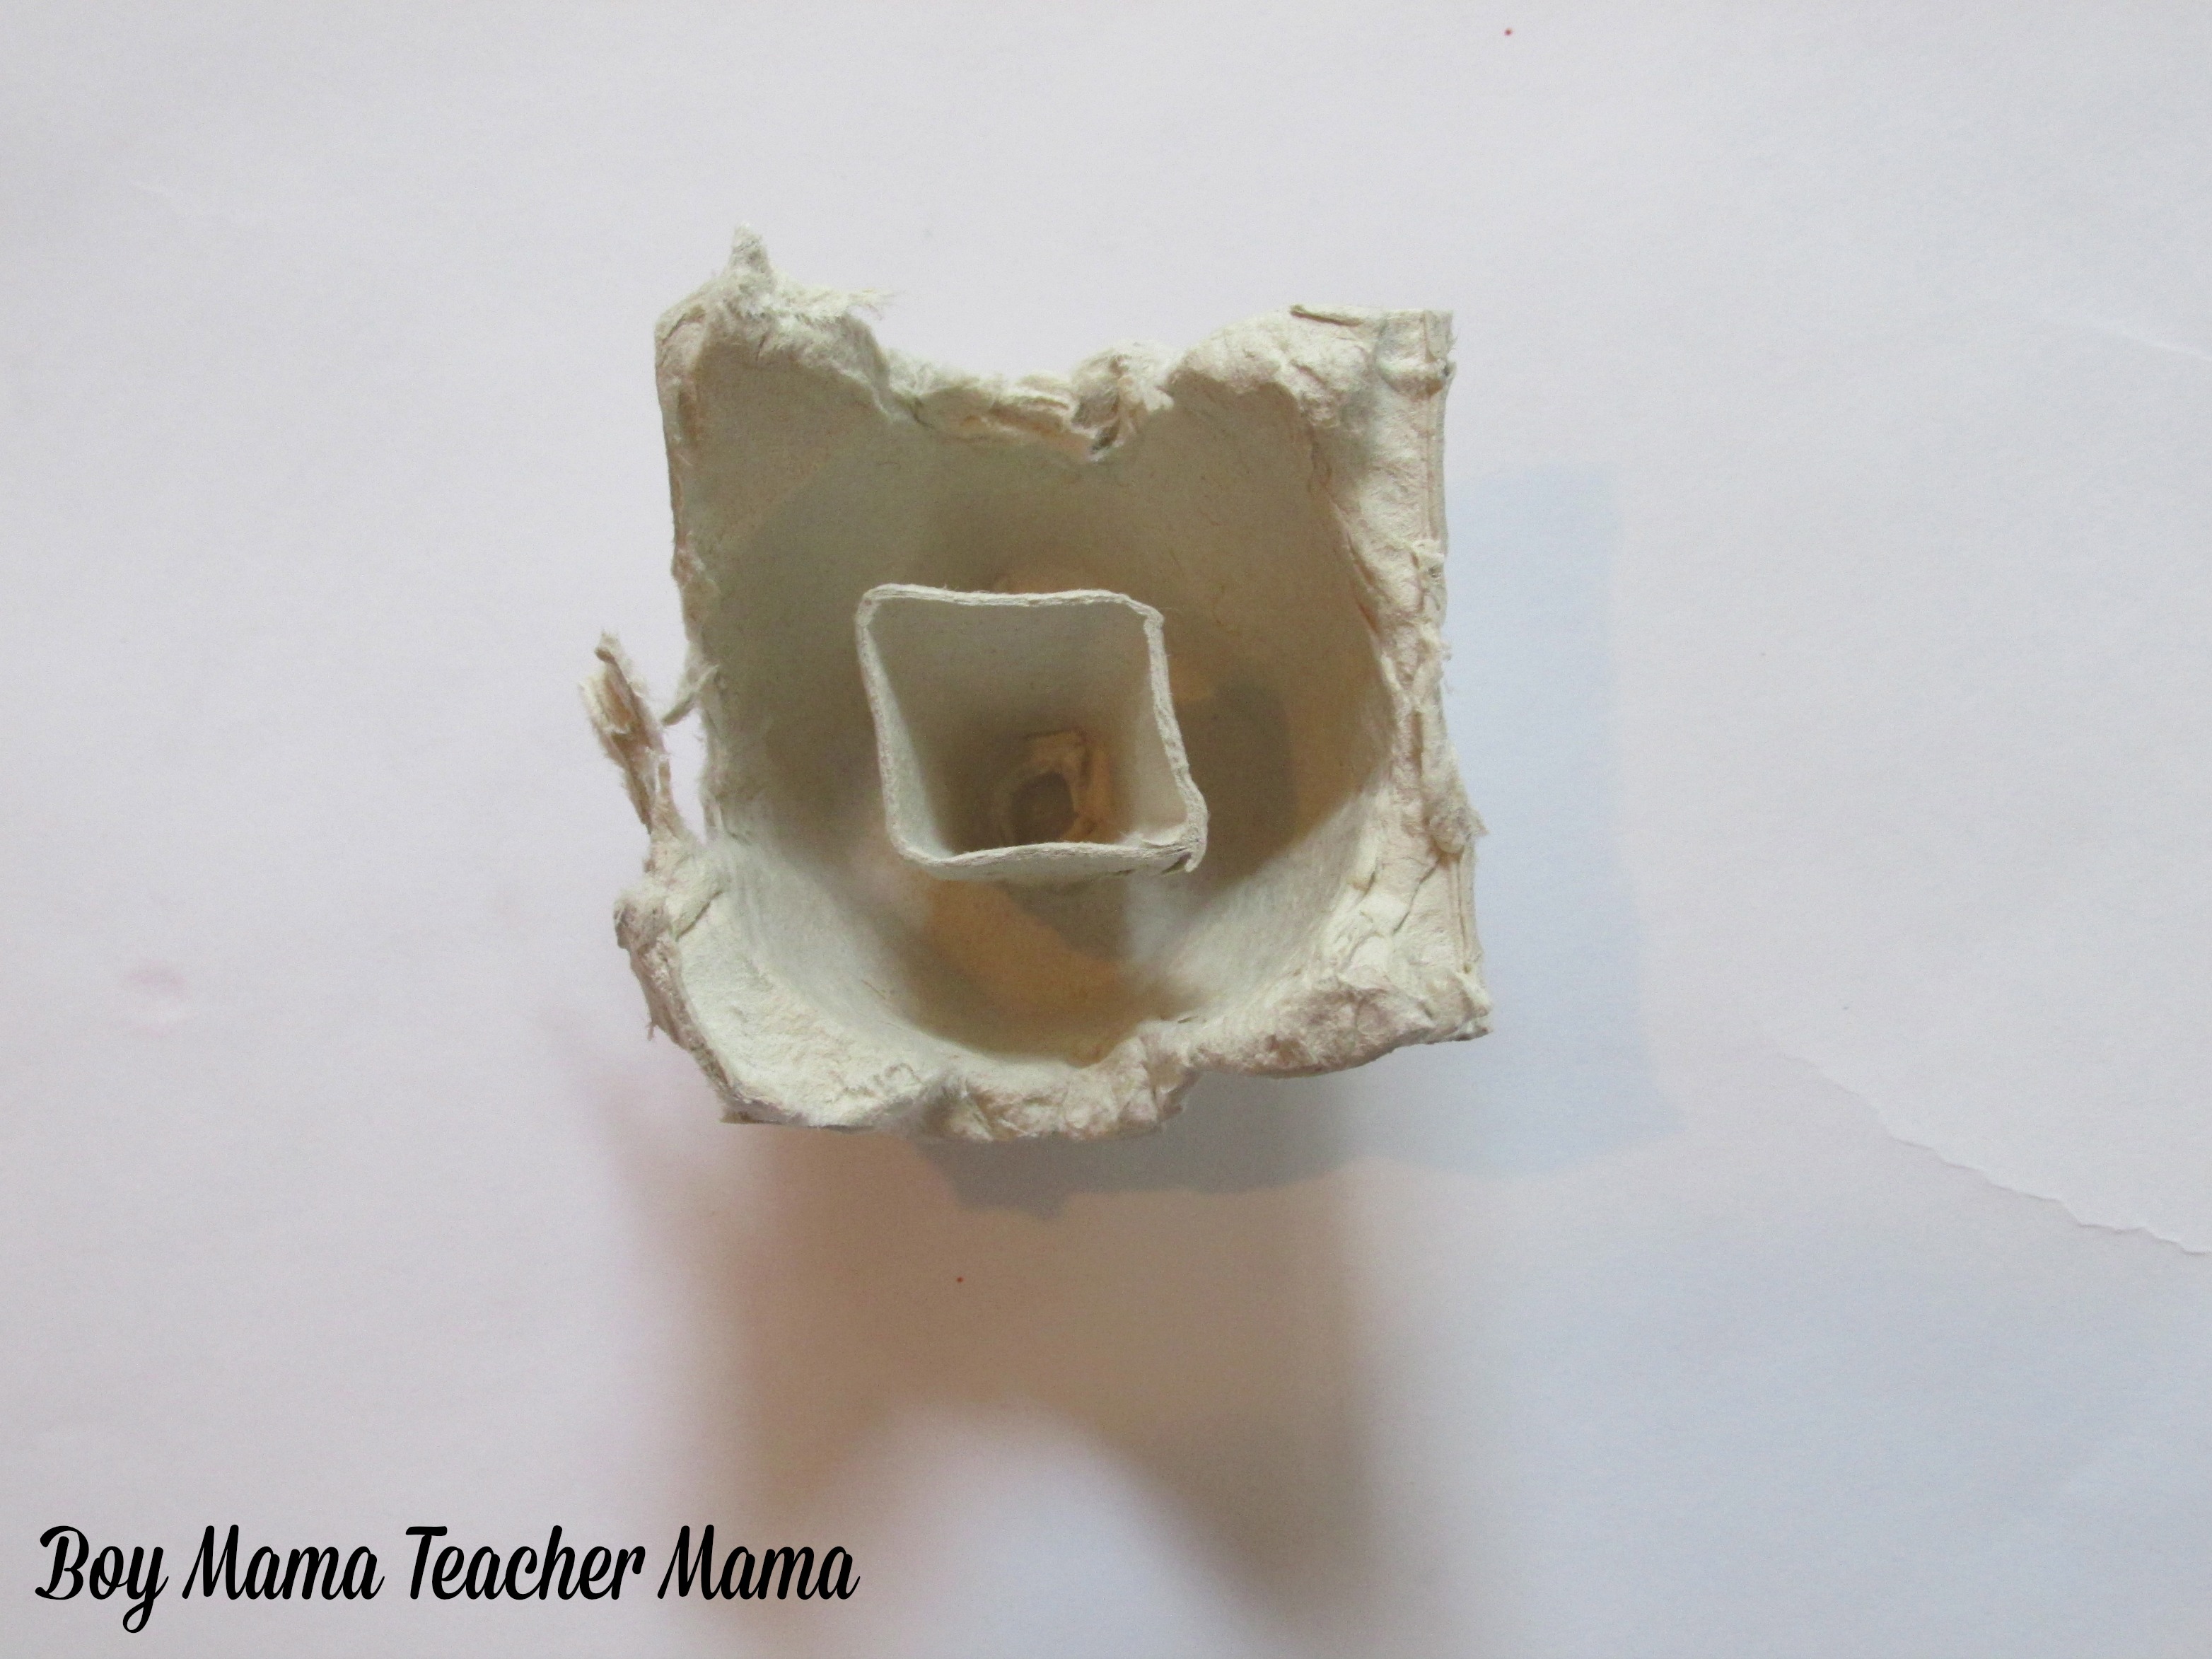
- Glue the pointed tips you saved into the dimple of each egg carton cup. (Yes, dimple IS the technical term! 😄) Allow to dry completely.
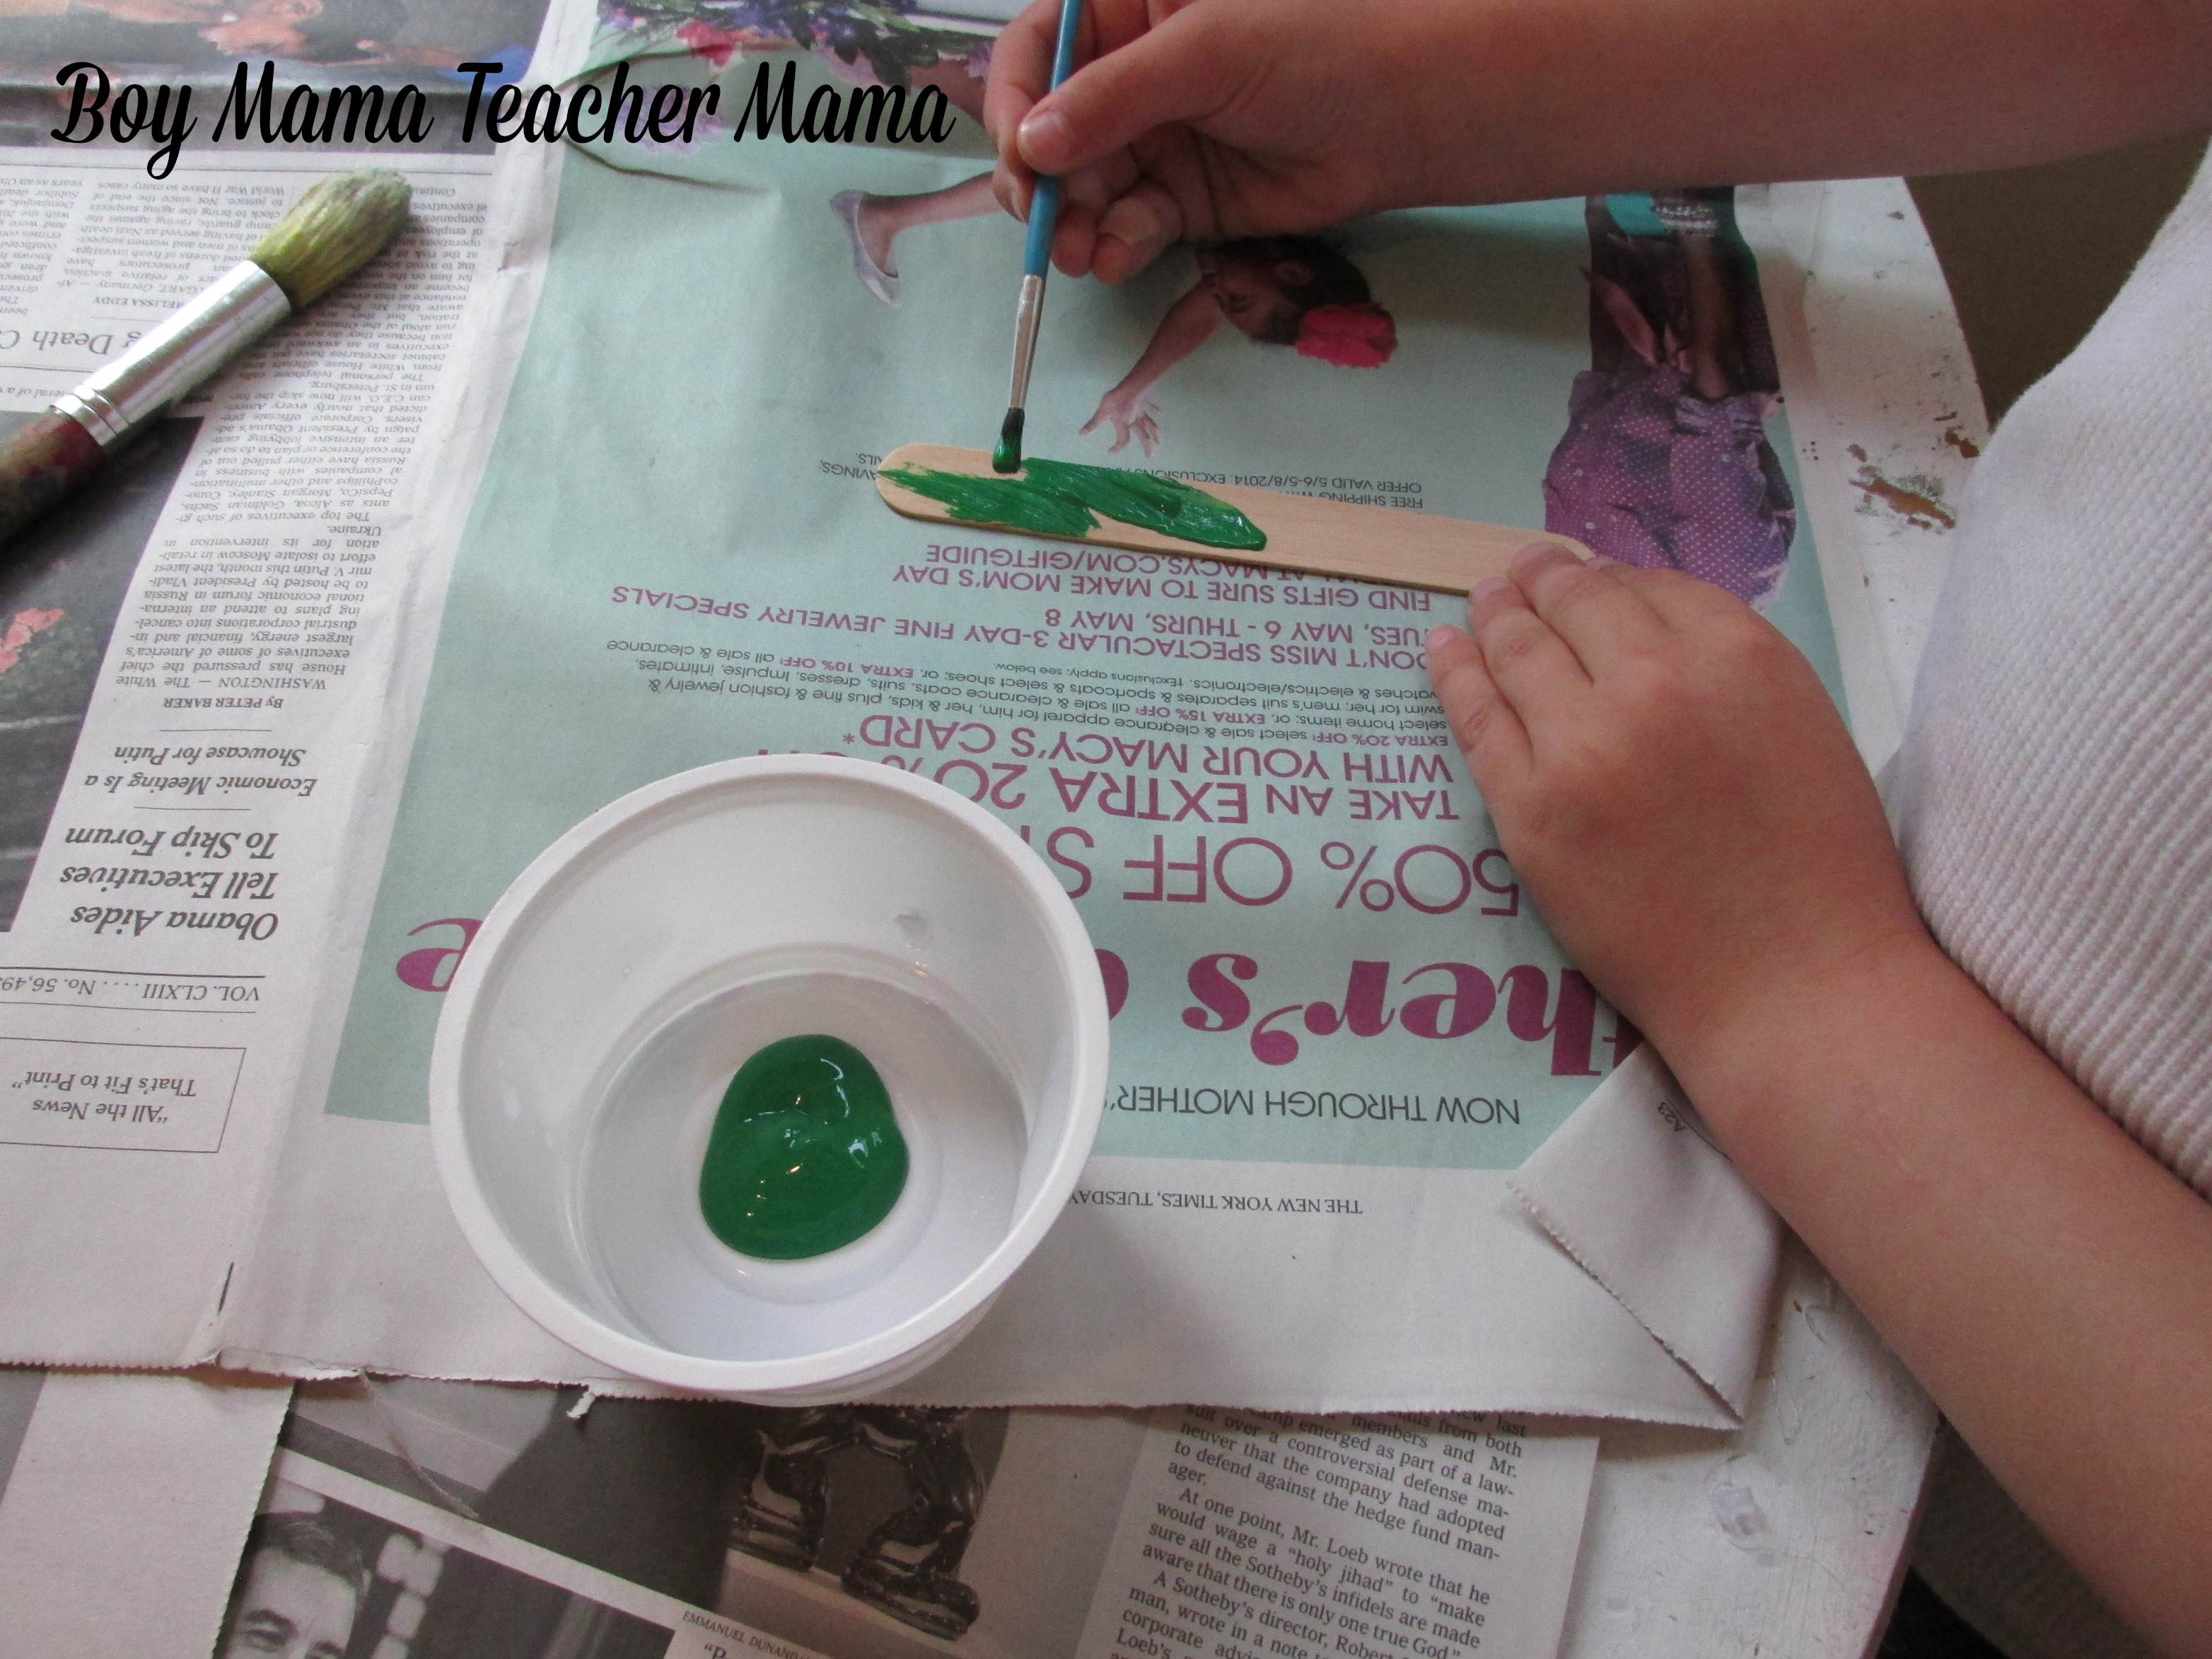
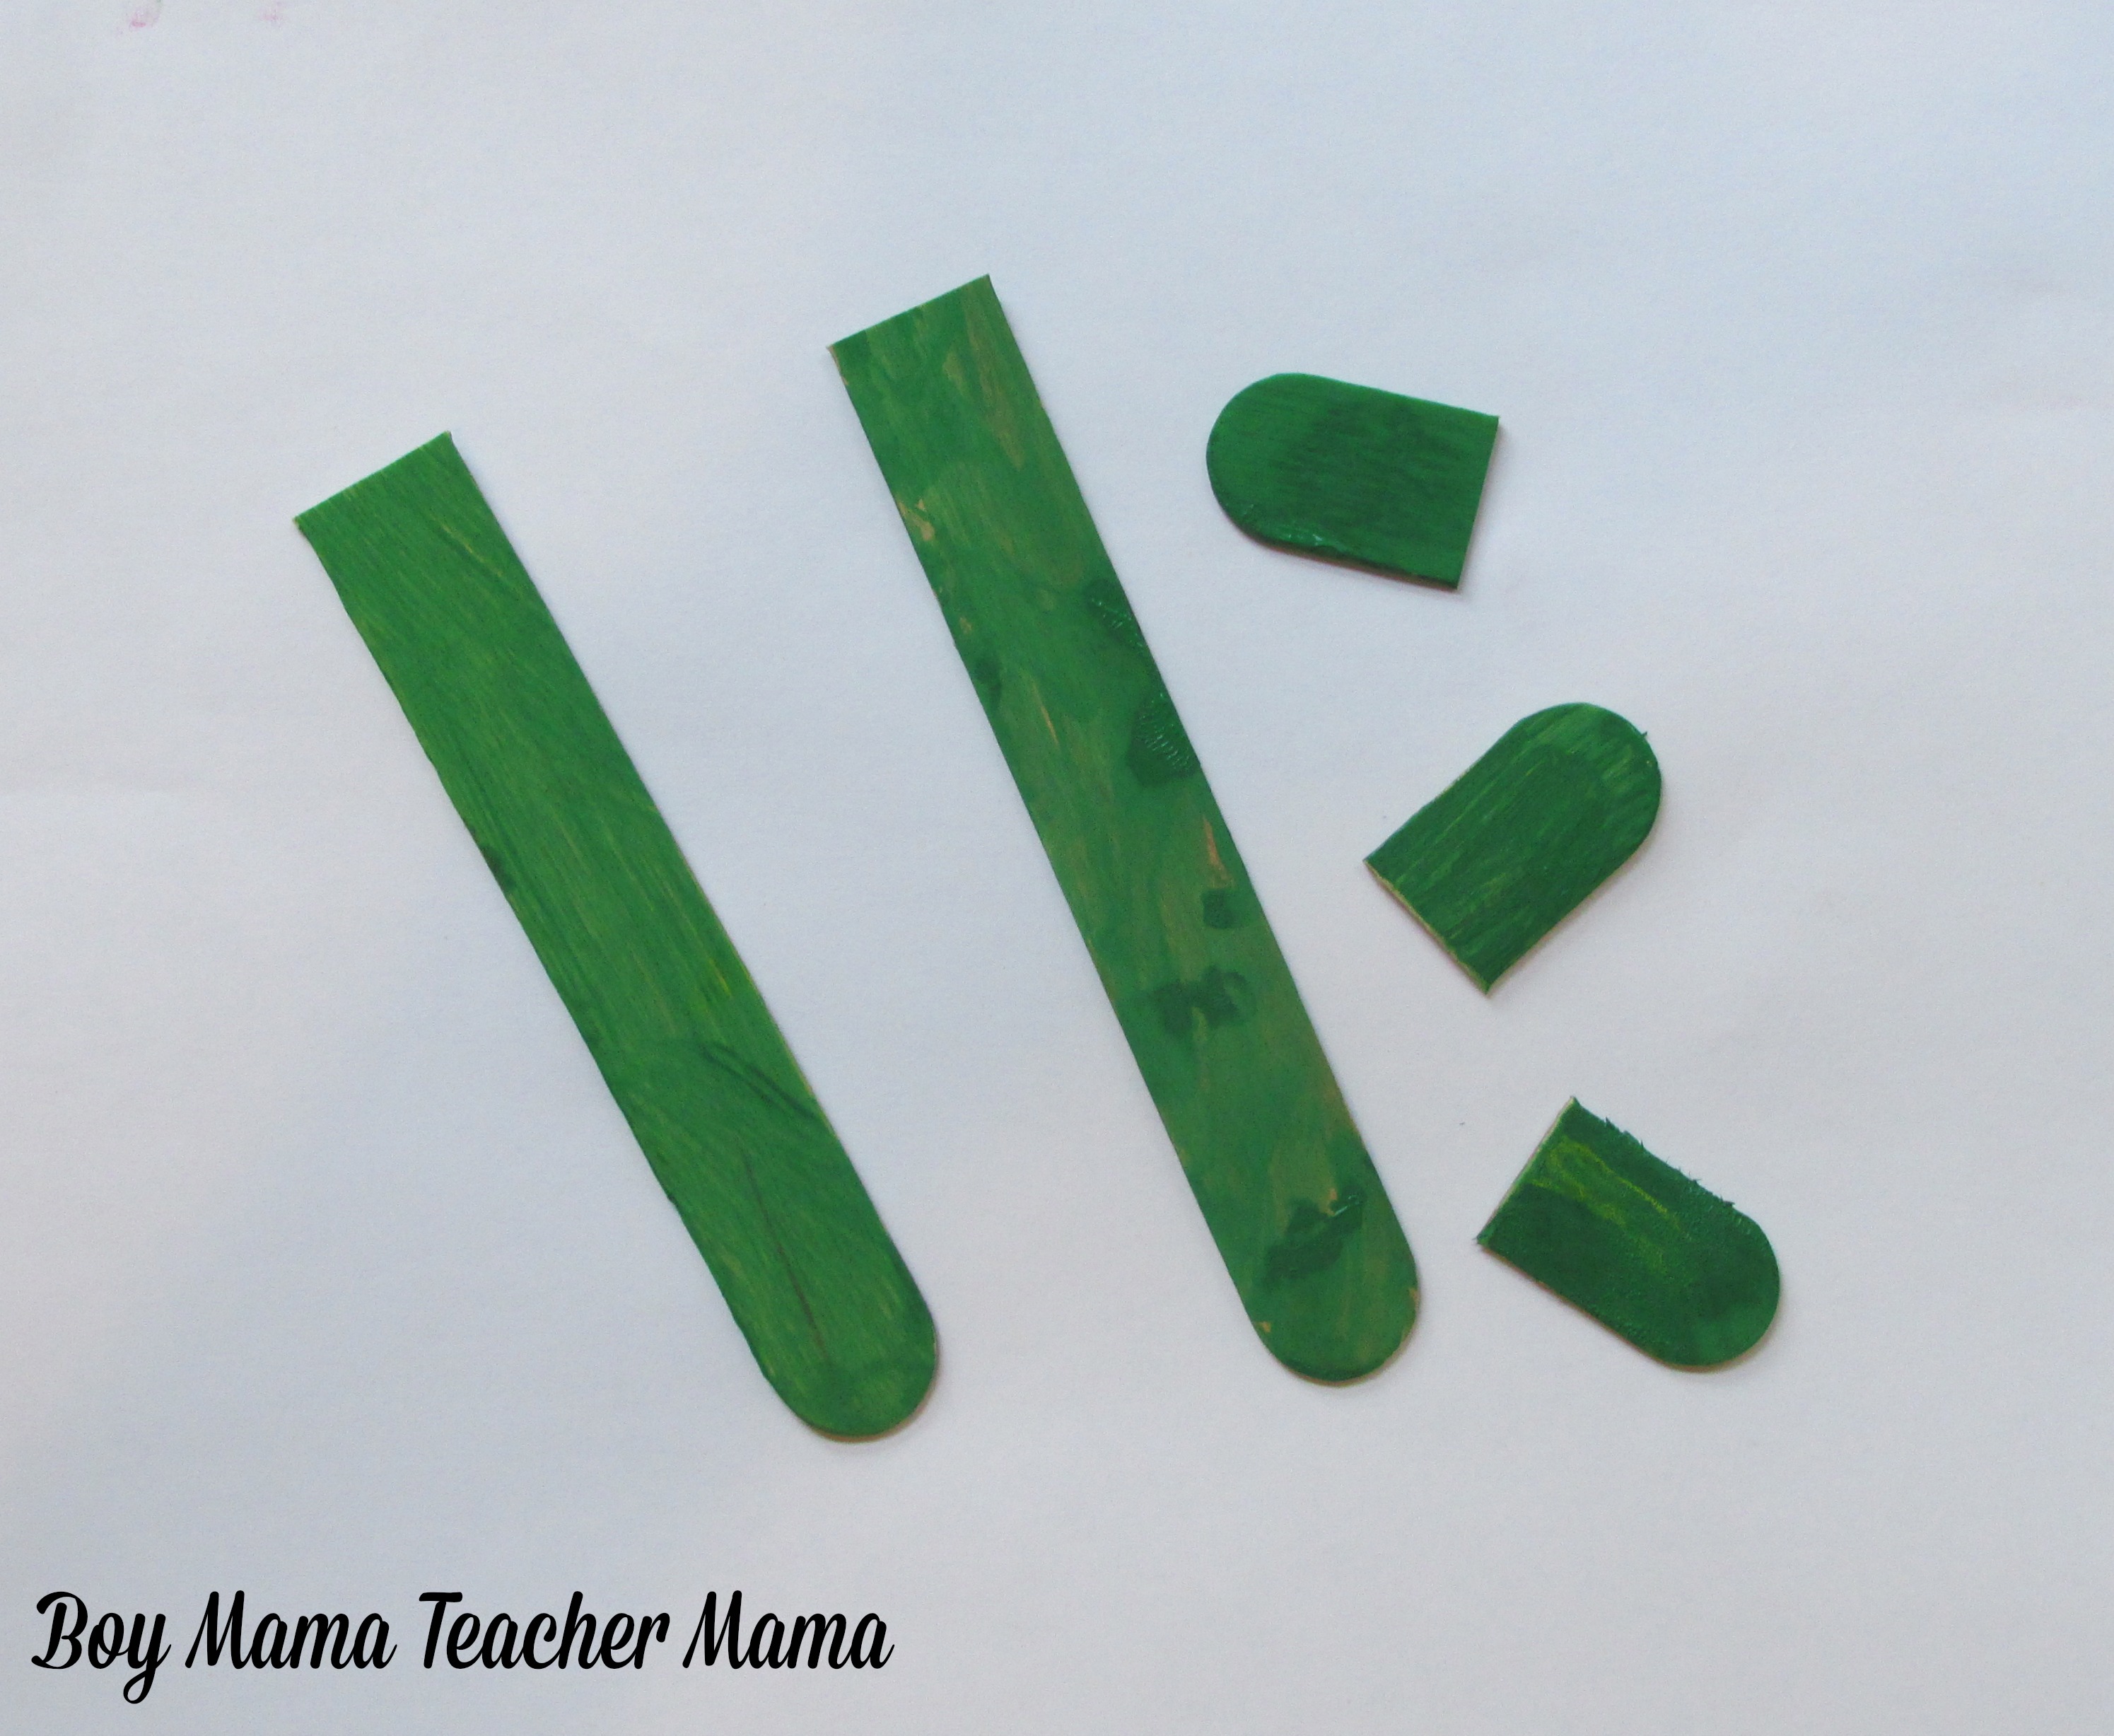
- While that is drying, have your child paint 3 jumbo popsicle sticks green for the stem and leaves.
- Paint the egg carton flower in whatever color your child chooses — the more colorful the better!
- Allow everything to dry completely before moving on.
- Dip each Q-tip half into yellow paint (or any light color your child prefers) and set aside to dry.

Assembling Your Egg Carton Flowers:
Once everything is dry, it is time to put it all together!
- Cut the tops off all three green popsicle sticks. Cut the bottom off one stick only — this will be your main stem. See the photo for reference!
- Using your glue gun, attach the green stem to the bottom of the painted egg carton flower.
- Glue the Q-tips inside the flower to create the stamens.
- Glue the small pieces of green popsicle stick onto the stem to create the leaves.
Note: Please ensure proper adult supervision when using the hot glue gun with young children!


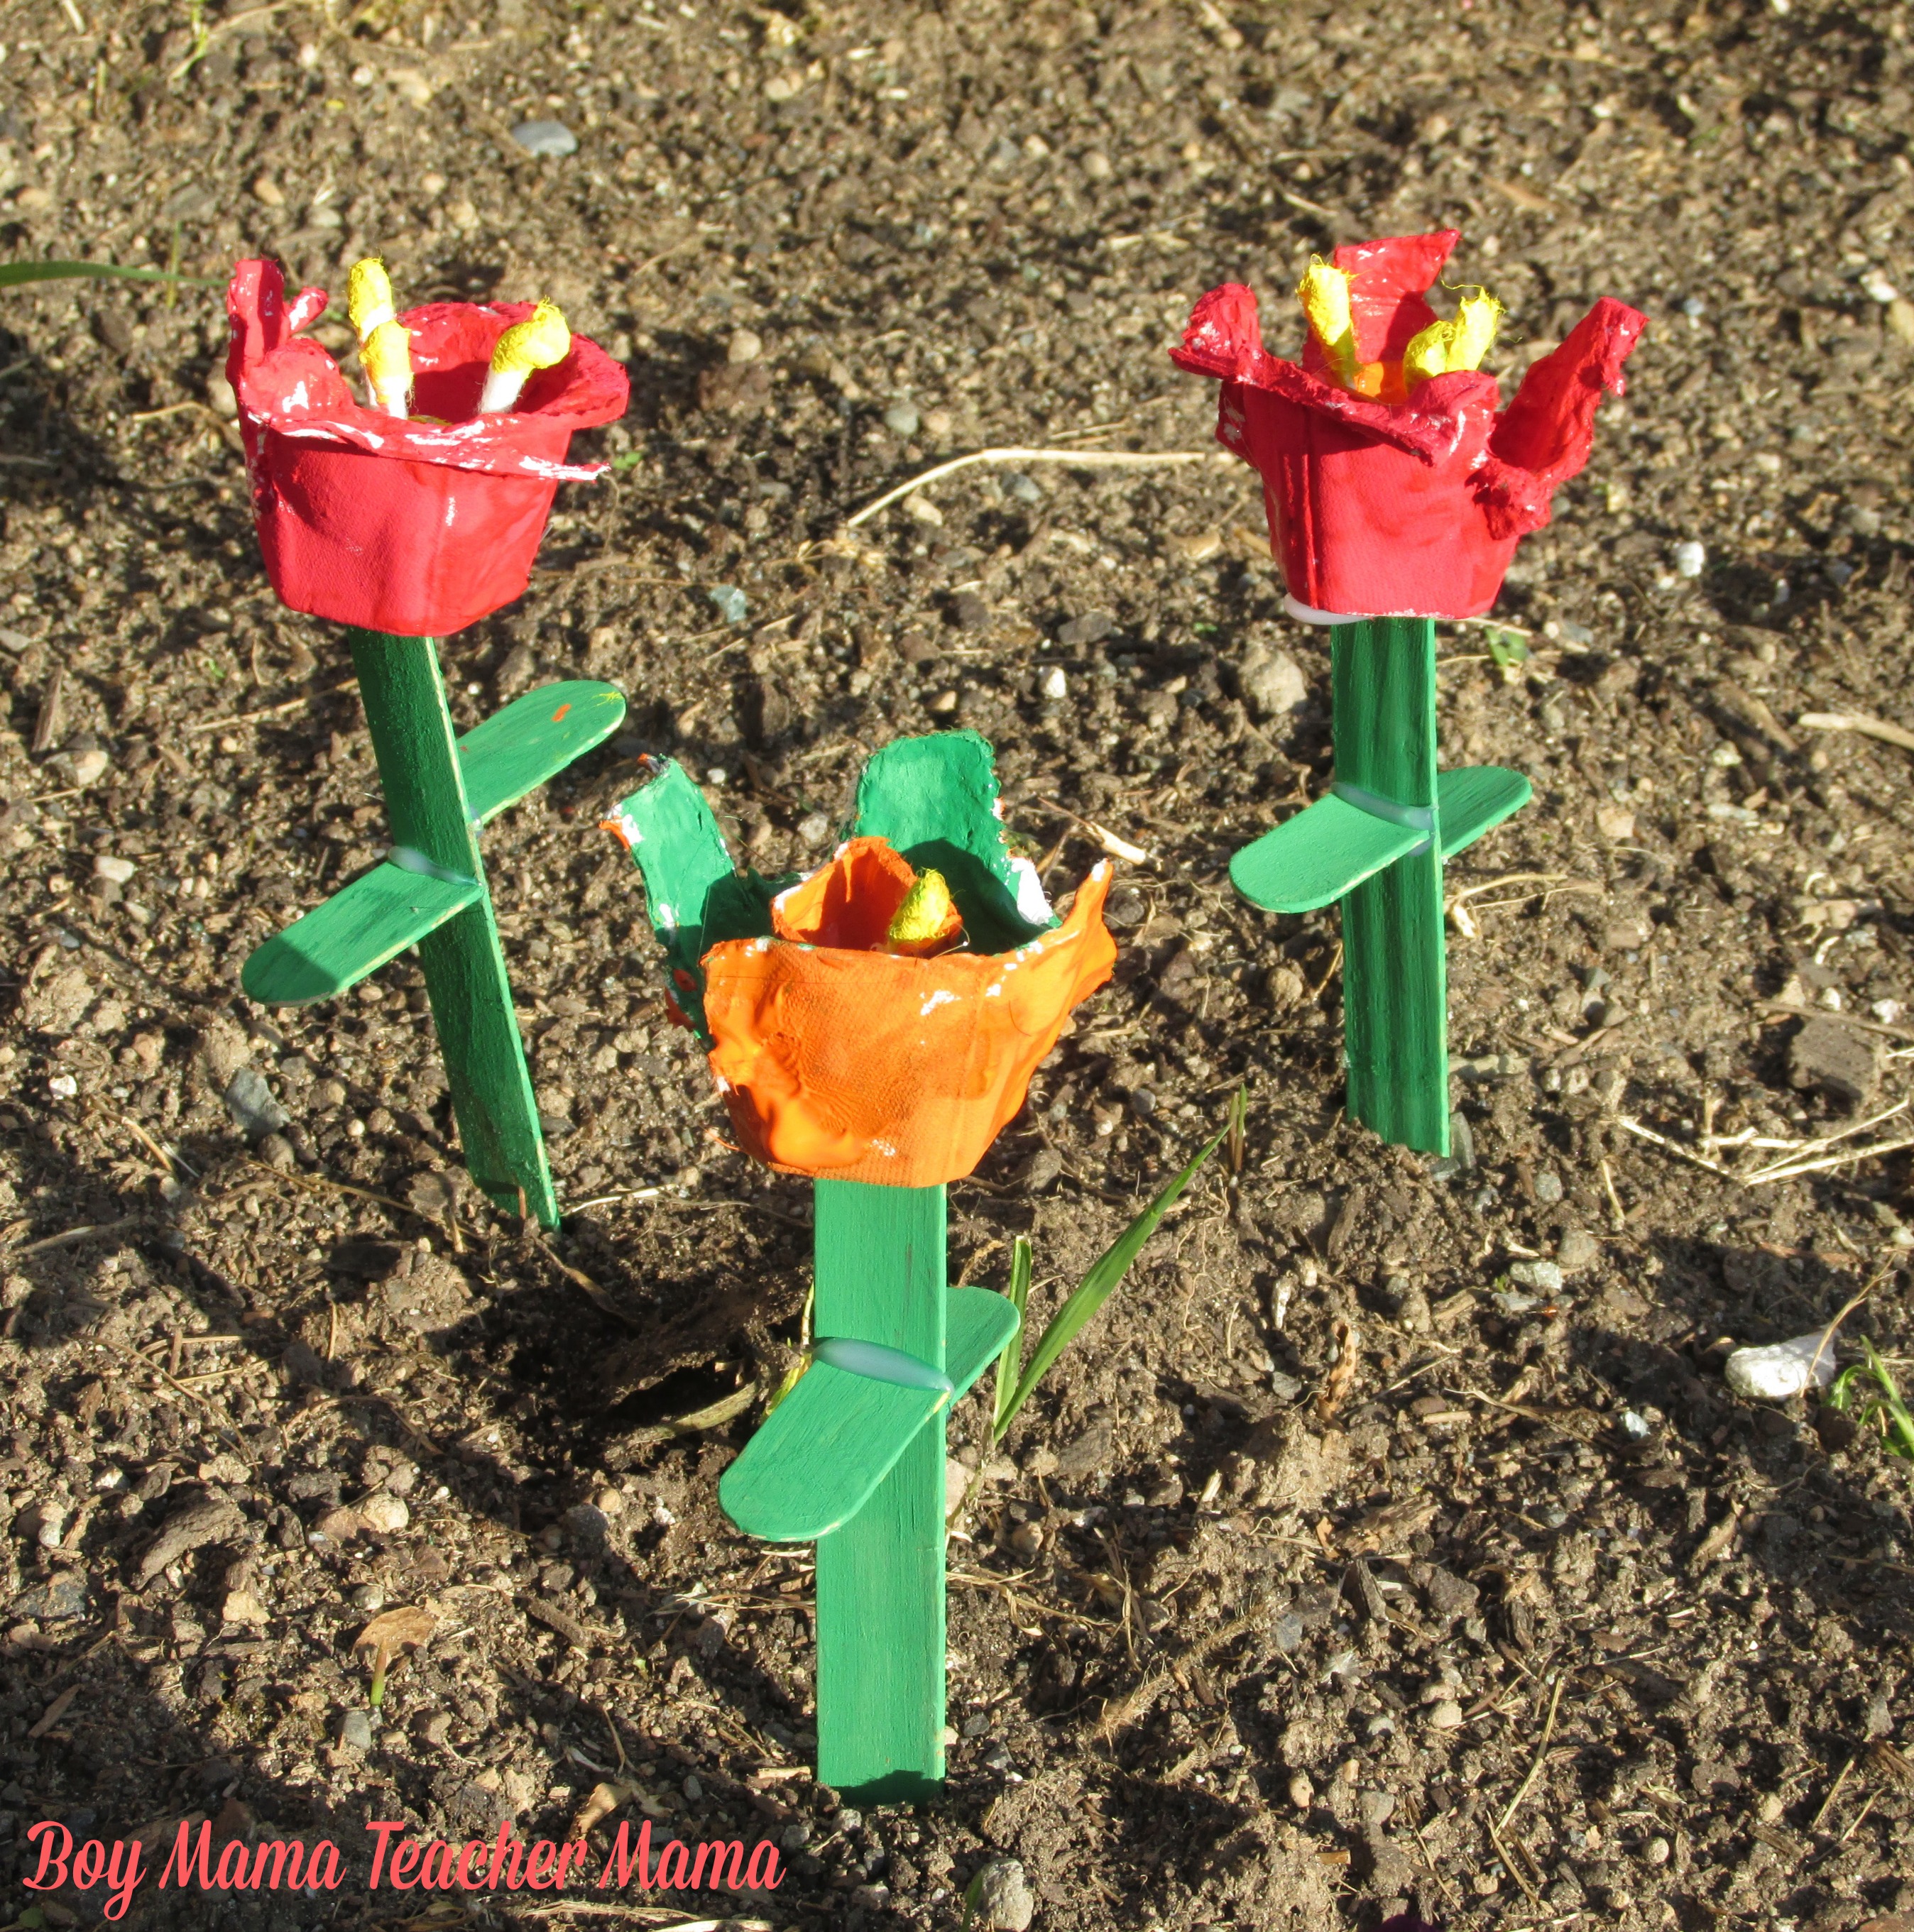
And just like that, your egg carton flower is complete! I just love how cheerful and bright these turn out — they look like something you would find in a real garden!
What to Do With Your Egg Carton Flowers
Once your flowers are completely dry, here are some of our favorite ways to display them:
🌷 Plant them in a flower pot using real soil or brown tissue paper as soil
🌷 Add them to your garden for a beautiful pop of color
🌷 Write the names of your garden plants on the stems or leaves for easy identification
🌷 Hang them on your fence or porch to brighten things up
🌷 Give them to mom, grandma, or auntie as a sweet Mother’s Day gift
🌷 Surprise your child’s teacher with a handmade flower they will treasure!
Where will you plant your egg carton flowers? Leave a comment below —
I would love to hear your ideas! 🌷
🌷 🌷 🌷 🌷 🌷 🌷 🌷
Looking for more fun spring crafts?
Check out these Easy Popsicle Stick Sunflowers for Your Garden!

If this is your first time visiting Boy Mama Teacher Mama, welcome!
Did you know that you can also find us on Facebook, Instagram, Pinterest, and Teachers Pay Teachers?
© Boy Mama Teacher Mama 2026
All Rights Reserved
Discover more from Boy Mama Teacher Mama
Subscribe to get the latest posts sent to your email.


Pingback: Backyard Tents and the Very Hungry Caterpillar