


A Burning Building
📝 This post, Cardboard Box Burning Building was originally published in 2012 and has been updated with new information and resources.
My boys and I turned ordinary cardboard boxes into extraordinary adventures. Before recycling day arrived, those boxes became a burning building for firefighter rescues, a multi-level parking garage for toy cars, and even a fold-up pizza box roadway that could be tucked away when playtime was over.
I loved these projects because they were inexpensive, easy to make, and encouraged hours of imaginative play. Instead of buying another toy, we grabbed a cardboard box, a little paint, and whatever craft supplies we had on hand. Time after time, those homemade creations became some of the most-played-with toys in our house.
If you have a cardboard box waiting to be recycled, don’t throw it away just yet! Here are three of our favorite cardboard box activities that inspired countless adventures.
What You’ll Need
✔️ Cardboard box (any size)
✔️ Brown paint (or any building color you like)
✔️ Paintbrush
✔️ Craft knife (for adult use only)
✔️ Red, orange, and yellow cardstock
✔️ Cardboard scraps (an empty cereal box works perfectly)
✔️ Scissors
✔️ Glue
✔️ Sticky tack, Velcro, or extra cardboard for attaching the flames
How to Make a Cardboard Box Burning Building
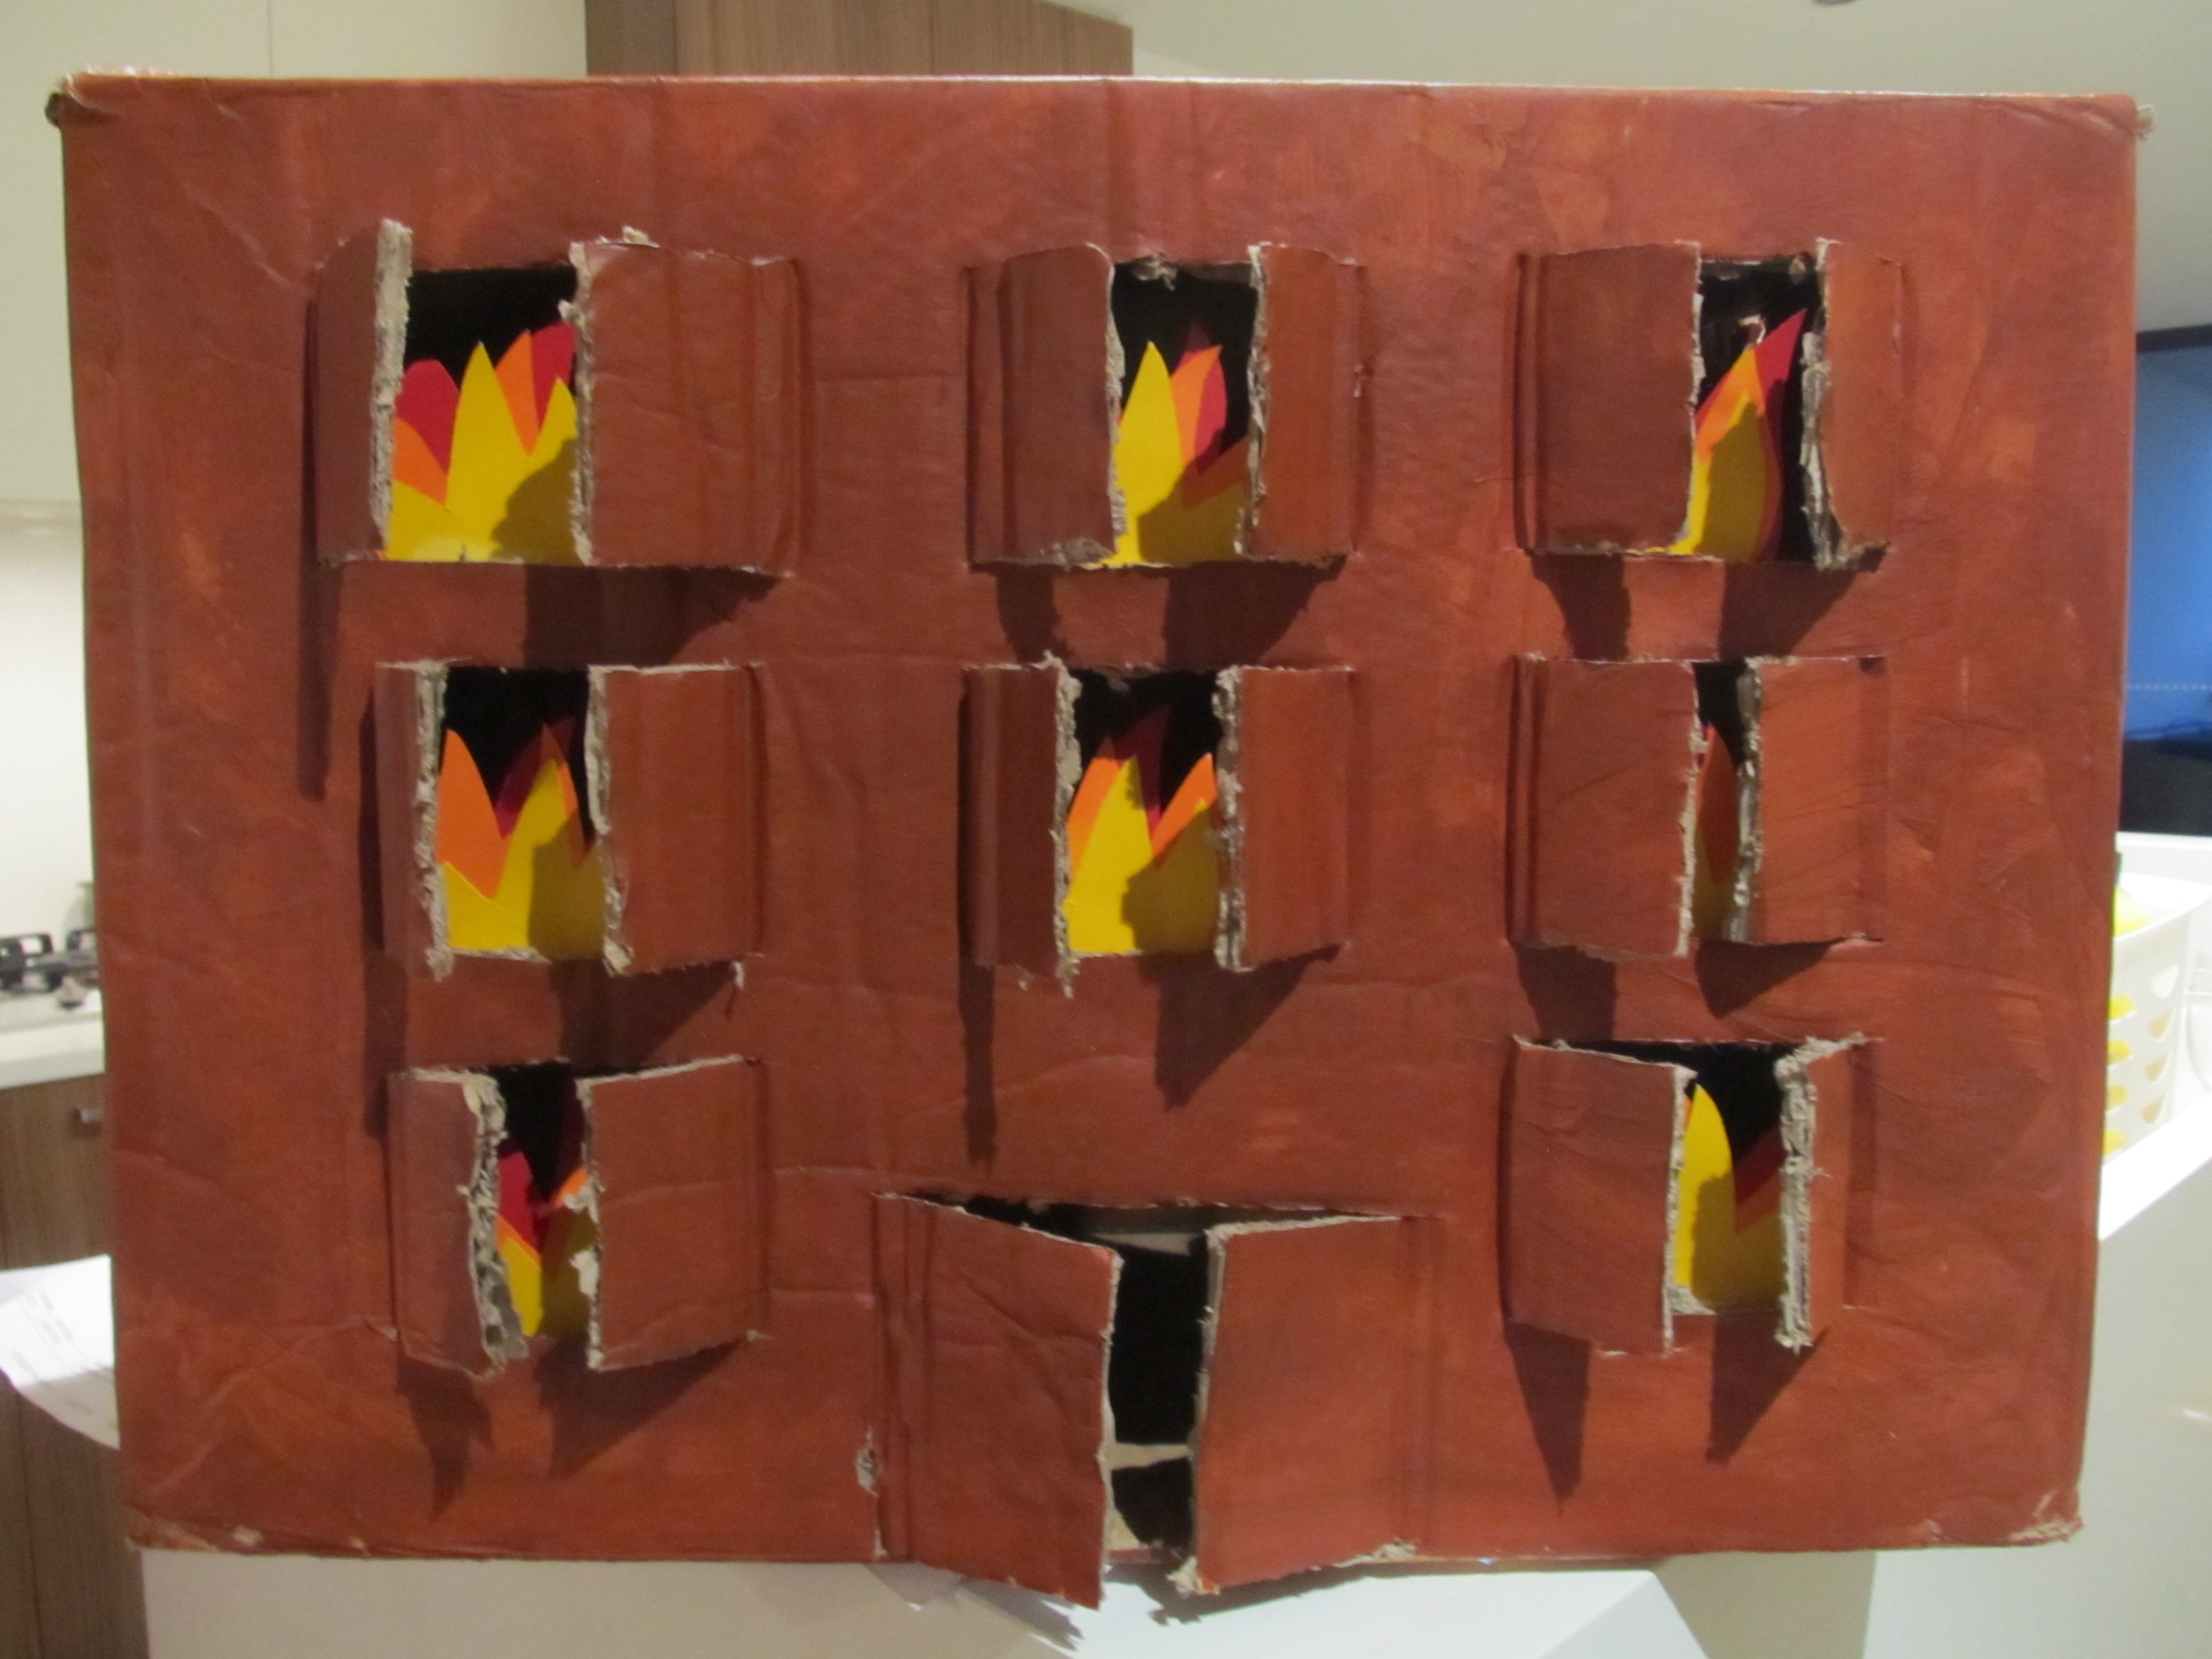
Paint the Building
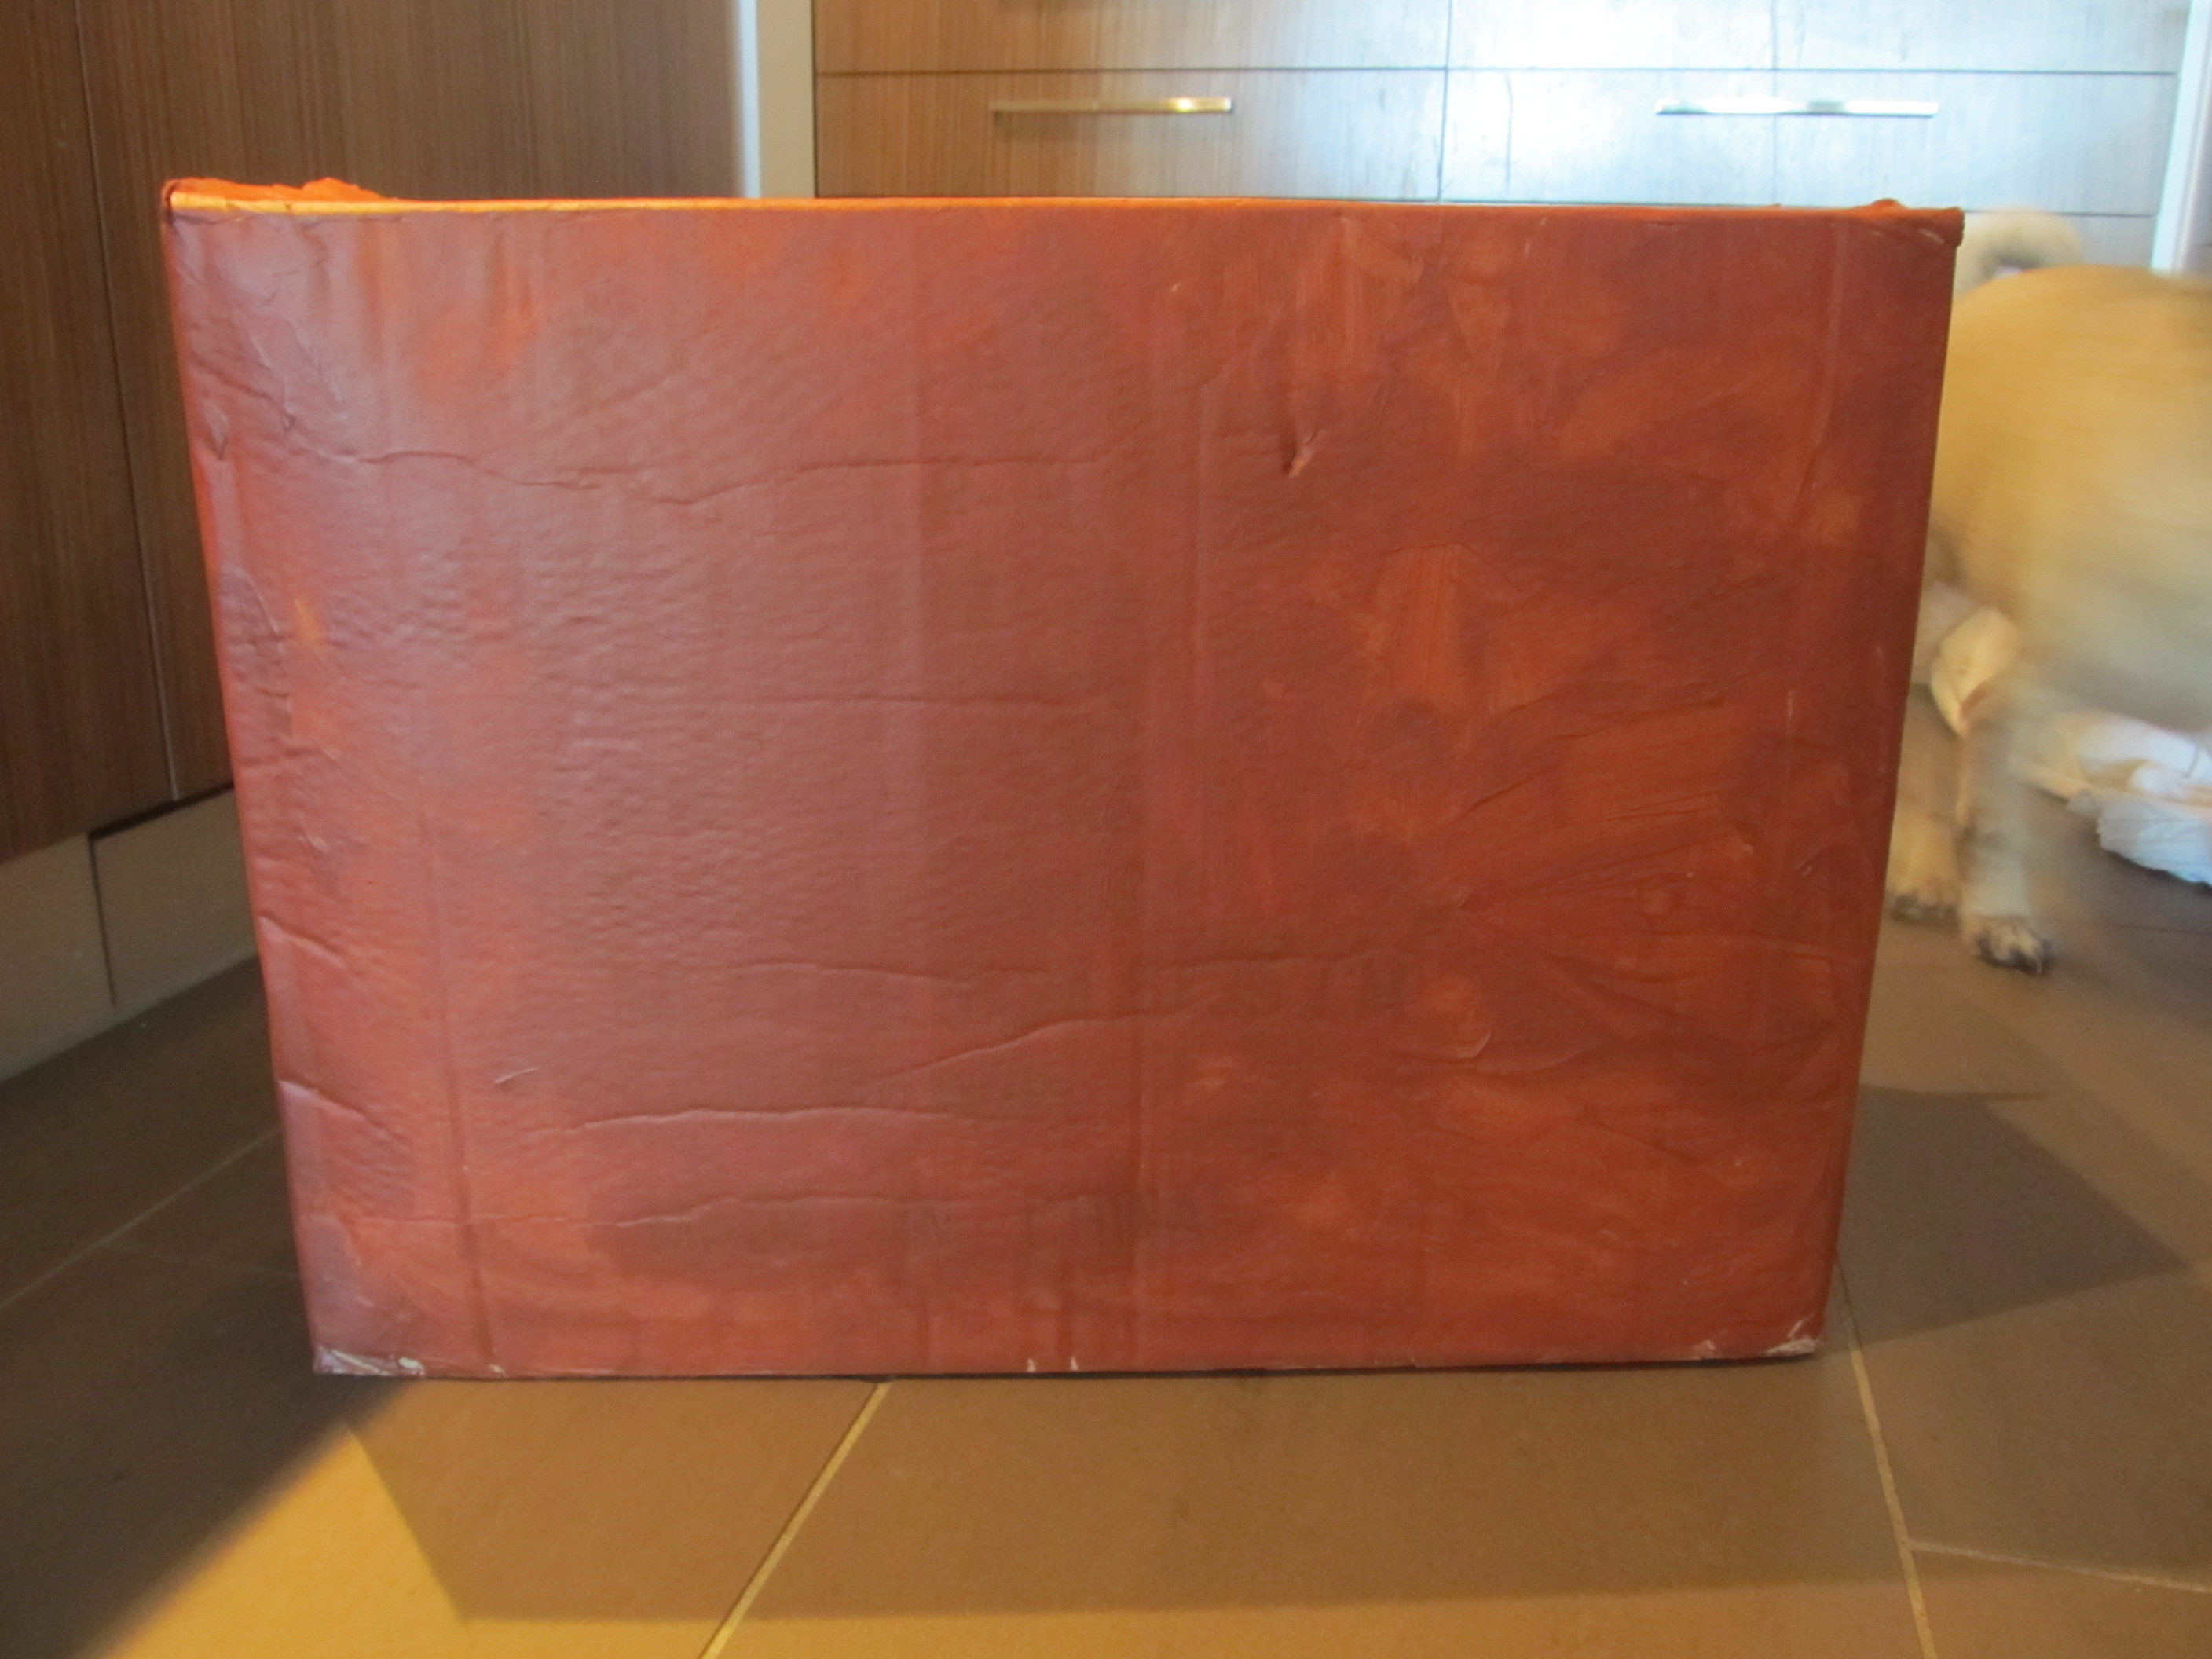
Paint the cardboard box and let it dry completely. We used brown, but any color will work.
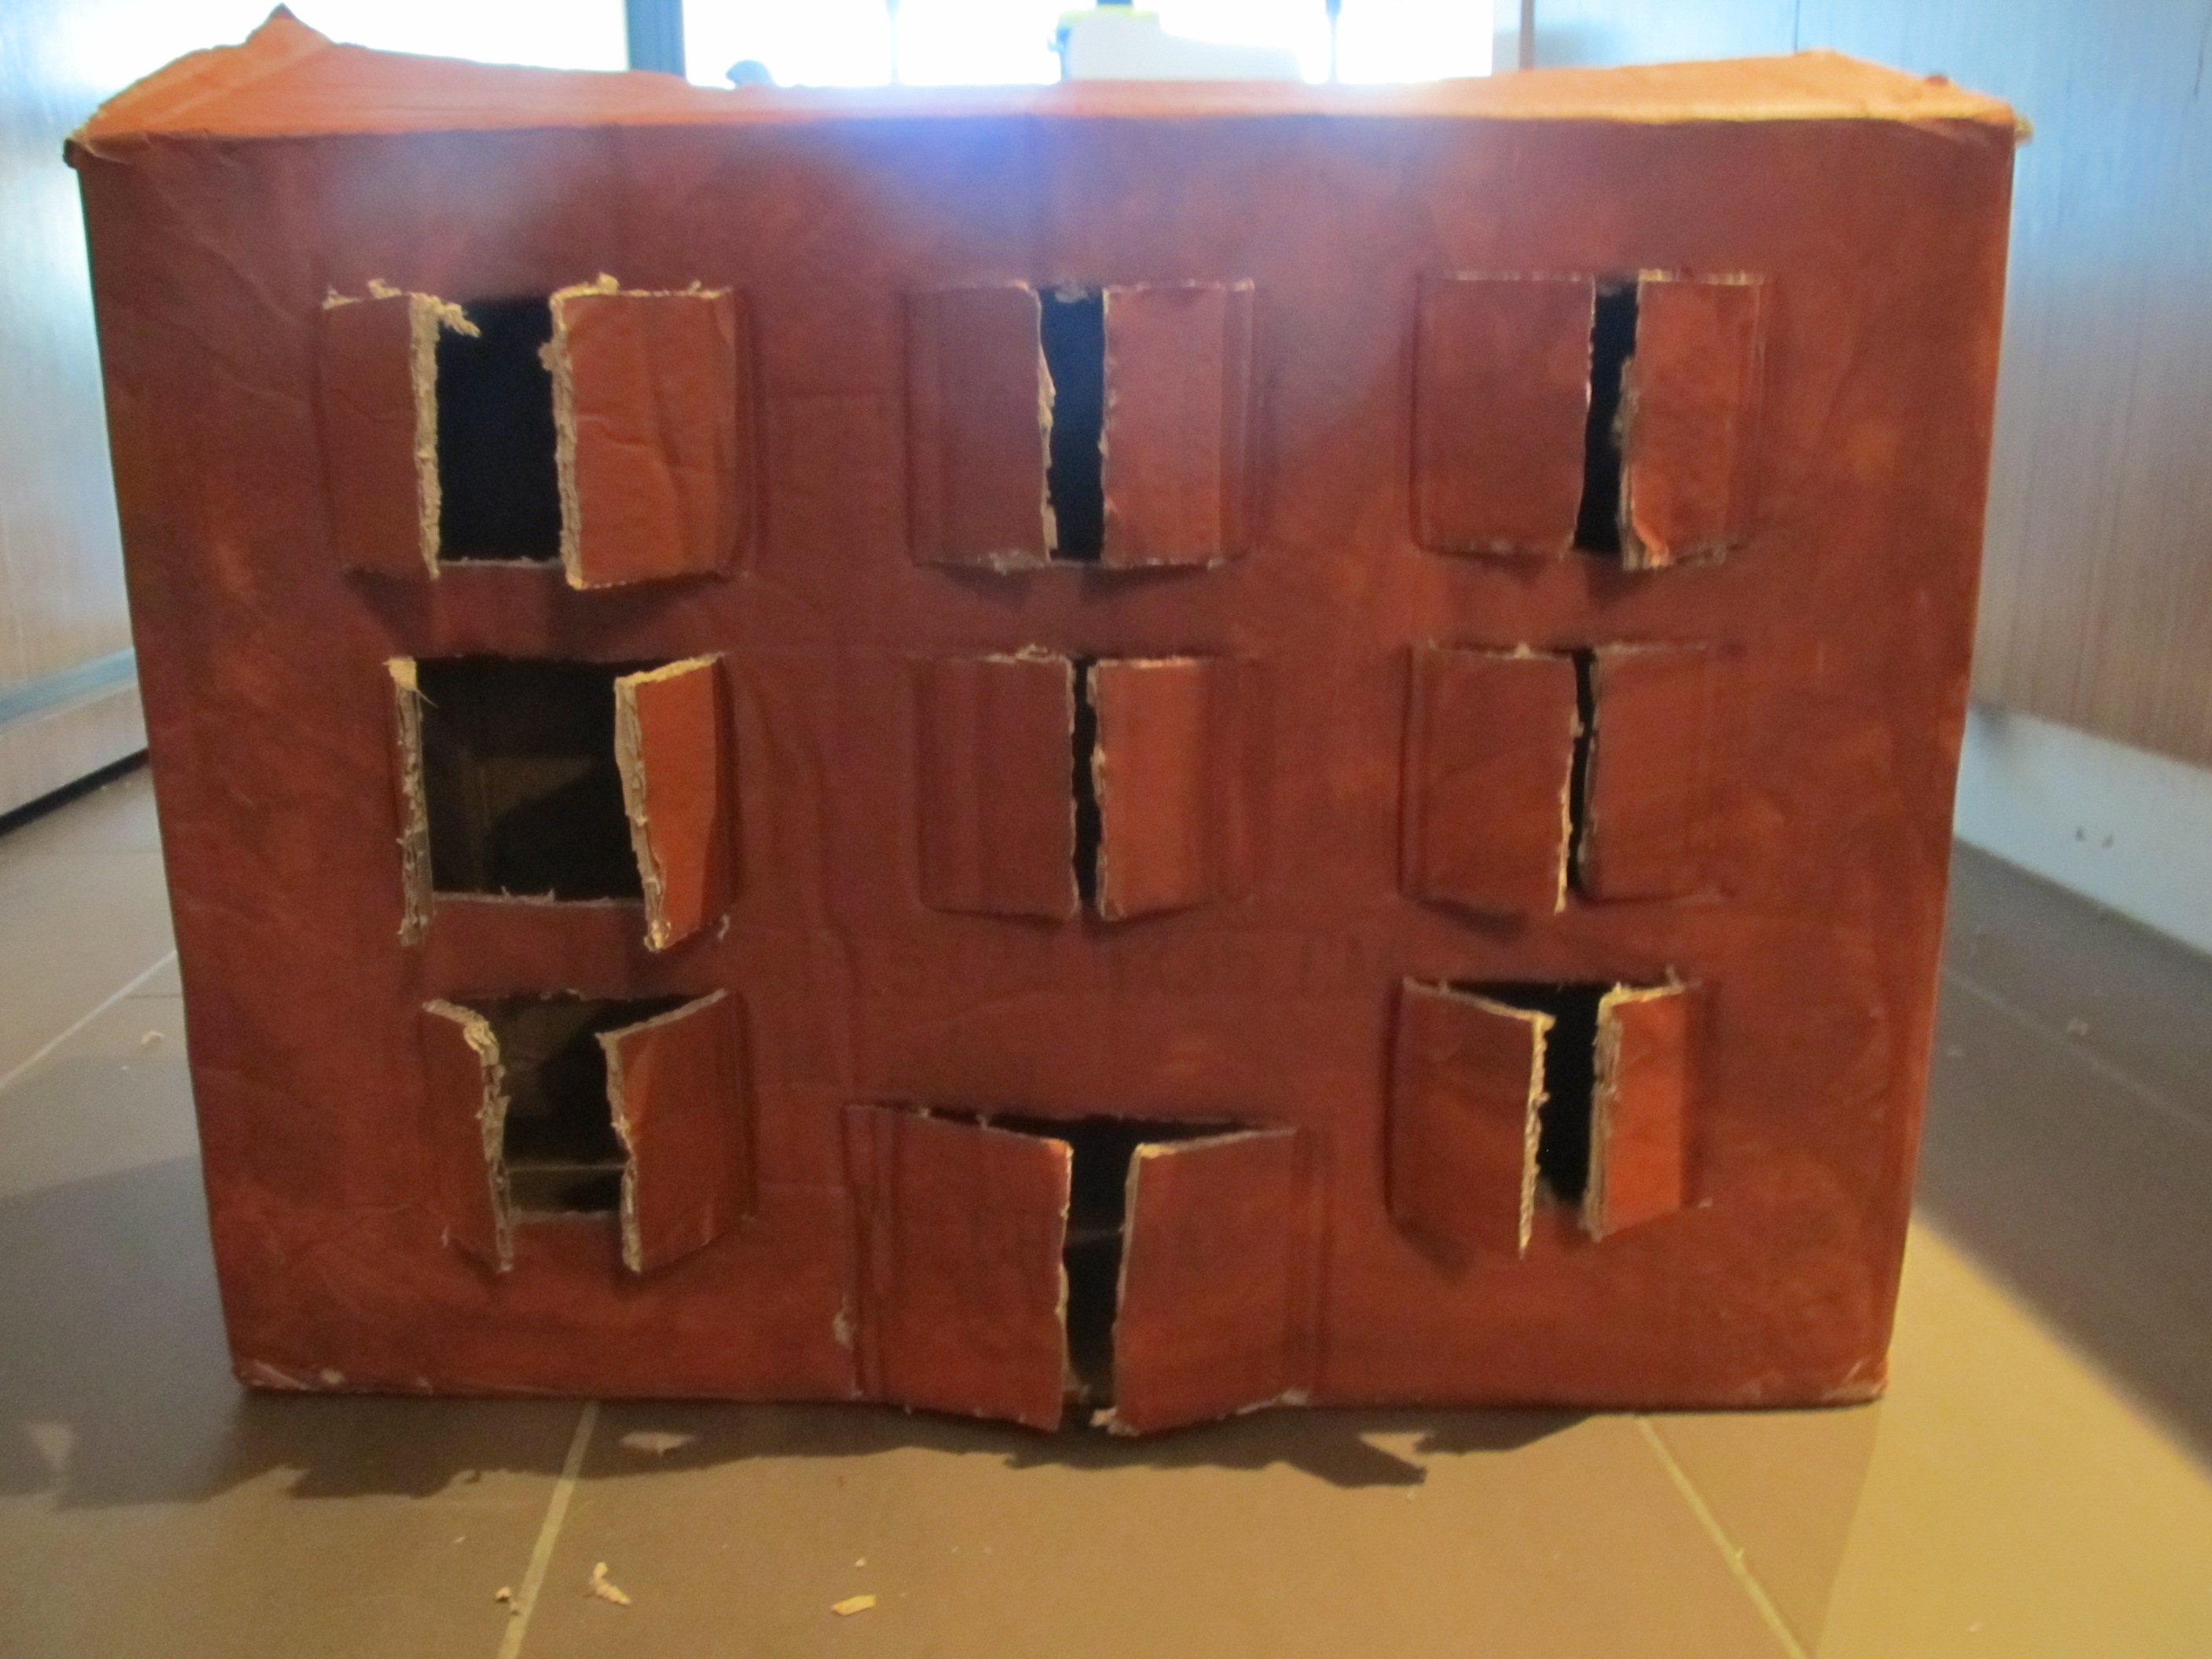
Once the paint is dry, lightly sketch the windows and doors with a pencil. Using a craft knife, carefully cut them out. I like to leave one side attached so the windows can open and close instead of creating large openings.
Make the Flames
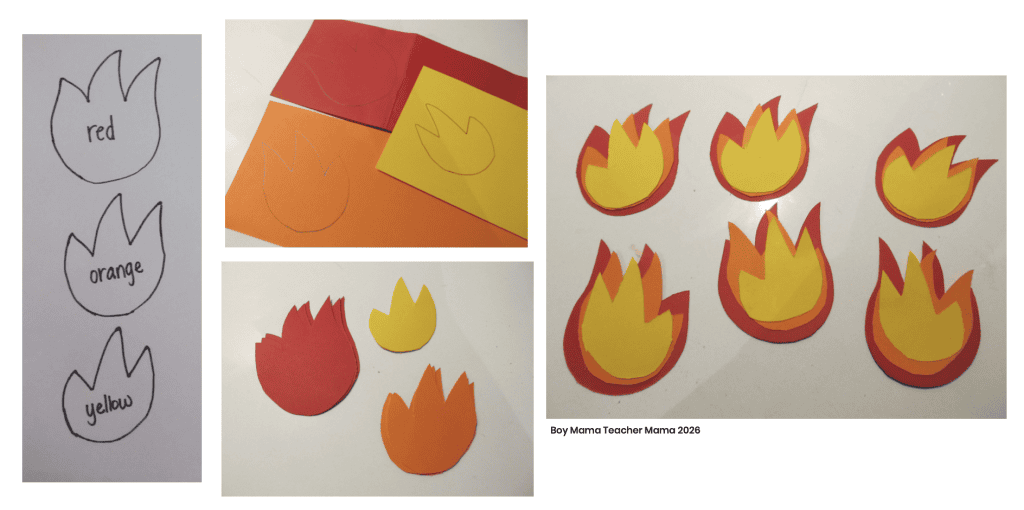
Create three different flame-shaped stencils from cardboard. An empty cereal box works perfectly for this.
Trace the largest flame onto red cardstock, the medium flame onto orange cardstock, and the smallest flame onto yellow cardstock. Cut out all of the pieces, then glue them together with the red flame on the bottom, the orange flame in the middle, and the yellow flame on top. Make a few extra flames—you’ll be glad you did!
Attach the Flames
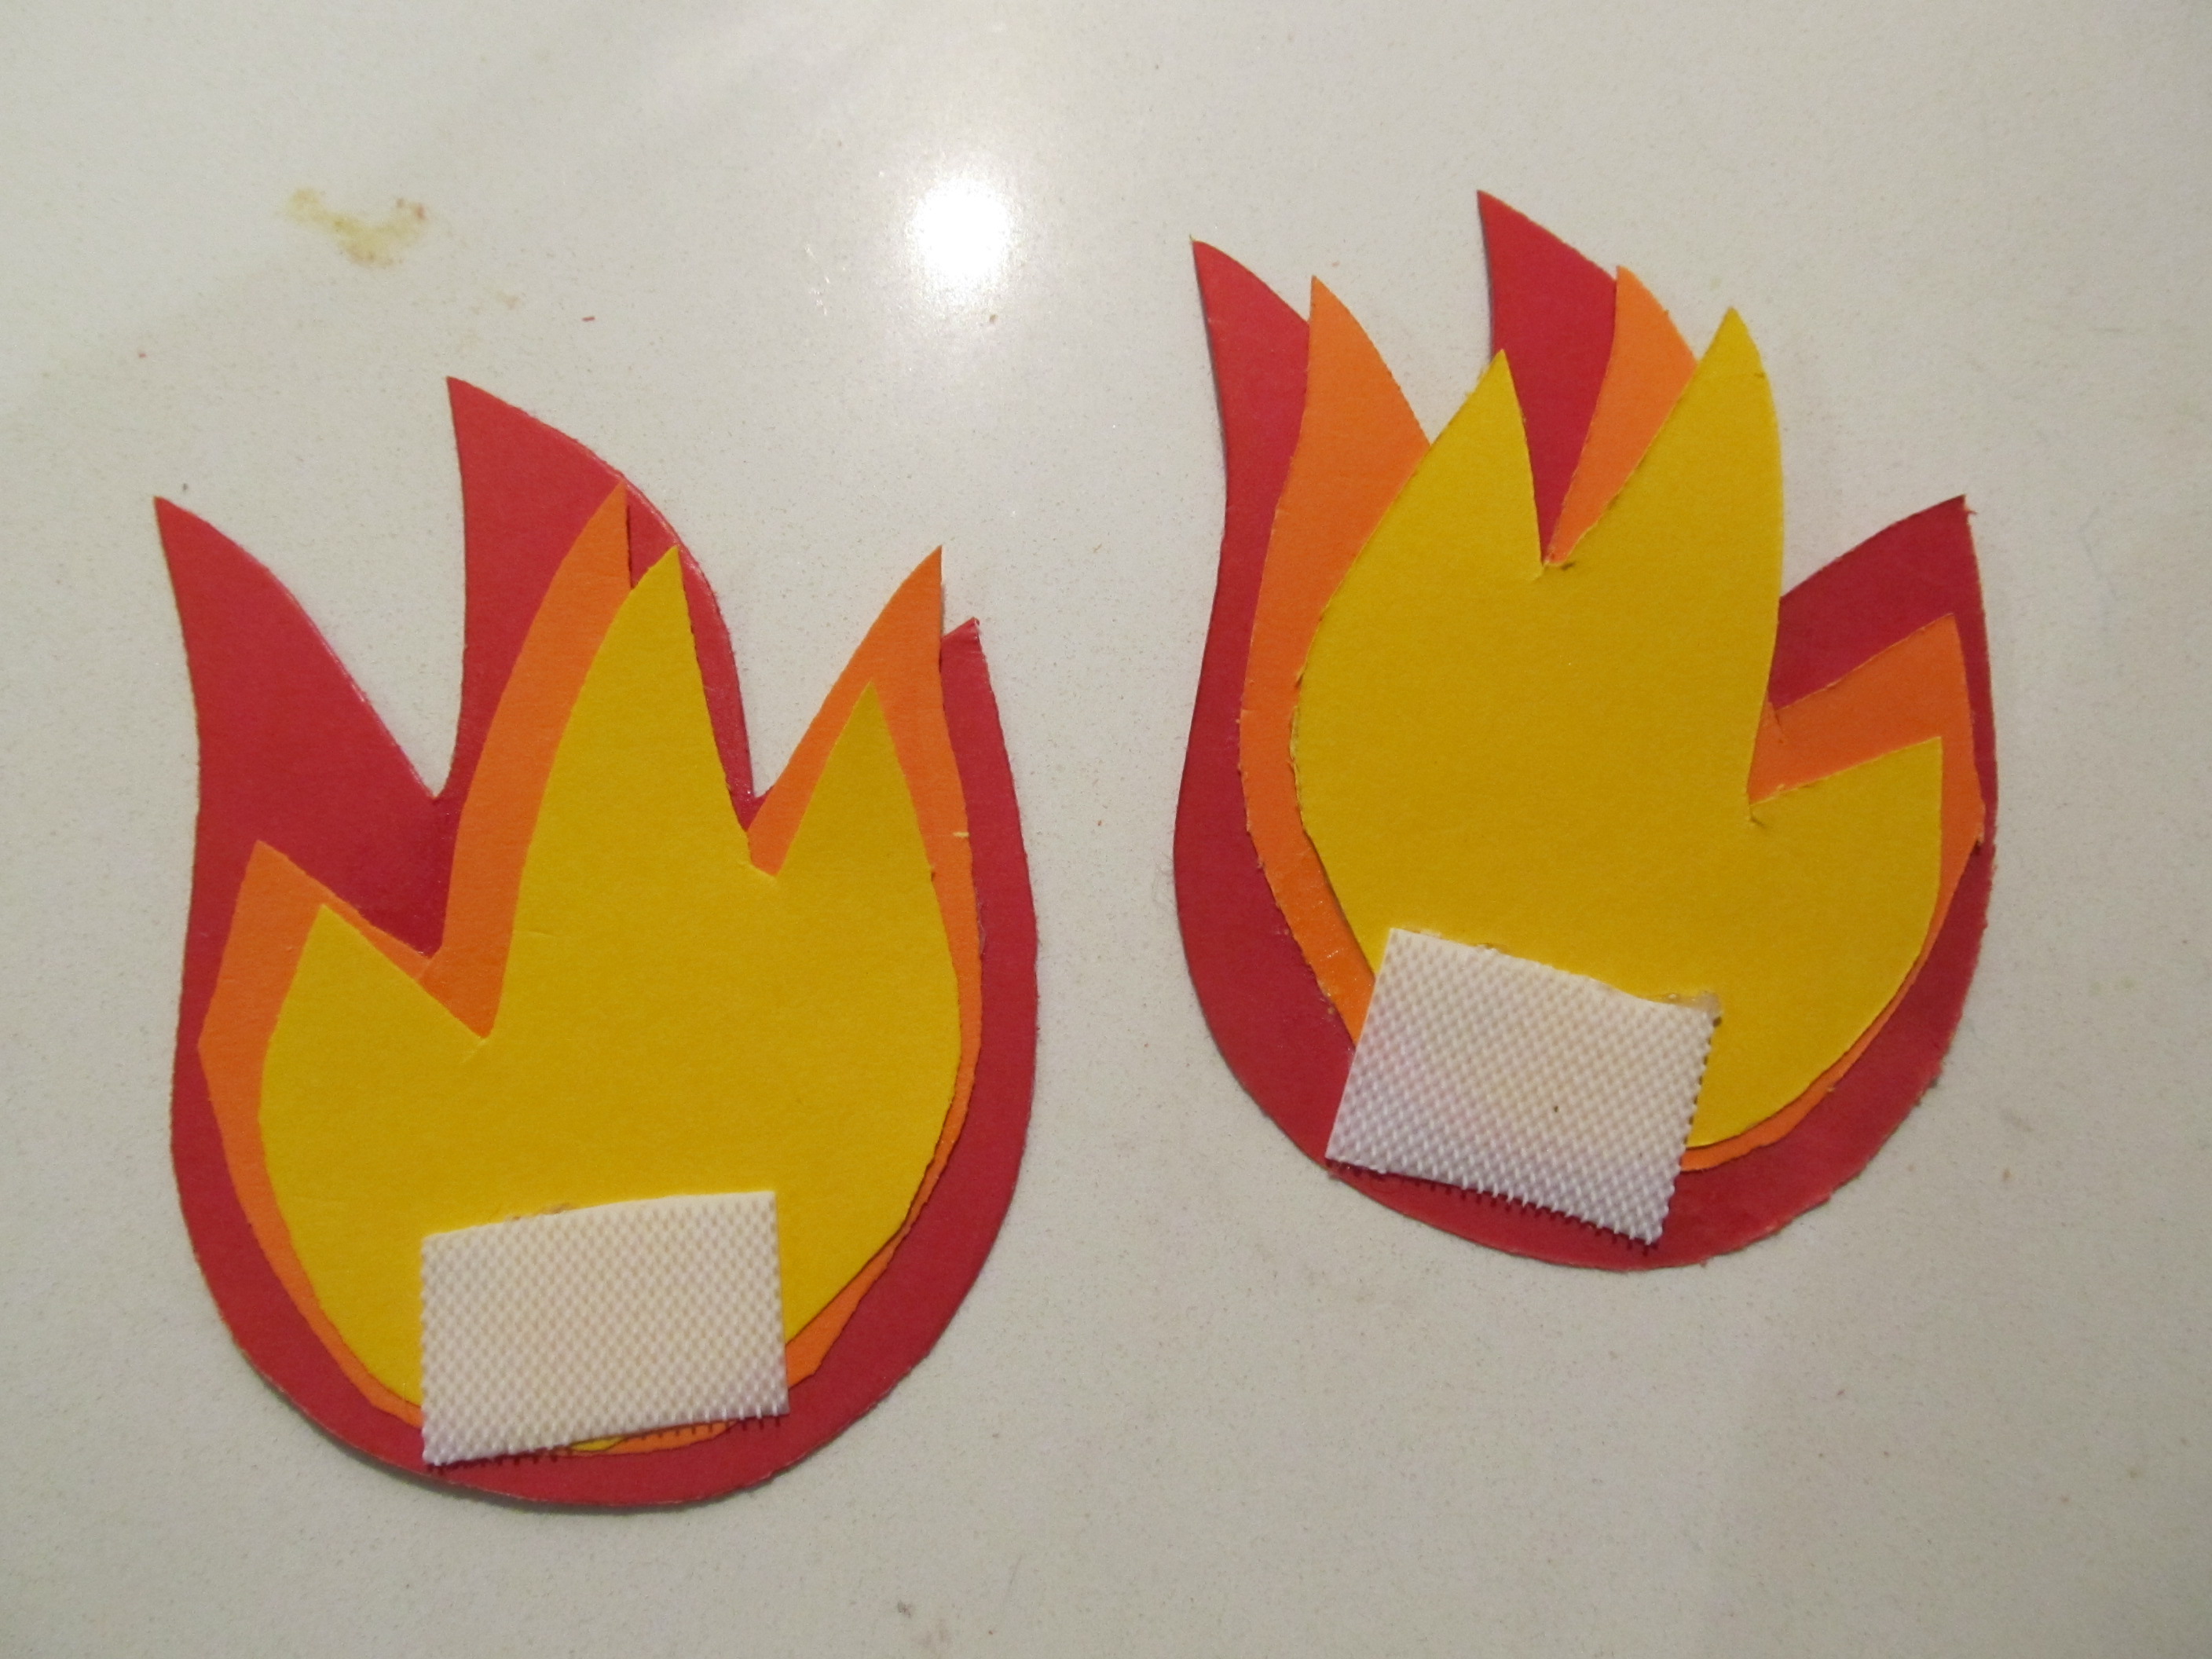
There are several ways to attach the flames so little firefighters can easily remove and replace them.
✔️ Cut slits below each window and slide the flames into place. This was our favorite method because it was the easiest for my boys to use.
✔️ Use sticky tack to hold the flames inside each window.
✔️ Use Velcro if you already have some on hand.
💚 Teacher Tip: Skip the heavy-duty Velcro! I learned the hard way that it sticks so well little hands have trouble pulling the flames off without removing the Velcro from the box.
Let the Firefighters Get to Work!
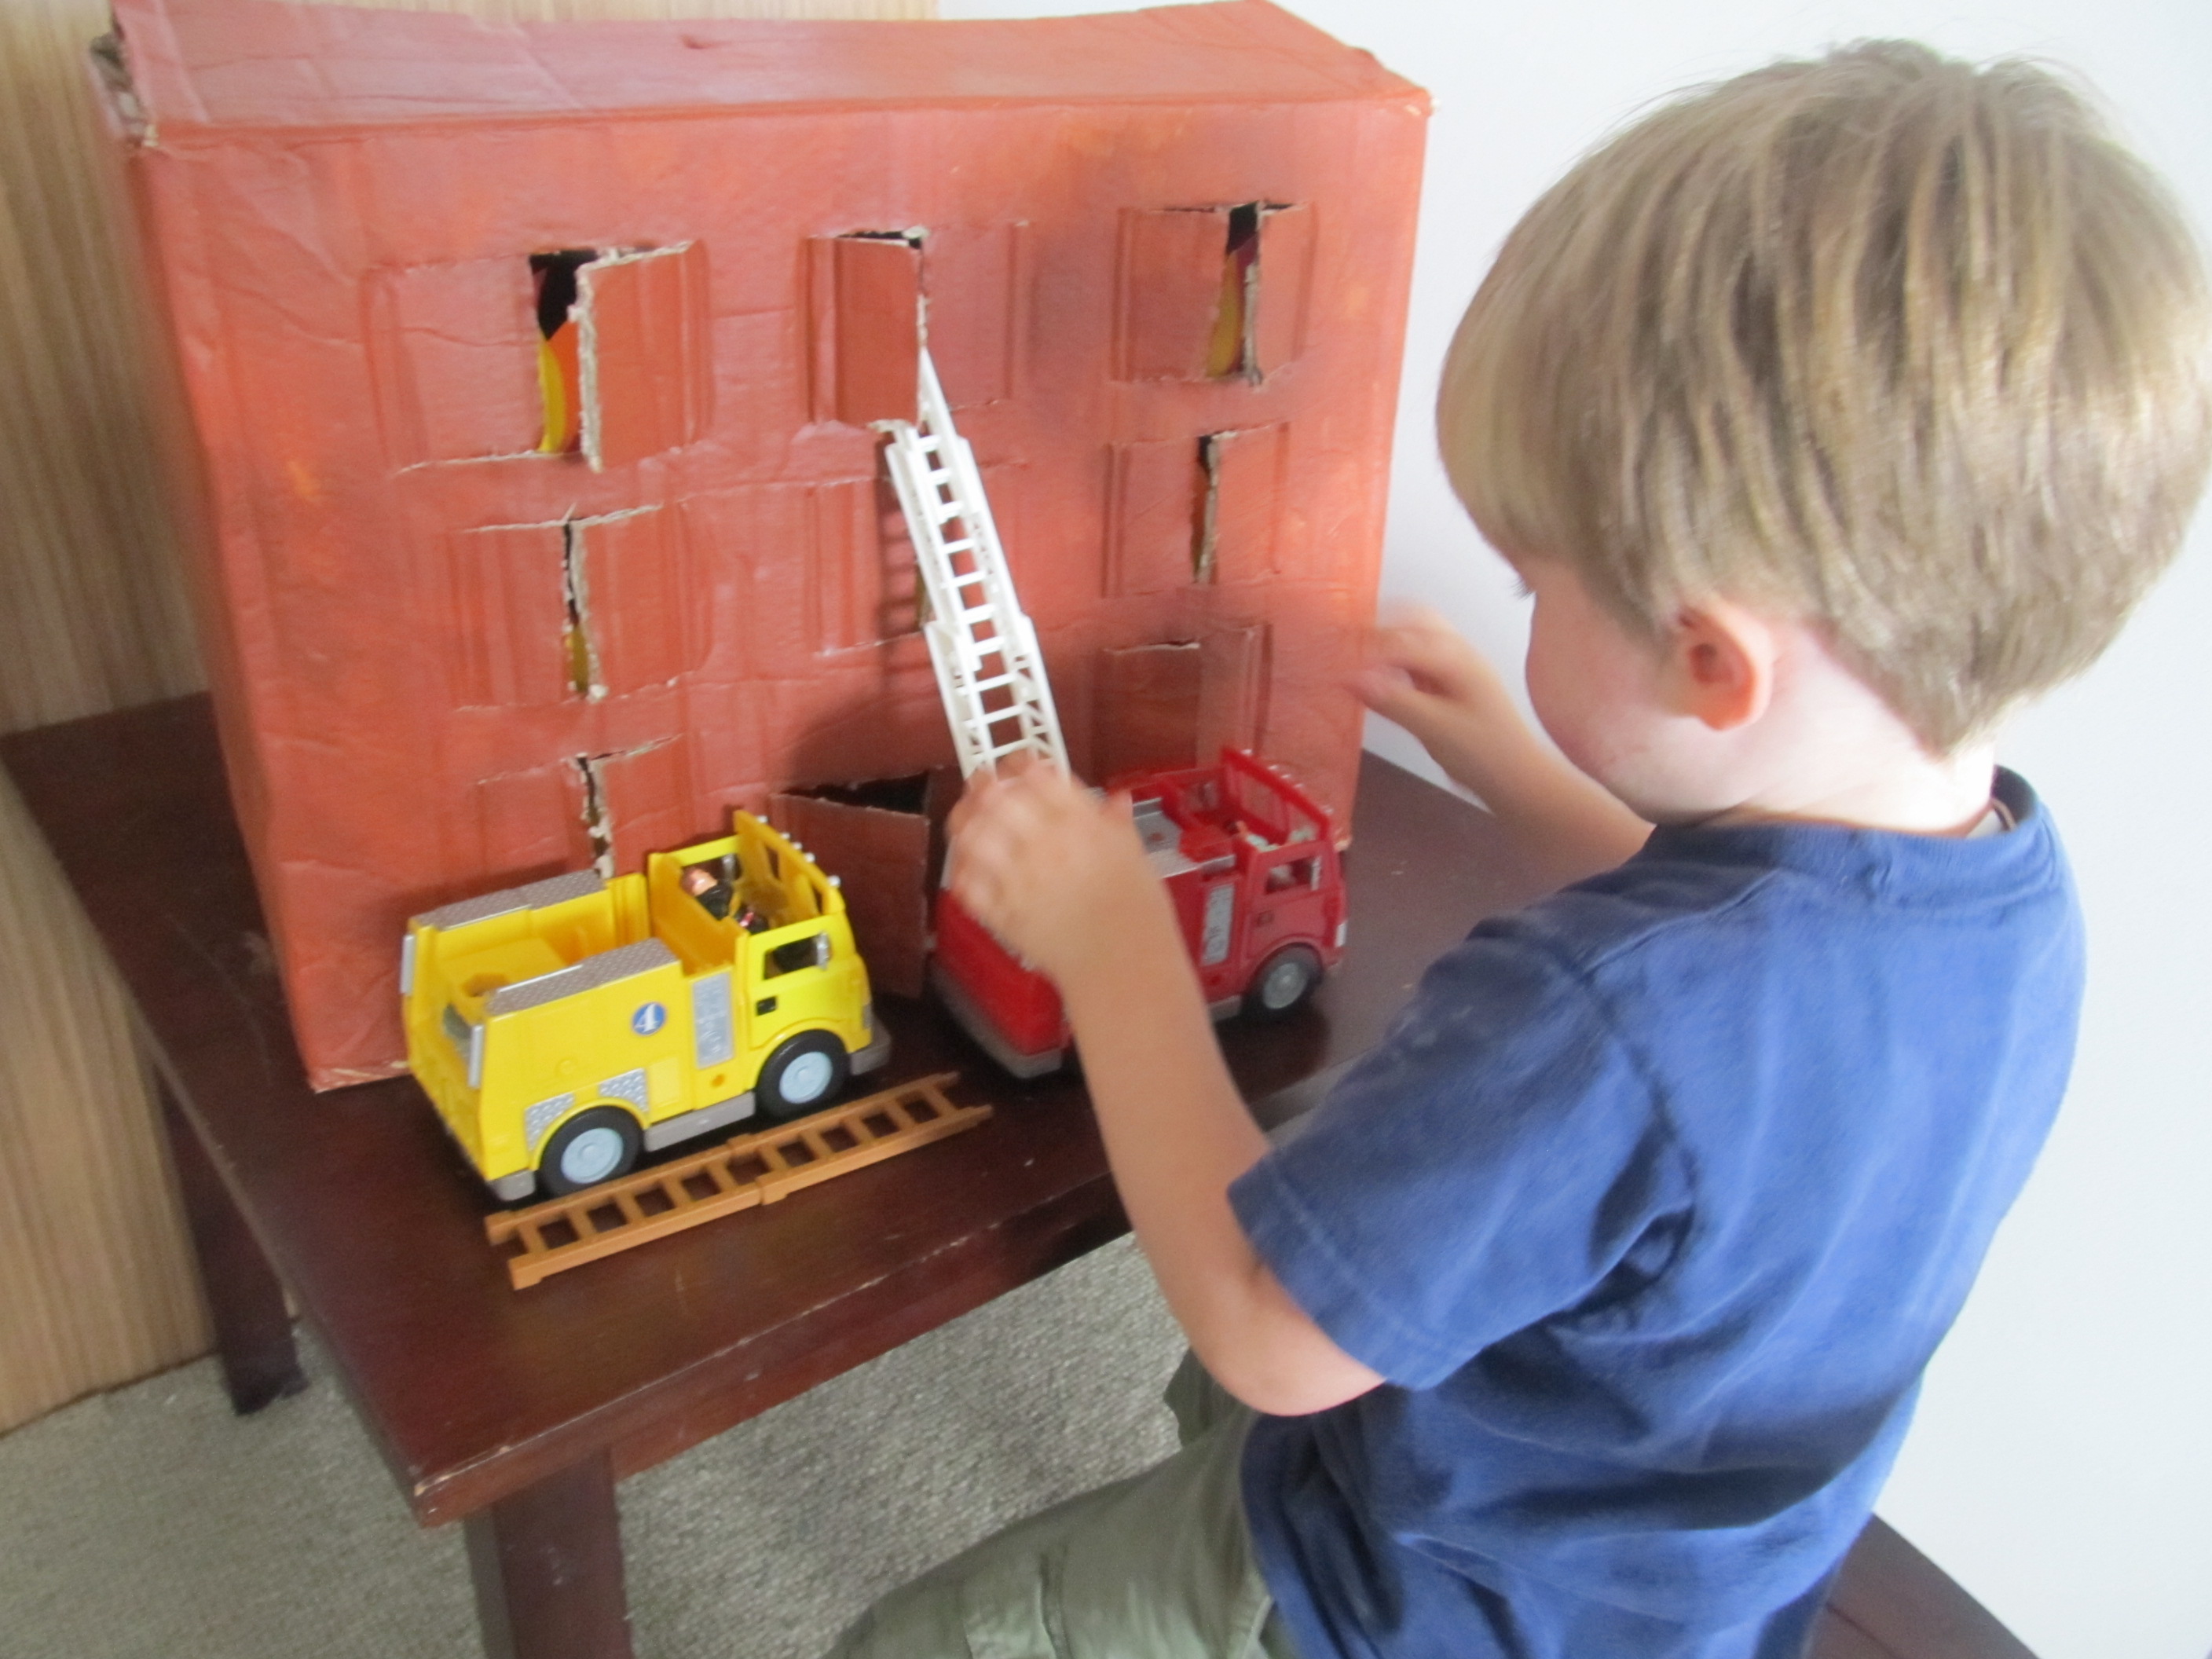
Once your burning building is finished, it’s time to let the firefighters get to work! My boys loved racing from window to window, pulling out the flames, and saving the day. It’s amazing how one simple cardboard box can inspire hours of imaginative play.
DIY Cardboard Box Parking Garage
Once we discovered how much fun a simple cardboard box could be, we couldn’t stop there! My boys loved anything with wheels, so it wasn’t surprising that our next cardboard creation was a parking garage.
The idea was inspired by a beautiful wooden parking garage we saw by PlanToys. It was gorgeous…but definitely more than I wanted to spend. So, we headed to our recycling bin, gathered a cardboard box and a pile of toilet paper tubes, and made our own.
The best part? My boys played with this homemade version for months. Eventually Grandma and Grandpa surprised them with the real wooden parking garage, but this one provided countless hours of imaginative play first.
What You’ll Need
✔️ Cardboard for the base and parking levels
✔️ Toilet paper and/or paper towel tubes
✔️ Hot glue gun
✔️ Marker
✔️ Toy cars and trucks
How to Make a Cardboard Parking Garage
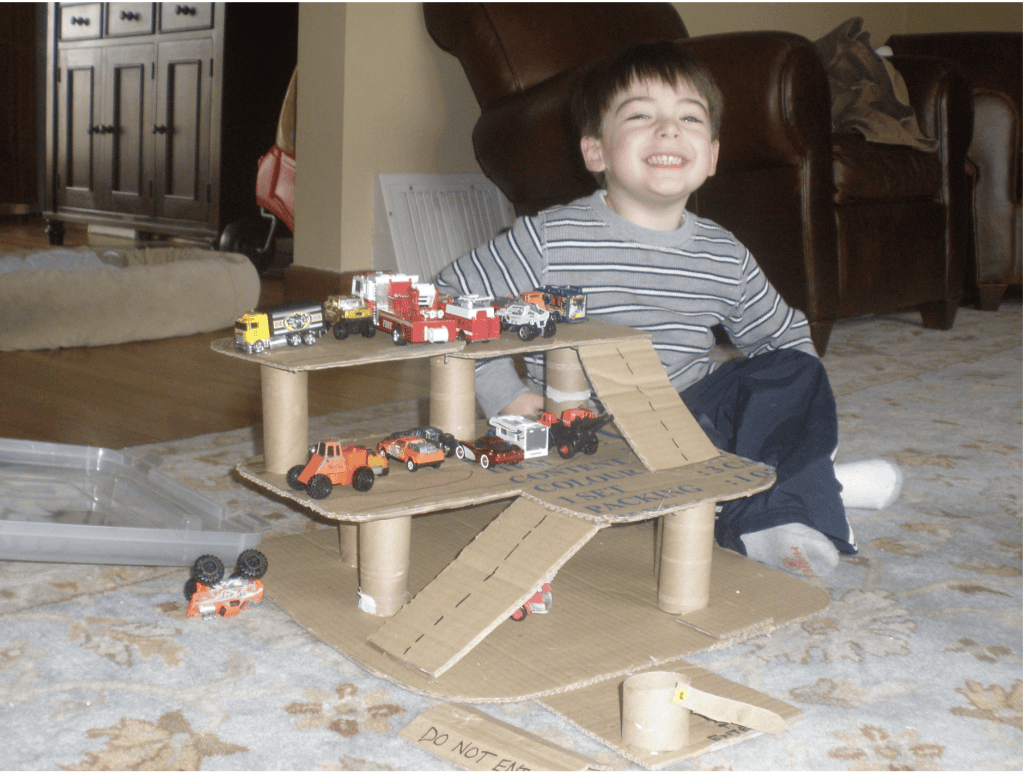
Cut pieces of cardboard to create the base and each parking level. Decide where you’d like the support tubes to go, then use a hot glue gun to attach them to the base.
Once the supports are in place, glue the first parking level on top of the tubes. Repeat the process to add as many levels as you’d like.
Next, cut ramps wide enough for two lanes of traffic and glue them between each level. Finally, use a marker to draw parking spaces, lane markings, and one-way arrows.
Then all that’s left to do is add the cars and let the fun begin!
Build It Your Way
One of my favorite things about this project is that there isn’t one “right” way to build it. Make it as tall or as simple as you’d like. Add more ramps, extra parking spaces, or even a car wash. That’s the beauty of creating with cardboard—every garage can be completely different!
Pizza Box Roadway
Once we had a parking garage, it didn’t take long before my boys decided their cars needed somewhere to drive!
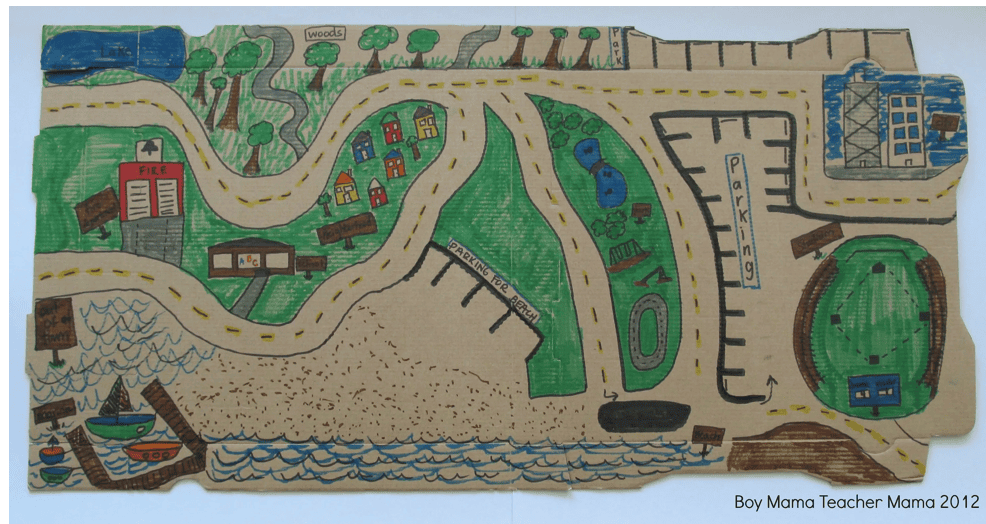
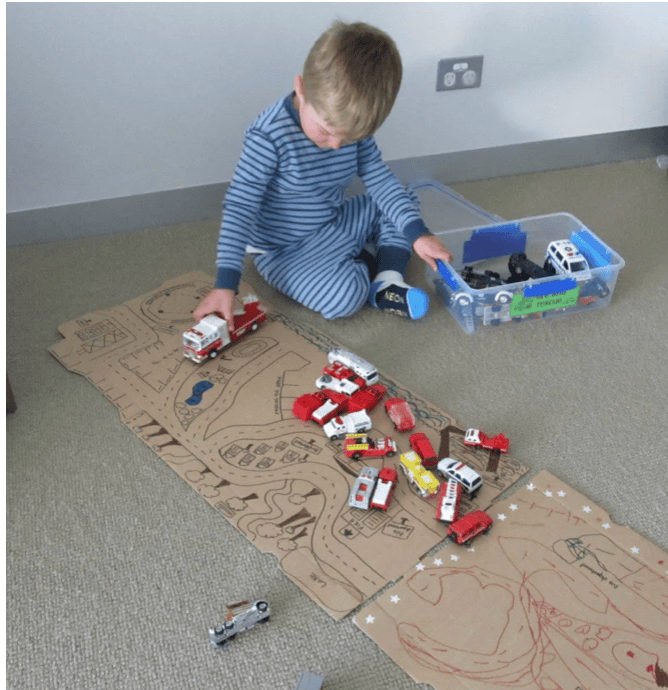
I had seen a clever cardboard roadway online and tucked the idea away for another day. When we finally made our own version, I decided to use pizza boxes instead of one large cardboard box. That turned out to be one of my favorite parts of the project because the boxes folded closed, making them easy to store between play sessions.
Unlike many of our cardboard creations that were eventually crushed or recycled, this one held up surprisingly well. Even better, my oldest had so much fun creating roads and intersections that he decided to design his own roadway too.
What You’ll Need
✔️ Empty pizza box
✔️ Black marker
✔️ Paint, paper, stickers, or other craft supplies (optional)
✔️ Toy cars and trucks
How to Make a Pizza Box Roadway
Open the pizza box and use a marker to draw roads, intersections, parking spaces, and anything else your little driver might enjoy. Add stop signs, traffic lights, houses, trees, or buildings if you’d like to make it even more detailed.
The best part is that there are no rules. Every roadway can look different, and kids can help design it before they begin playing.
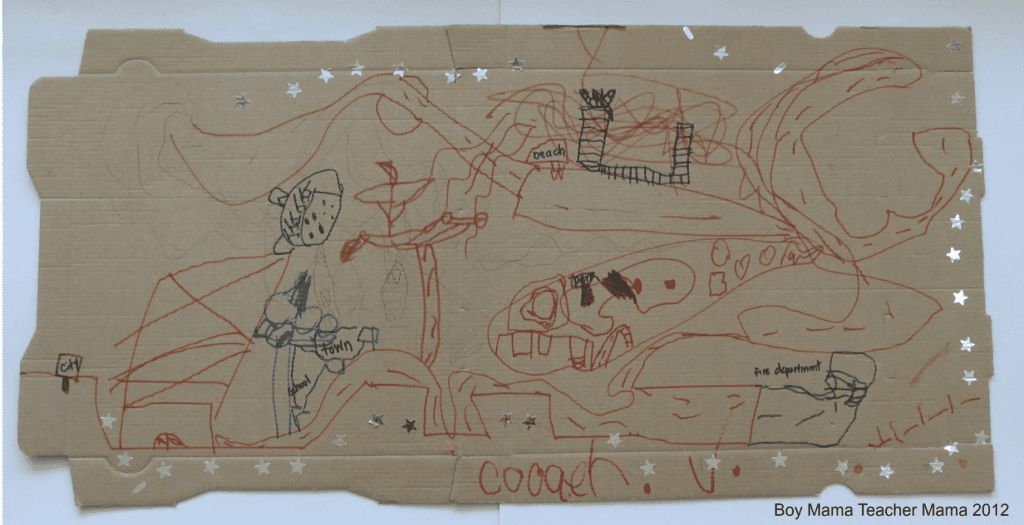
When playtime is over, simply fold the pizza box closed and tuck it away until next time.
More Cardboard Box Inspiration
If your family enjoys creating with cardboard boxes, here are two more ideas you won’t want to miss!
Books About Boxes – Discover picture books that celebrate creativity and imagination, plus a FREE printable to extend the fun!

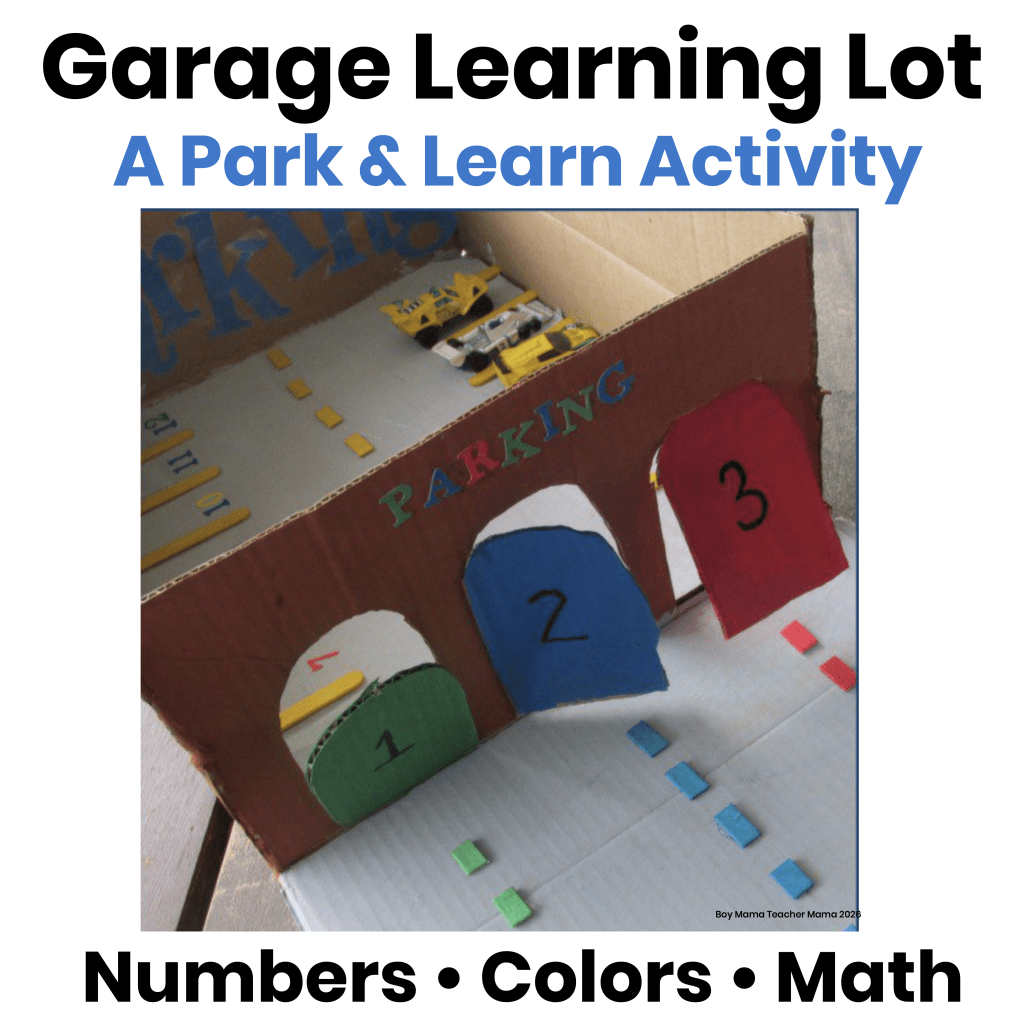
Parking Garage Learning Lot – Turn a cardboard box into a parking garage learning lot where kids can drive, park, and play while building number identification skills and early number sense.
Final Thoughts
One of my favorite things about these projects is that they started with something most people would recycle without a second thought. My boys and I turned ordinary cardboard boxes into a burning building, a parking garage, and a pizza box roadway—and those simple creations became the backdrop for countless adventures.
If you have a cardboard box waiting to be recycled, don’t throw it away just yet. Grab some paint, markers, or glue and let your child’s imagination take the lead. You might be surprised by what that ordinary box becomes.

If this is your first time visiting Boy Mama Teacher Mama, welcome!
Did you know that you can also find us on Facebook, Instagram, Pinterest, and Teachers Pay Teachers?
© Boy Mama Teacher Mama 2026
All Rights Reserved


Pingback: Engaging Fire Safety Activities for Kids
Great idea. I wanted to let you know that I am featuring this on a Fireman Birthday Party Roundup if you don’t mind.
Pingback: Boy Mama: Almost a Fire Fighter Party | Boy Mama Teacher Mama
Pingback: Boy Mama Teacher Mama: The ABCs of Raising Boys - Boy Mama Teacher Mama
Pingback: Boy Mama: Pizza Box Roadway | Boy Mama Teacher Mama
Pingback: Boy Mama: A Firefighter Birthday Party | Boy Mama Teacher Mama