

Paw Patrol Piñata
📝 This post, Paw Patrol Piñata, was originally published in 2015 and has been updated with new information and resources.
Store-bought piñatas are cute — but have you seen the prices? We decided to make our own Paw Patrol piñata instead, and honestly it turned out even better than anything we could have bought! Keep reading for our step-by-step instructions for making Marshall’s badge piñata — your little Paw Patrol fan is going to love it!
Why Make Your Own Paw Patrol Piñata?
Making your own piñata is easier than you think, costs a fraction of the price, and is so much more meaningful! My son was right there helping the whole time and was so proud to see his very own Marshall badge piñata hanging at his party. It is a little messy and takes some time to dry, but the end result is absolutely worth it!

Materials Needed
✔️cardboard box
✔️scissors
✔️exacto-knife
✔️pencil
✔️printer/paper
✔️red, orange, silver, and yellow acrylic paint
✔️flour and water for paper mache
✔️newspaper torn into strips
How to Make the Paw Patrol Piñata
Making a piñata is not for the faint of heart- it is very messy and time-consuming, but totally worth it in the end. Wait until you see what we ended up with!
STEP ONE: Draw the badge shape on the cardboard box. Freehanding this is easier than it sounds — simply cut the corners of the box to create the badge shape.
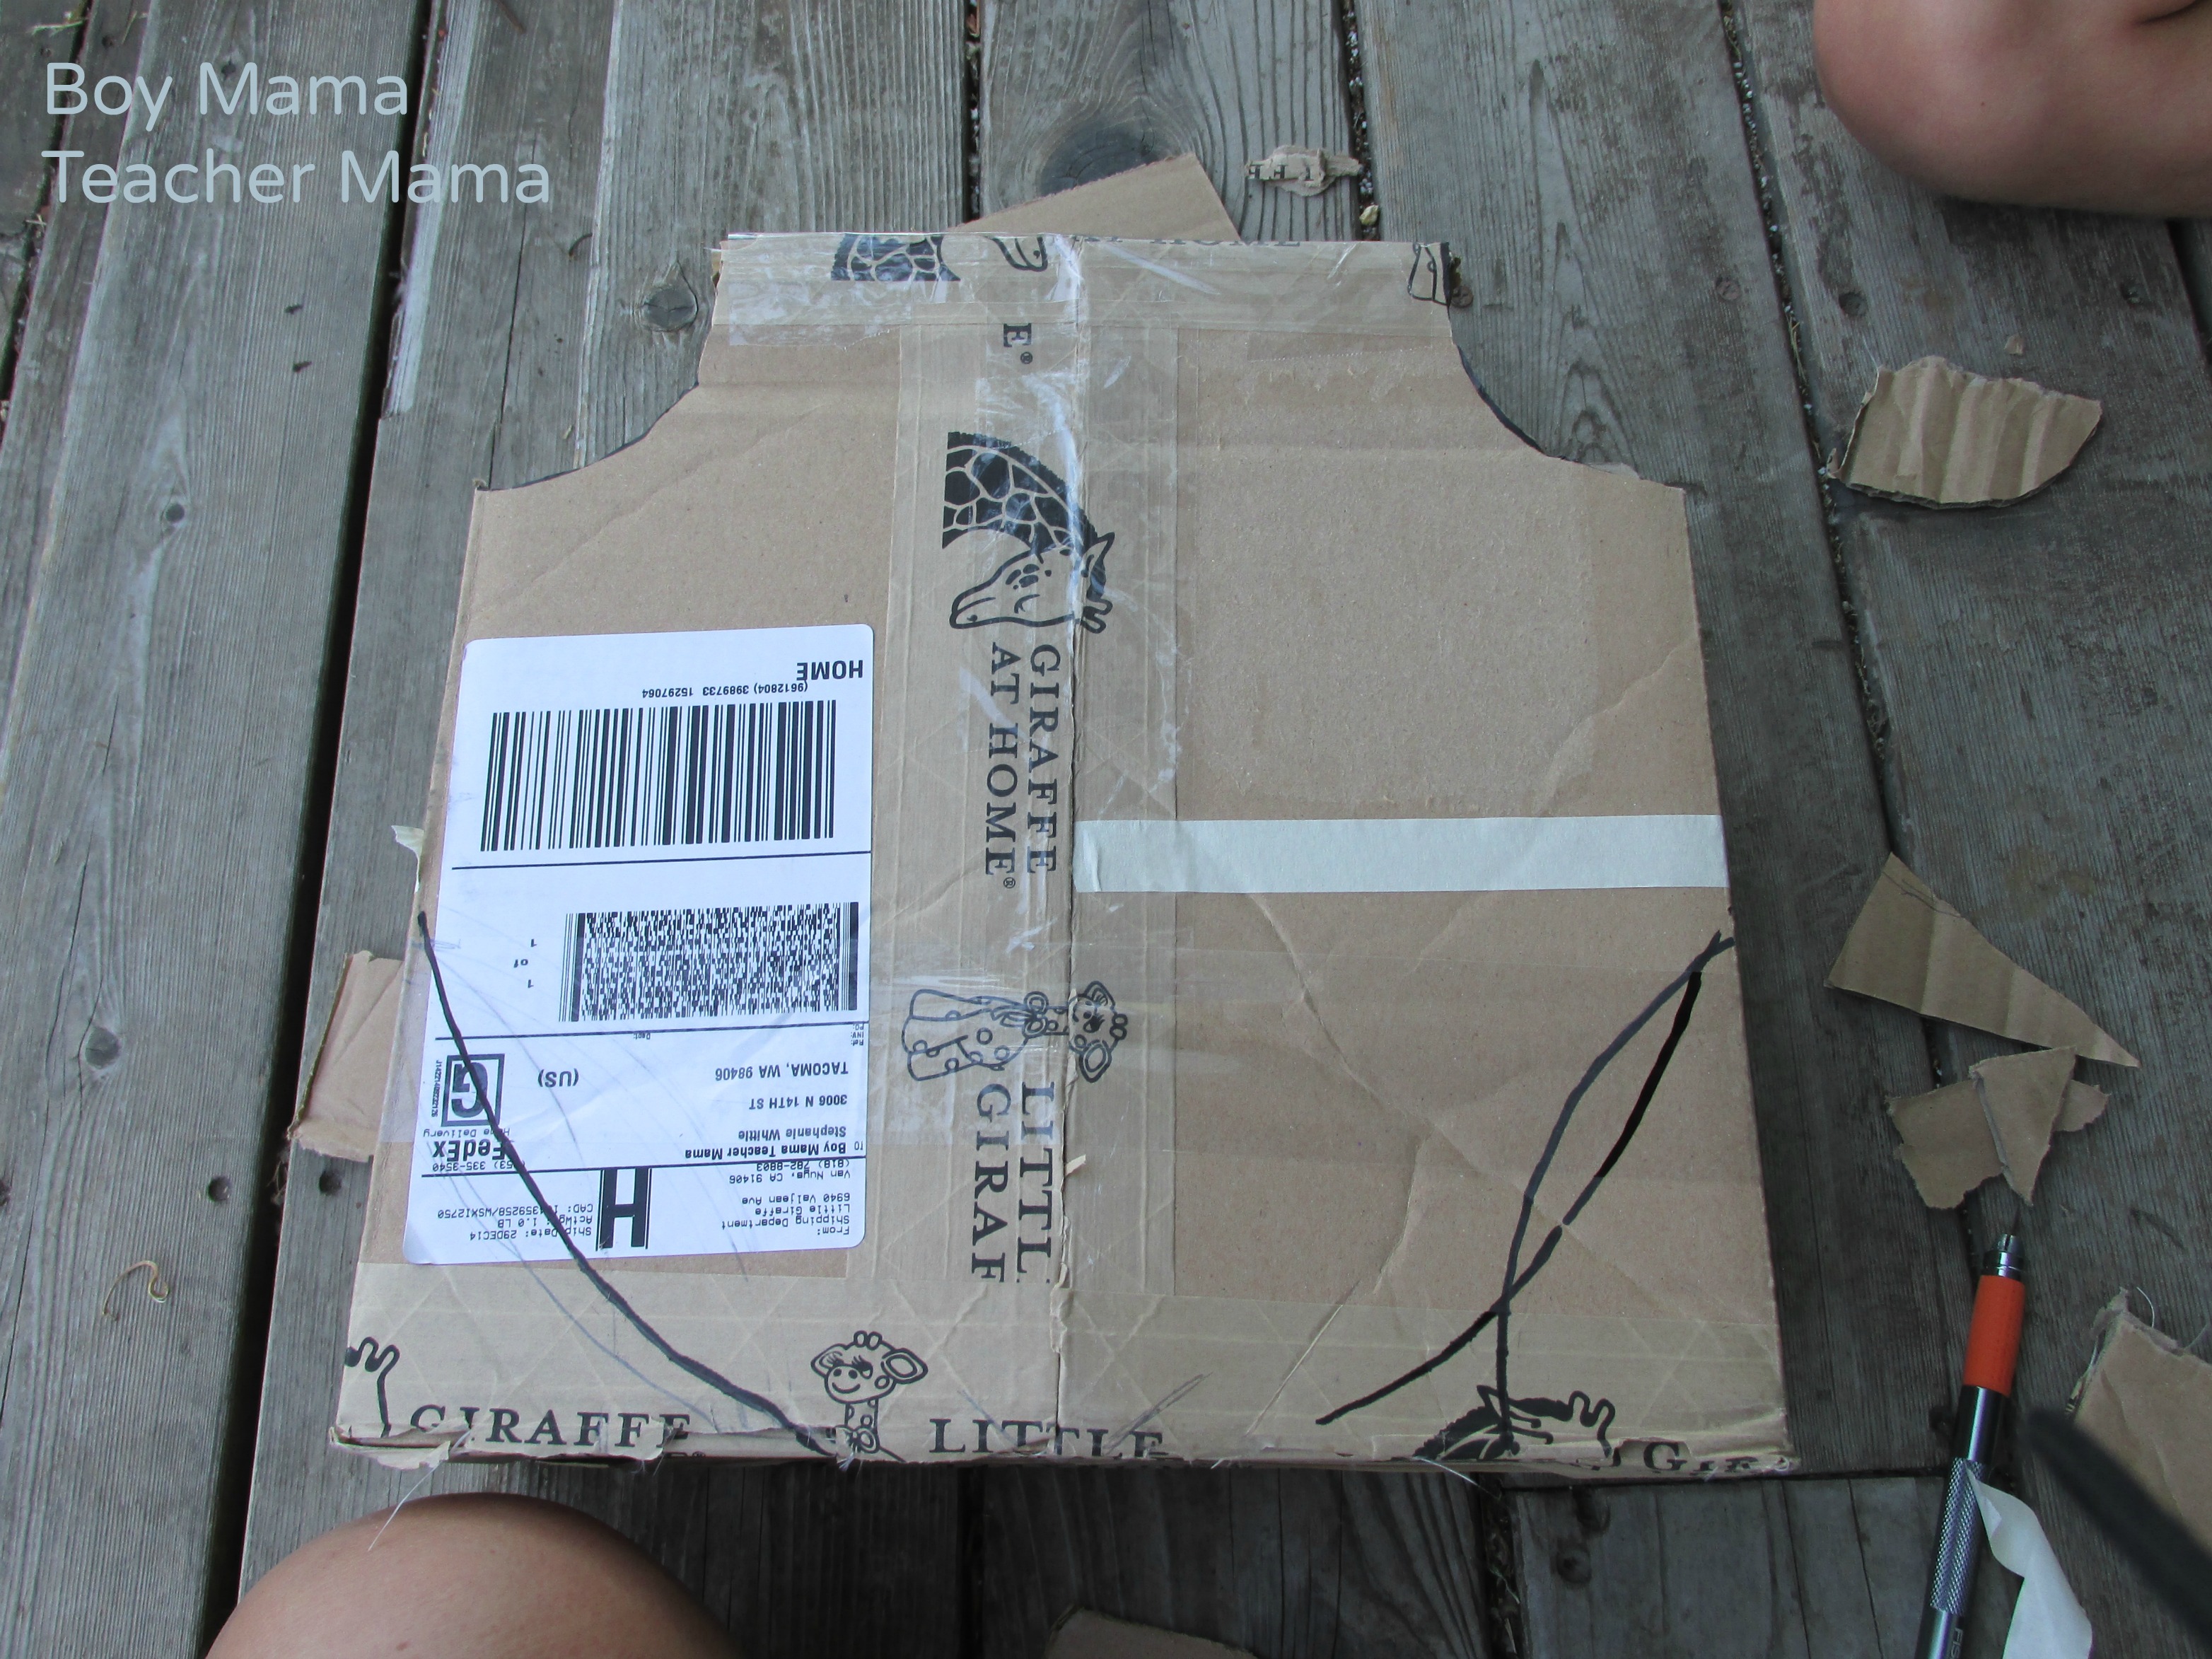
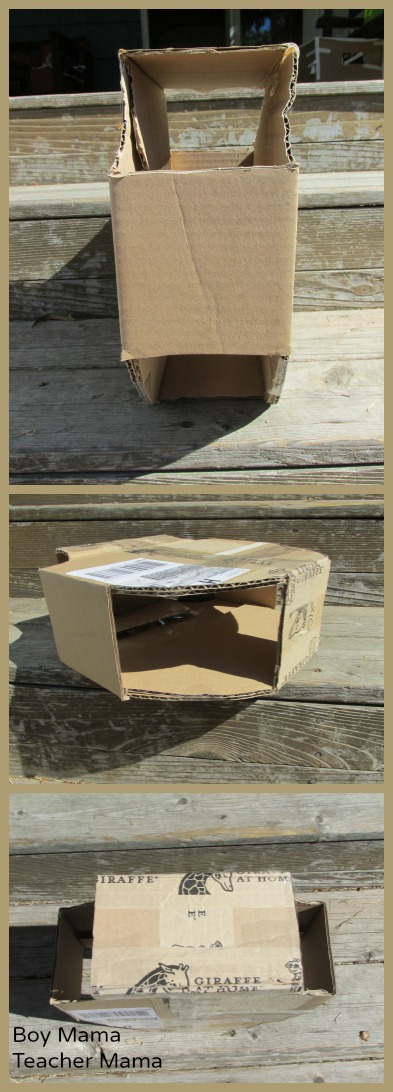
STEP TWO:Trim away the excess cardboard using an exacto-knife. The trick is trimming the same shape and amount from both the front and back without separating the pieces — think of it like shaping a cake!
STEP THREE: Tear or cut newspaper into strips. They do not need to be perfect and shorter strips are easier to work with!
STEP FOUR: Make your paper mache paste. We followed the no-cook paper mache paste recipe from The Spruce Crafts and it worked perfectly.
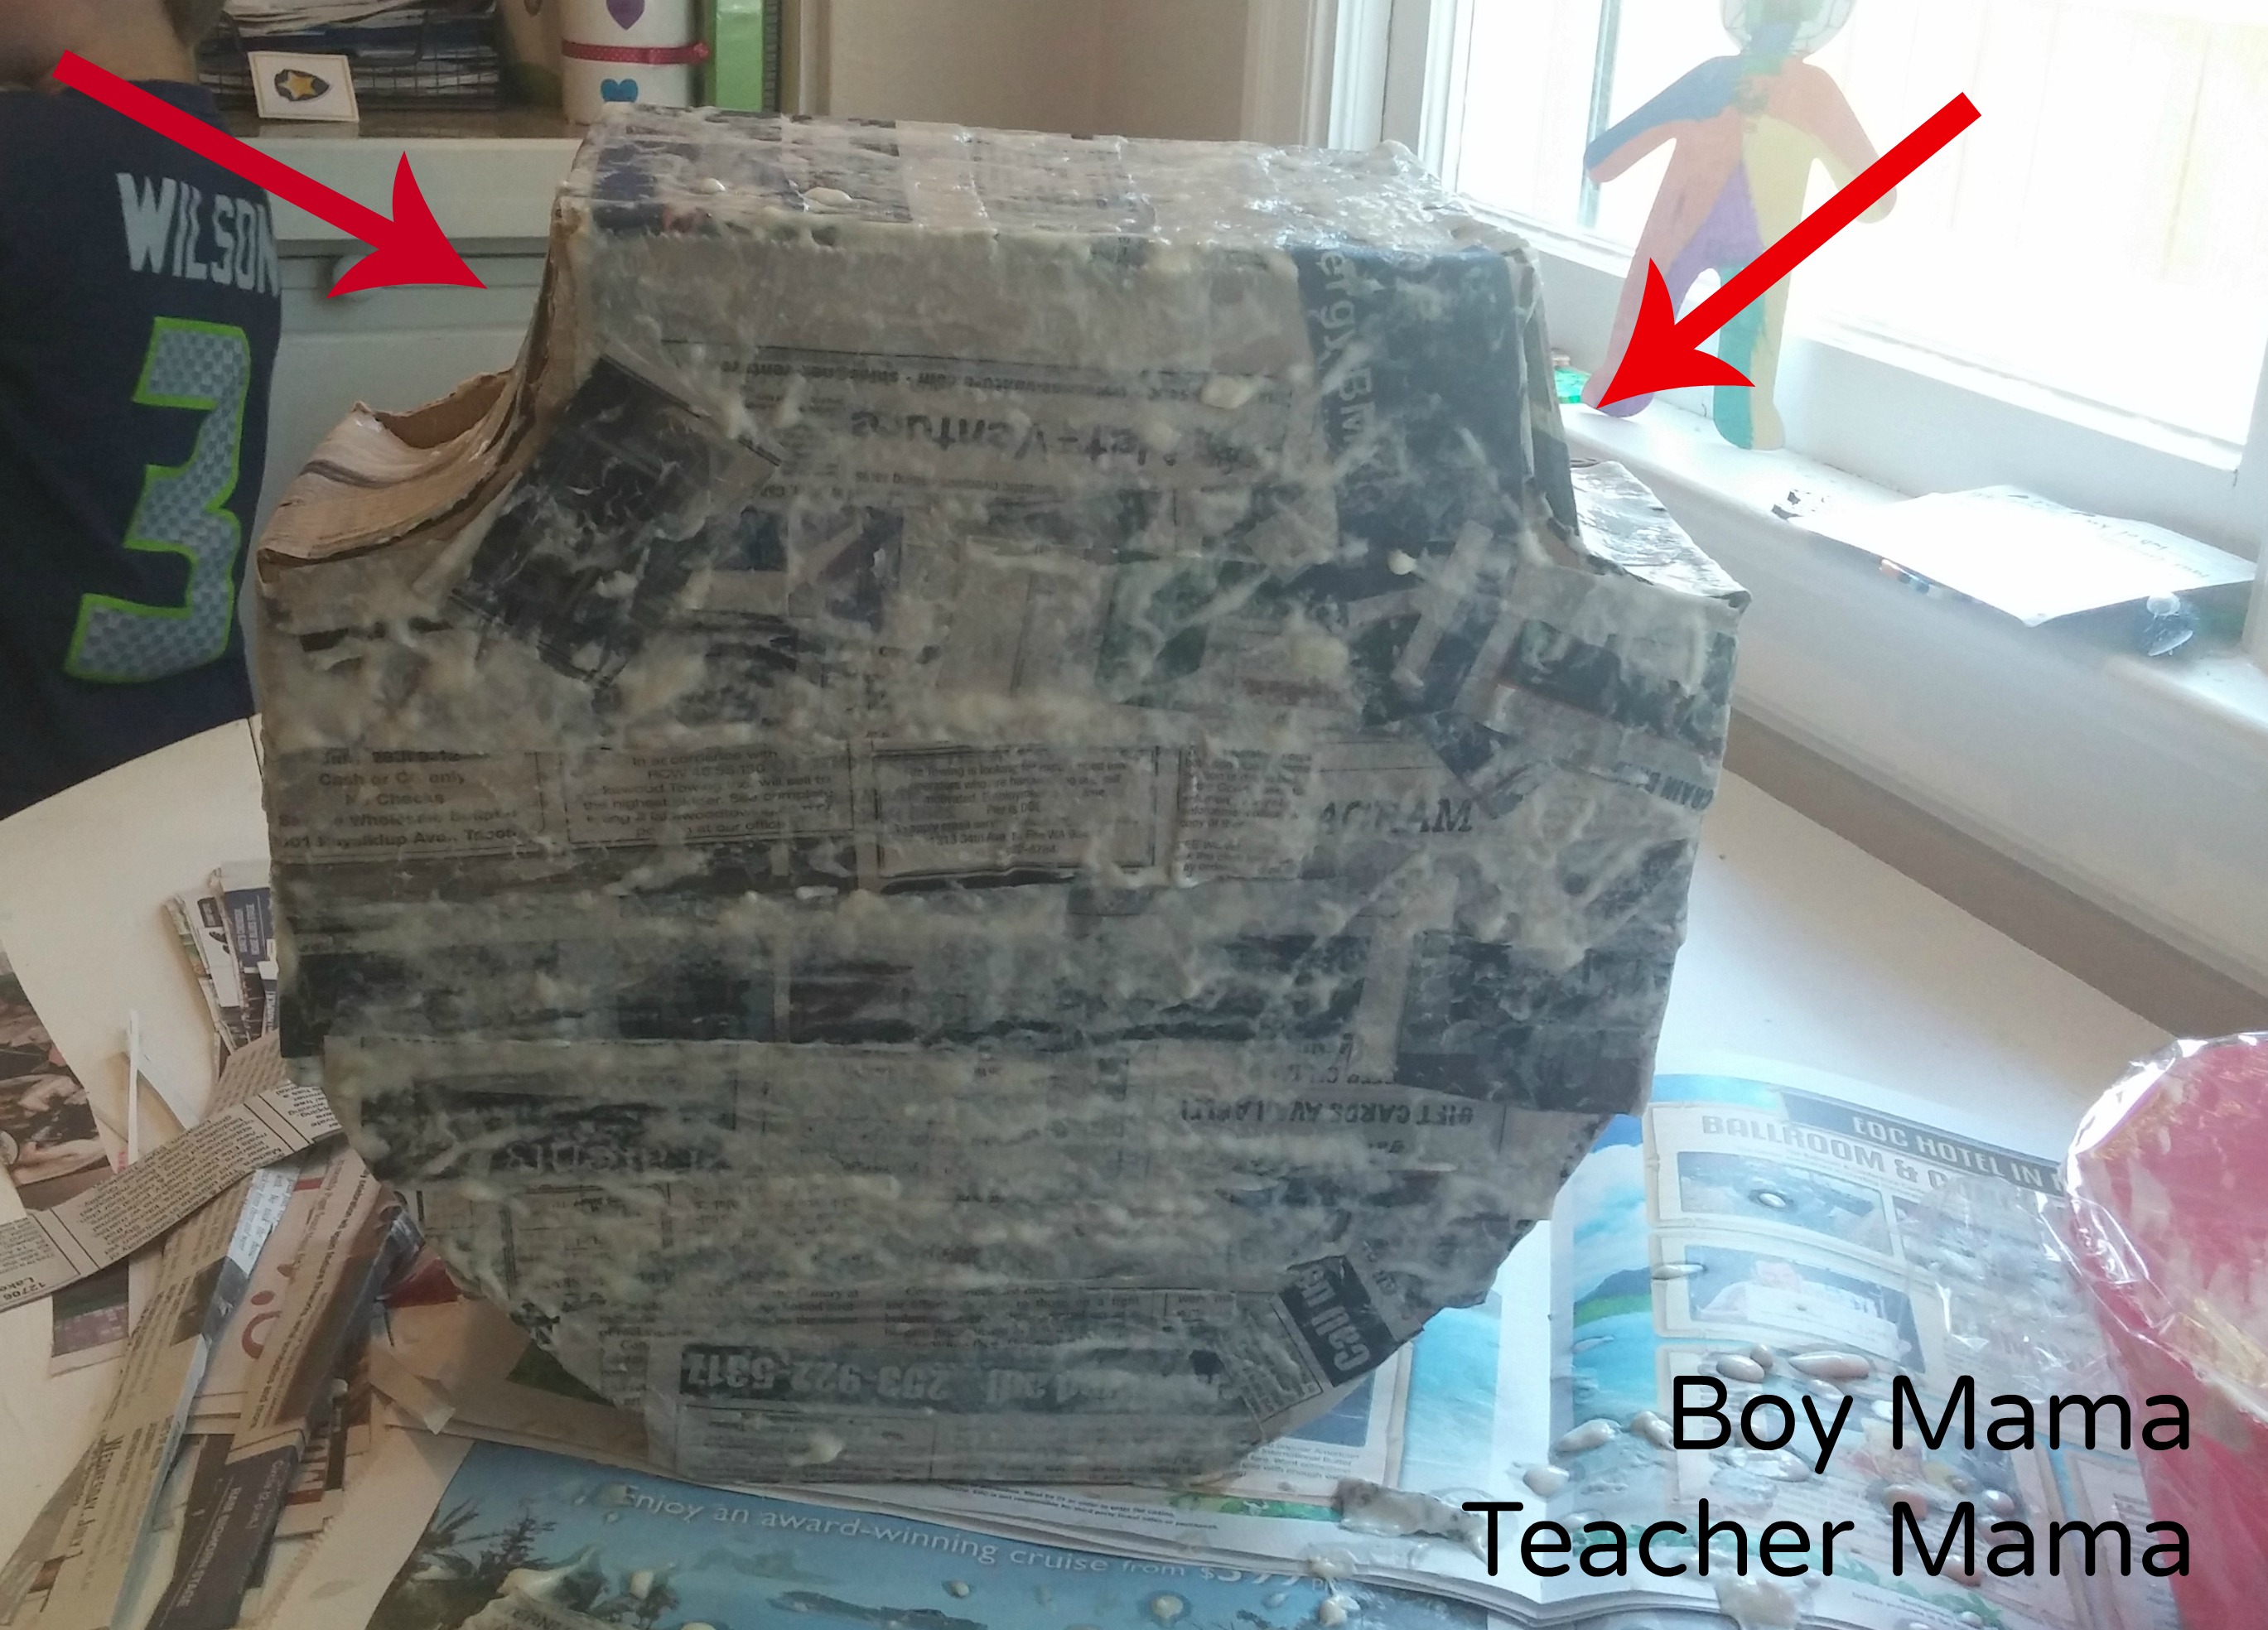
STEP FIVE: Dip each strip into the paste, remove the excess and place it on the box. Repeat until the whole box is covered. Allow it to dry completely then add a second layer. Plan ahead — this may take a day or two to dry!
📝 Note: The trickiest part is where the box curves. Let the newspaper strips fall naturally to create the curve — it takes a bit more patience, but makes the final product look amazing!
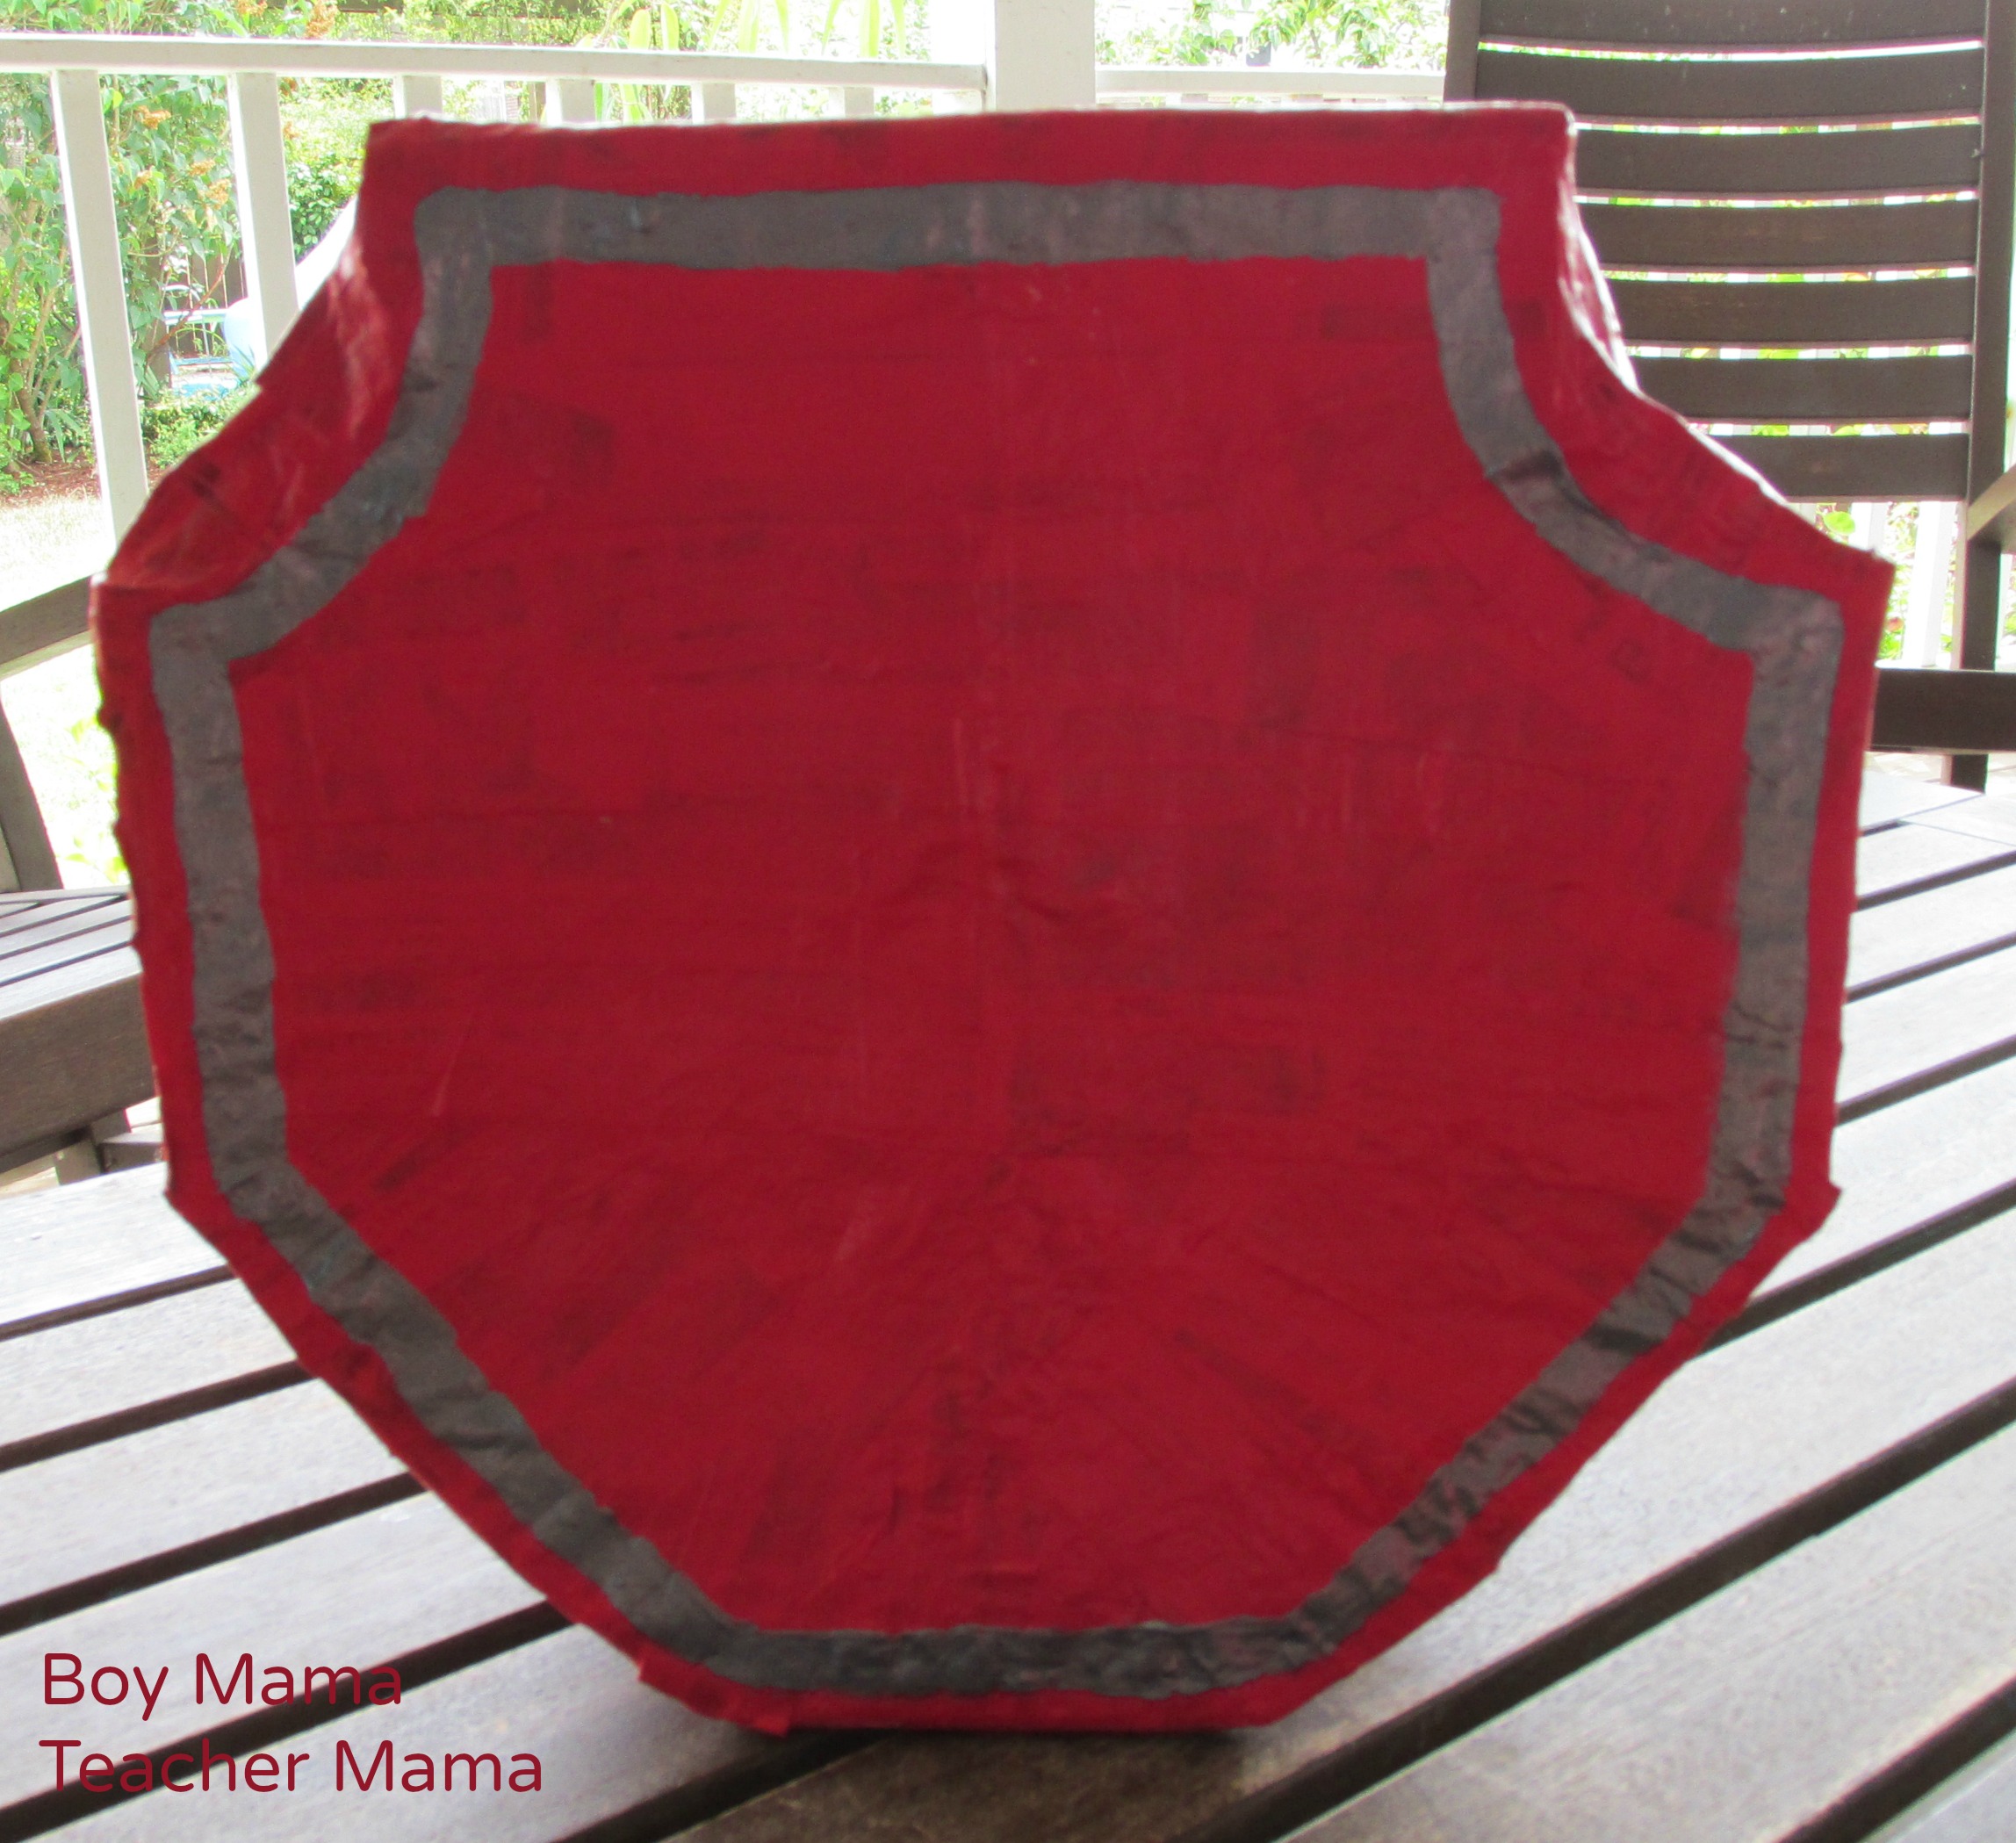
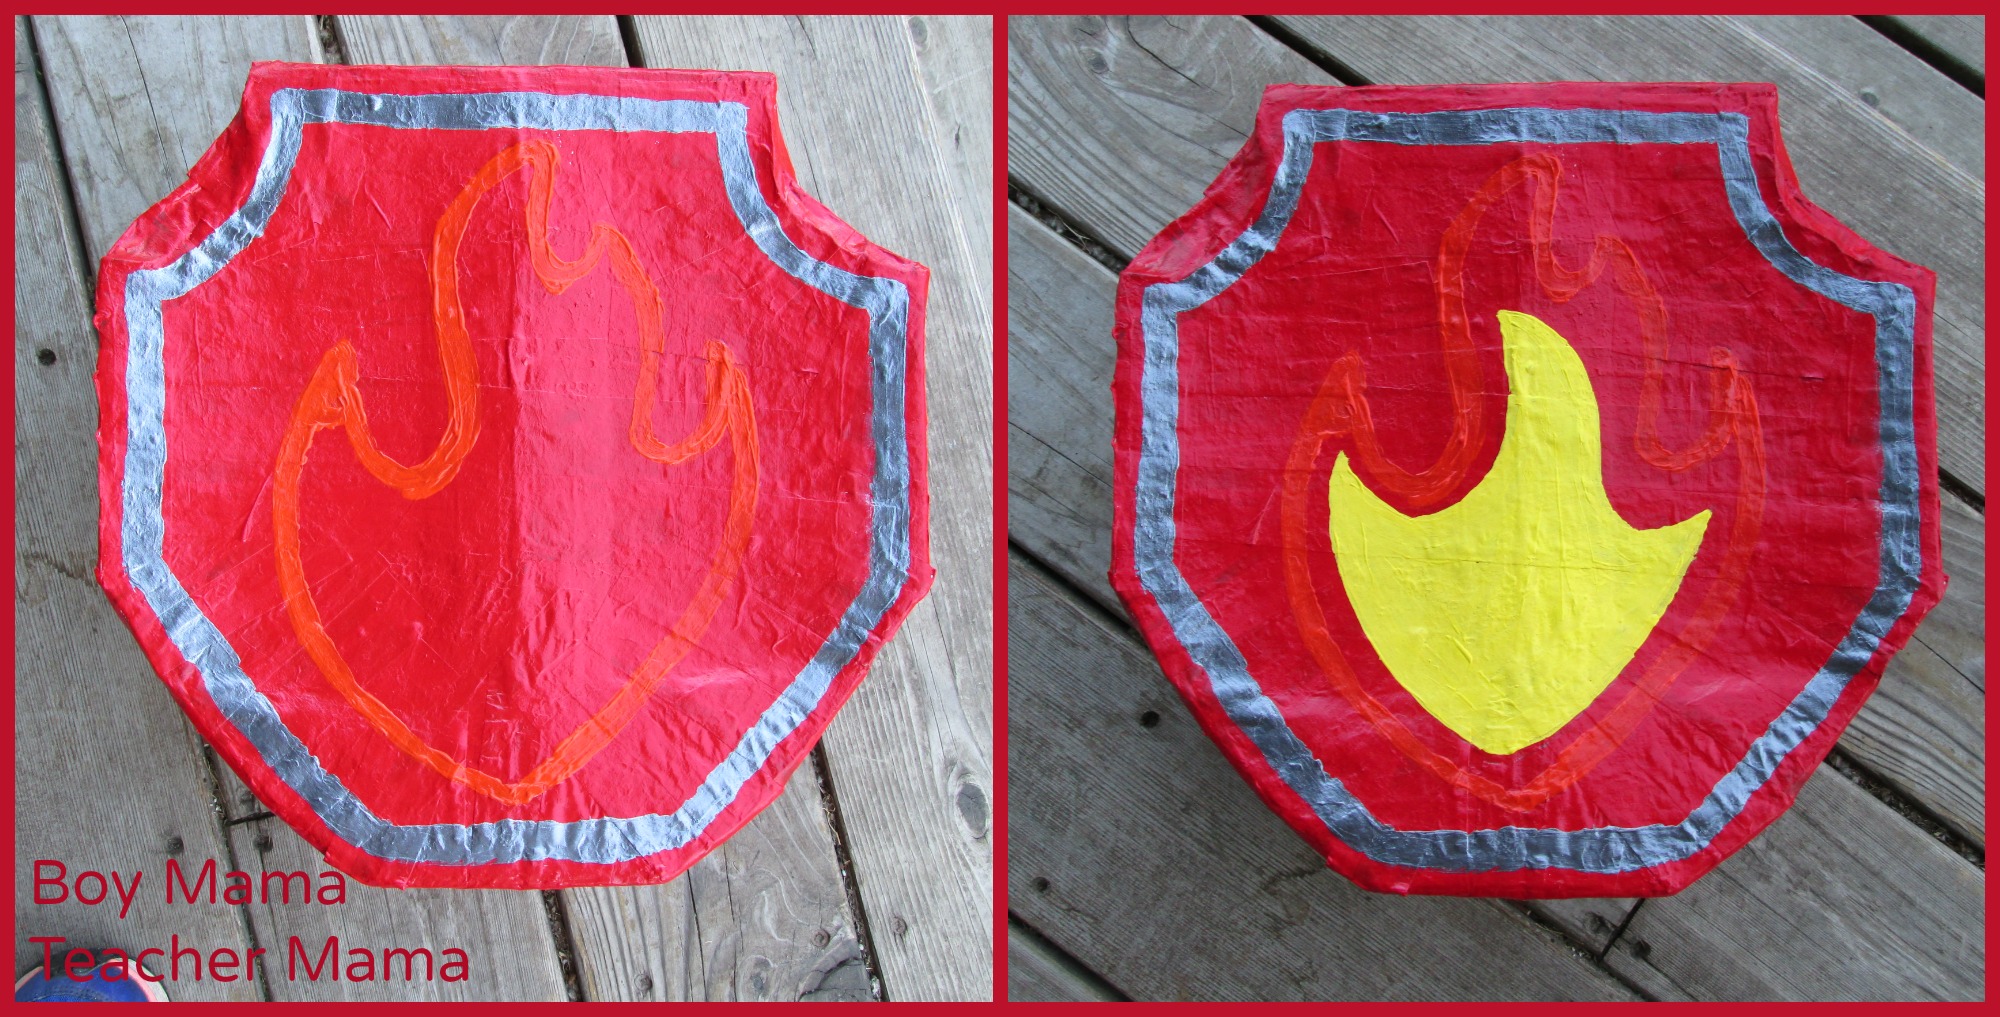
STEP SIX: Time to paint! We painted the whole badge red first and let it dry completely..

STEP SEVEN: Once the red paint was dry we used silver paint to create the edge of the badge.
STEP EIGHT:For the flame, find the Marshall badge image online, enlarge it to 8.5 by 11 inches, and print it twice. Cut around the orange flames on one page and the yellow flames on the other.

STEP NINE: Trace the flames onto the piñata with a pencil, then go over the pencil lines with paint and fill them in with orange and yellow

STEP TEN: Cut a hole in the back, fill with candy, then close it back up with hot glue or tape. Add a hook so it can be hung up on party day!
Tips for Making Your Piñata
💡Plan ahead — the paper mache needs at least a day or two to dry between layers!
💡Use shorter newspaper strips around the curved edges for a cleaner finish. Let your child help with the painting — they will be so proud of their creation!
💡Fill with plenty of goodies — the kids will be watching closely!
And there you have it — your very own DIY Paw Patrol piñata!
Did you make a Paw Patrol piñata? We would love to see how it turned out — share in the comments below! 💚
If this is your first time visiting Boy Mama Teacher Mama, welcome!
Did you know that you can also find us on Facebook, Instagram, Pinterest, and Teachers Pay Teachers?
© Boy Mama Teacher Mama 2026
All Rights Reserved


Pingback: Easy Paw Patrol Birthday Party: Cake, Games, Snacks, and More!
Pingback: Craft: 5+ DIYs to Make a Paw Patrol Pinata – CrochetingHearts.org
Pingback: 5+ DIYs to Make a Paw Patrol Pinata | Guide Patterns