

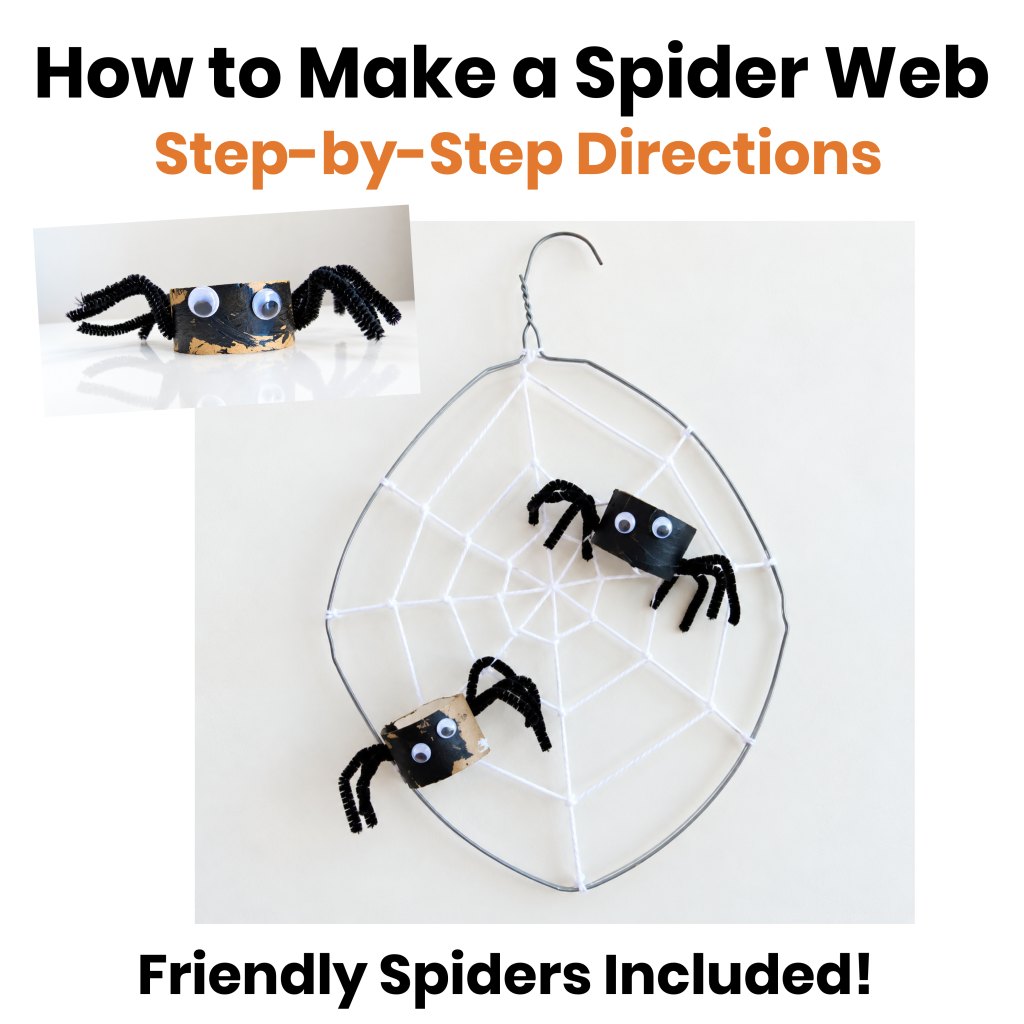
Spider Webs and Not-So-Spooky Spiders
This post, How to Make a Spider Web with Friendly Spiders. has been updated with new formatting and ideas.
This spider craft actually started in two different ways—with a book and a video. And if you throw Halloween into the mix, I guess that makes three!
The Book: My youngest loved the song and book The Itsy Bitsy Spider. We had several versions, but our favorite was Iza Trapani’s version.

The Video: We found a fascinating video of a spider building its web on YouTube.
Halloween: No explanation needed!
With all that spider inspiration, we decided to make two things: a spider web that looked like a real one (my oldest son’s request) and some not-too-creepy spiders for my youngest.
Creating a Spider Web
Materials:
Wire coat hanger ( embroidery hoop or sturdy cardboard frame)
Yarn, string or thread
Tape
White school glue
Wax paper
Directions:
Start by stretching the wire hanger into a shape that resembles a spider web. An adult should handle this part.
Cut a length of yarn and tie one end to the hanger at the 12 o’clock position. Stretch it across to the 6 o’clock position, tie it to the hanger, and secure the knots with tape to keep the yarn from slipping.
Repeat with another piece of yarn, stretching it from 3 o’clock to 9 o’clock.
Add two more pieces of yarn, connecting the 1–2 o’clock and 7–8 o’clock positions, then the 4–5 o’clock and 10–11 o’clock positions.
Next, cut another length of yarn and weave it around the center strands to create the web. We only went around three times because I had an antsy five-year-old who was ready to move on!
Once the web is finished, lay it flat on wax paper. Add a small dot of glue wherever the pieces of yarn meet to keep them from slipping.
Allow the glue to dry before moving or hanging your web.

Making Friendly Spiders
Materials:
Toilet paper tubes (one tube makes three spiders)
Black paint and paintbrush
Googly eyes (two per spider)
Black pipe cleaners (two per spider)
Scissors
Hole punch
Glue or hot glue gun (adult use only)

Directions:
Cut each toilet paper tube into thirds. Cut the pipe cleaners in half.
Have your child paint each piece of toilet paper tube black. These will become the spiders’ bodies. Allow the paint to dry.
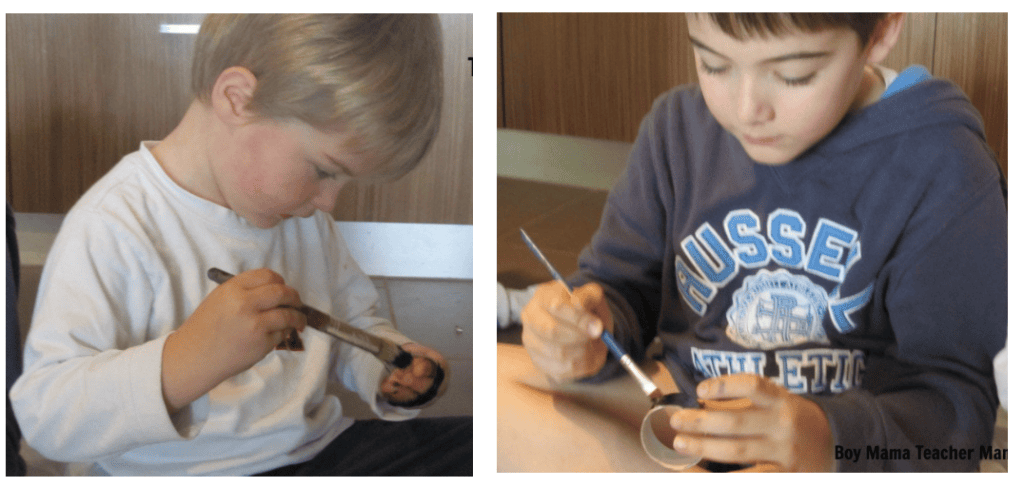
Glue two googly eyes onto each spider and let them dry.

Using a hole punch, make two holes on each side of the tube for the spider’s legs.

To make the legs, take two pipe cleaner halves and twist them together in the middle. Fold them in half, as shown in the photo. Repeat with two more pipe cleaner halves for the other side.

Insert the legs into the holes on each side of the spider’s body. I added a dab of hot glue inside each tube to keep the legs in place.

Bend and arrange the legs however you like.

Once your spiders are finished, place them on the web!


If this is your first time visiting Boy Mama Teacher Mama, welcome!
Did you know that you can also find us on Facebook, Instagram, Pinterest, and Teachers Pay Teachers?
© Boy Mama Teacher Mama 2026
All Rights Reserved


Pingback: The Competition is on! Bobbing for Apples » JenKehl
Pingback: Now this is what I call drive; Bobbing for Apples | Break the Parenting Mold
Love the not so scary spiders! Great craft. Thanks for sharing at Mom’s Library.
Glad I found you just in time for Halloween. I have most of these items at home so maybe a crafting weekend. Thank you for your creativity.
We made this and my son loved it! He told everyone we saw all about it, thanks for the great projects!
How exciting! I am so glad that he liked it and was so proud! Do you have pictures???
That is my favorite version of The Itsy Bitsy Spider too! Love your craft to go along with it. 🙂
Thanks Jenny!
Oooh, spiders. They always freak me out, read or pretend! Thanks for linking up to The Children’s Bookshelf.
Oh yes, perfect decorations for Halloween.
Thank you so much for featuring the spider obstacle course Steph. I adore your little craft, it’s brilliant! I had to share it on FB, I know my readers will love it. I’ll also pop over and tweet it too!
Thanks Penny!
LOVE this!!! So cute!