
Thankful Turkey Craft and Writing Activity
📝 This post, Thankful Turkey Craft and Writing Activity, has been updated with new information and resources.
Thanksgiving is the perfect time to talk about gratitude, and as a teacher, I was always looking for new ways for my students to share what they were thankful for.
This thankful turkey craft was inspired by an idea I saw in a magazine years ago. I simplified it a bit so my first graders could make it, but it’s really one of those activities you can easily adapt for different ages.
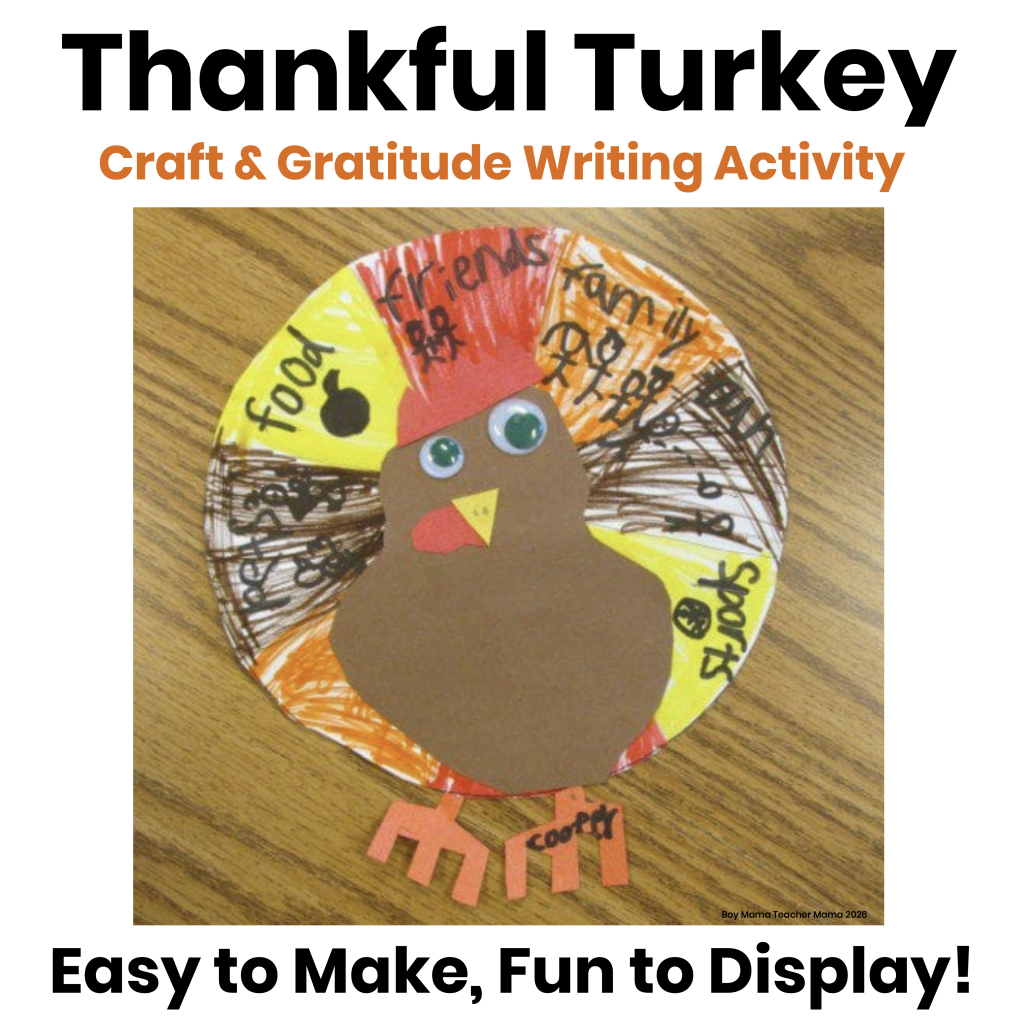
Students create their own turkey and use its paper feathers to write or draw the things they’re thankful for.

Materials Needed for the Thankful Turkey
✔ White paper (copy paper is fine)
✔ Brown, orange, red, and yellow construction paper
✔ Googly eyes (optional)
✔ Glue
✔ Markers or colored pencils (no crayons—you’ll see why below!)
✔ Black marker for outlining
Preparing the Turkey Feathers
Have pre-cut circles of white paper ready or provide a stencil for students to trace. The size doesn’t really matter—I typically make my circle large enough to fit on an 8.5 x 11-inch sheet of copy paper.
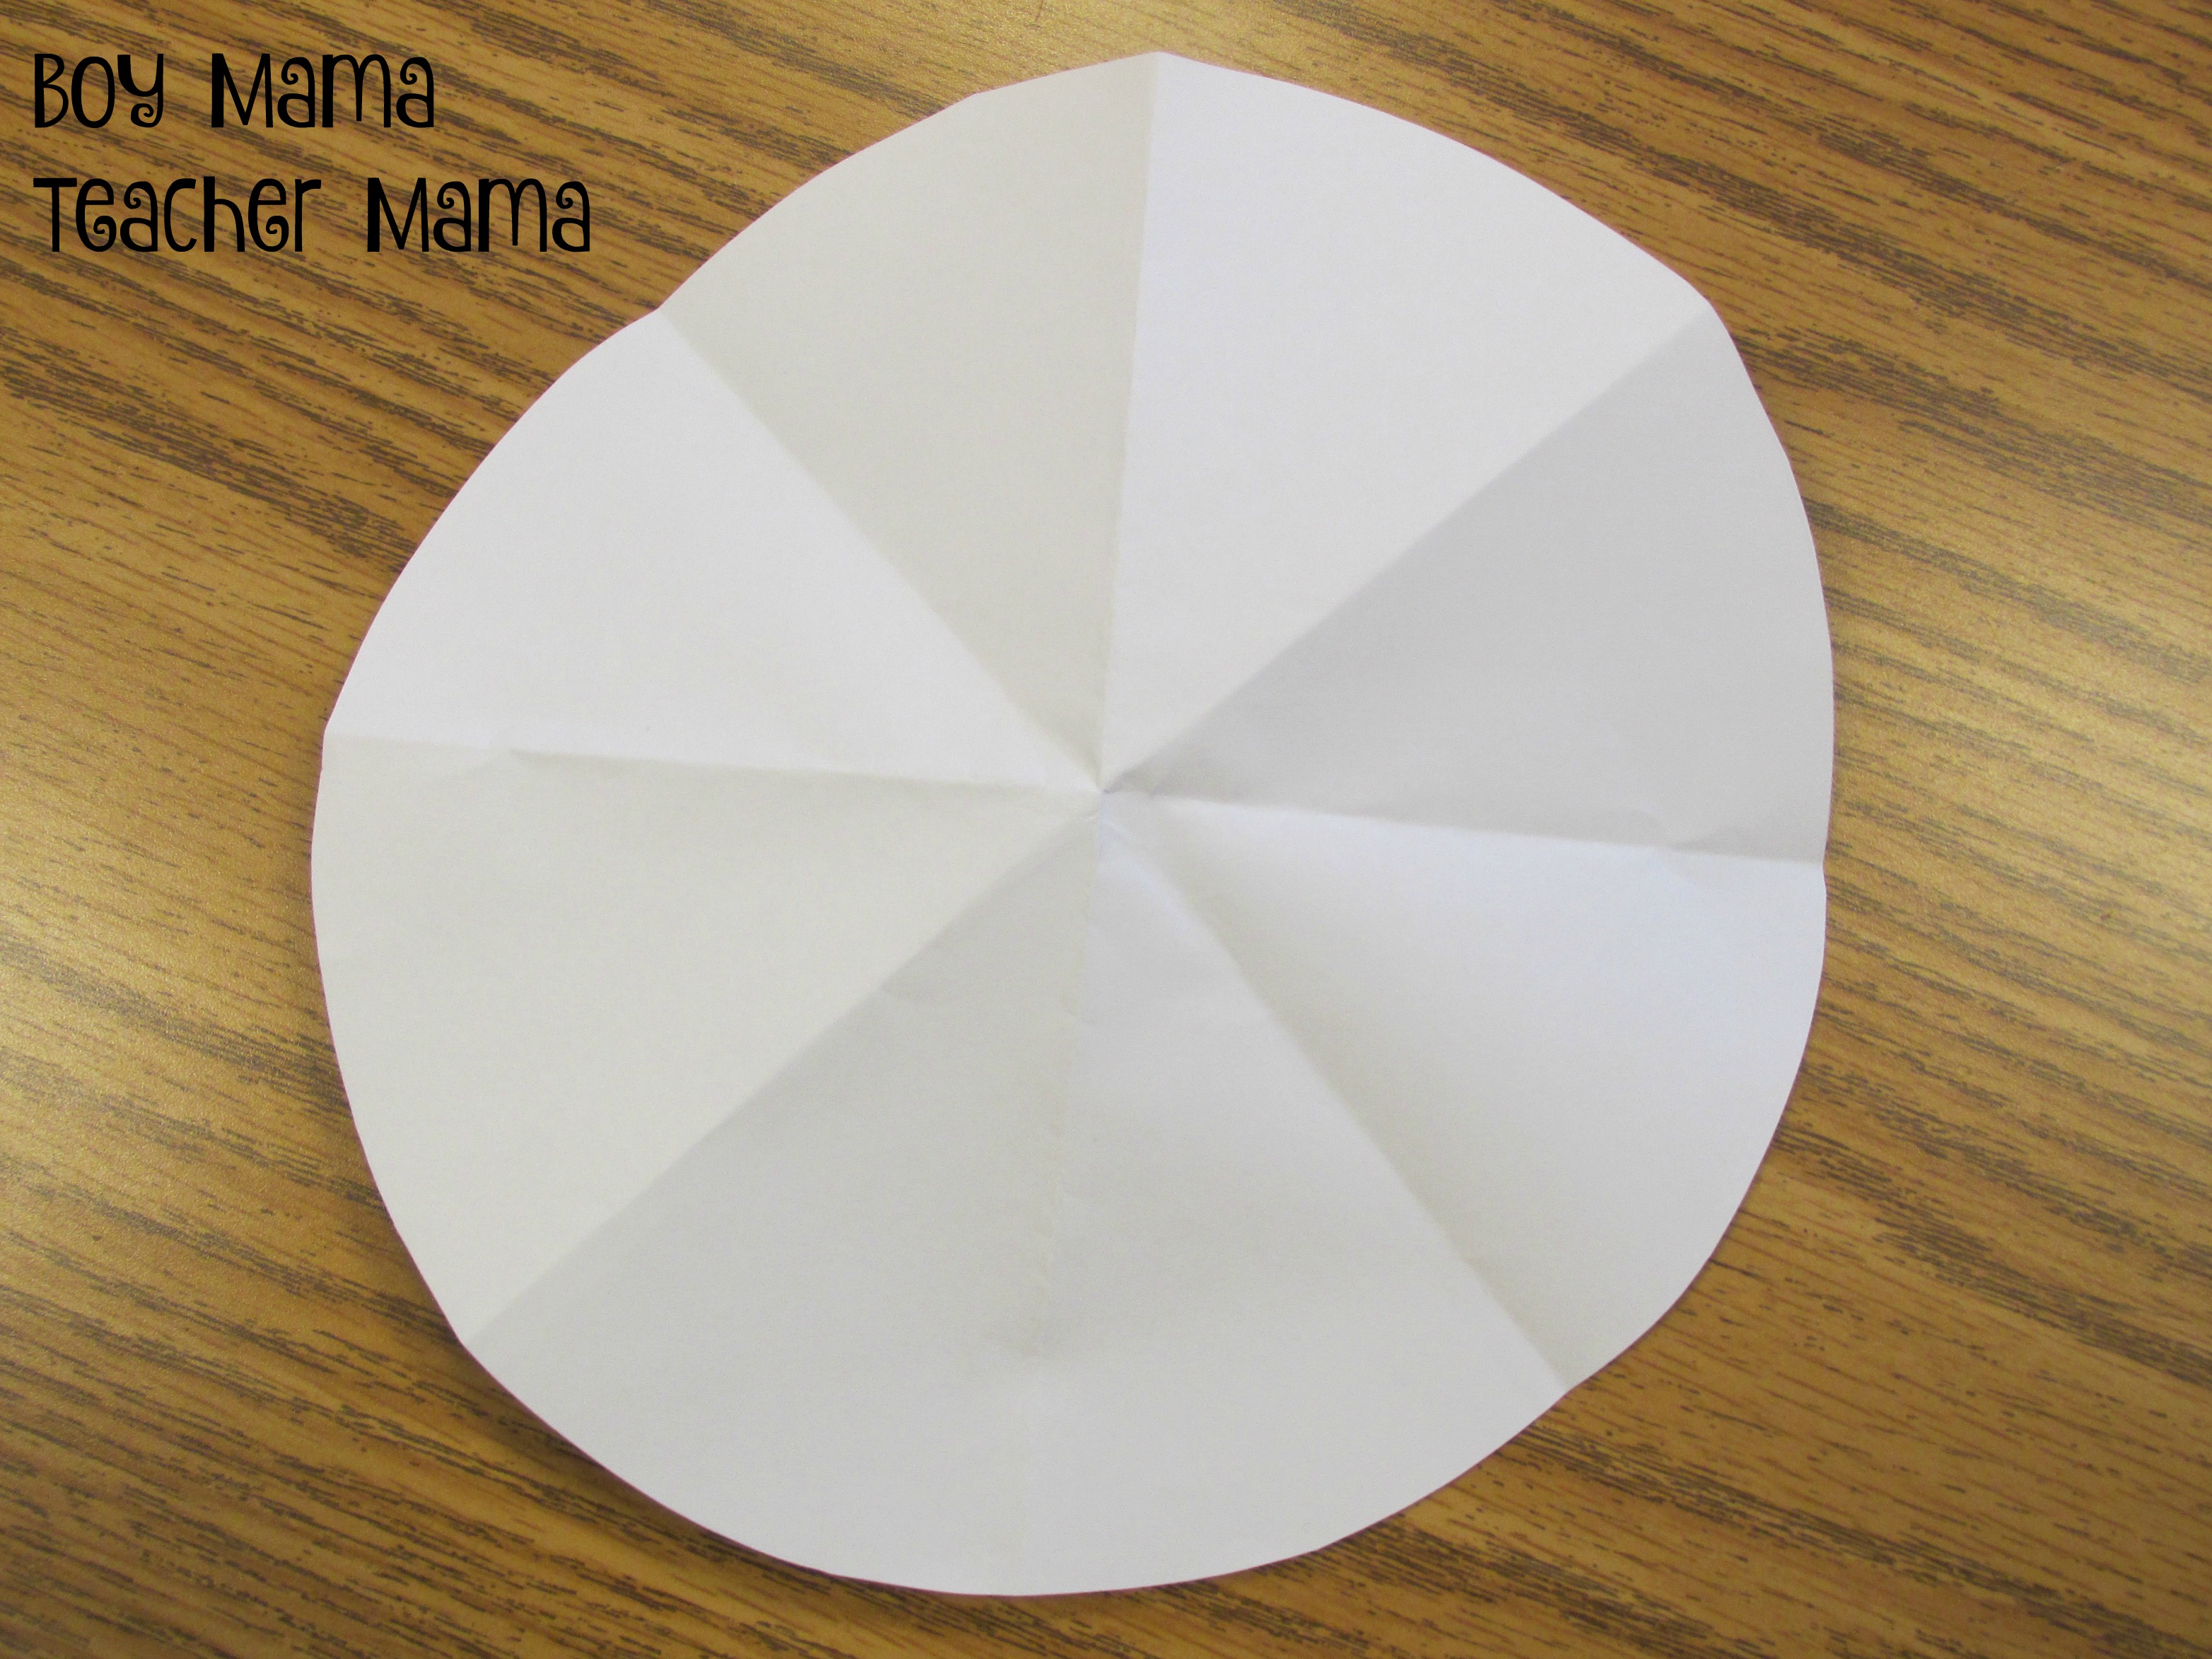
Have each student cut out the white circle and fold it three times. For younger students, fold it only twice. You can also use fewer folds if you want students to have enough room to write a complete sentence on each feather.

When students unfold their circles, they’ll have eight sections, or “feathers,” if they folded three times, or four sections if they folded twice. These sections will become the turkey’s feathers, where students will write or draw what they’re thankful for.
Creating the Turkey’s Body
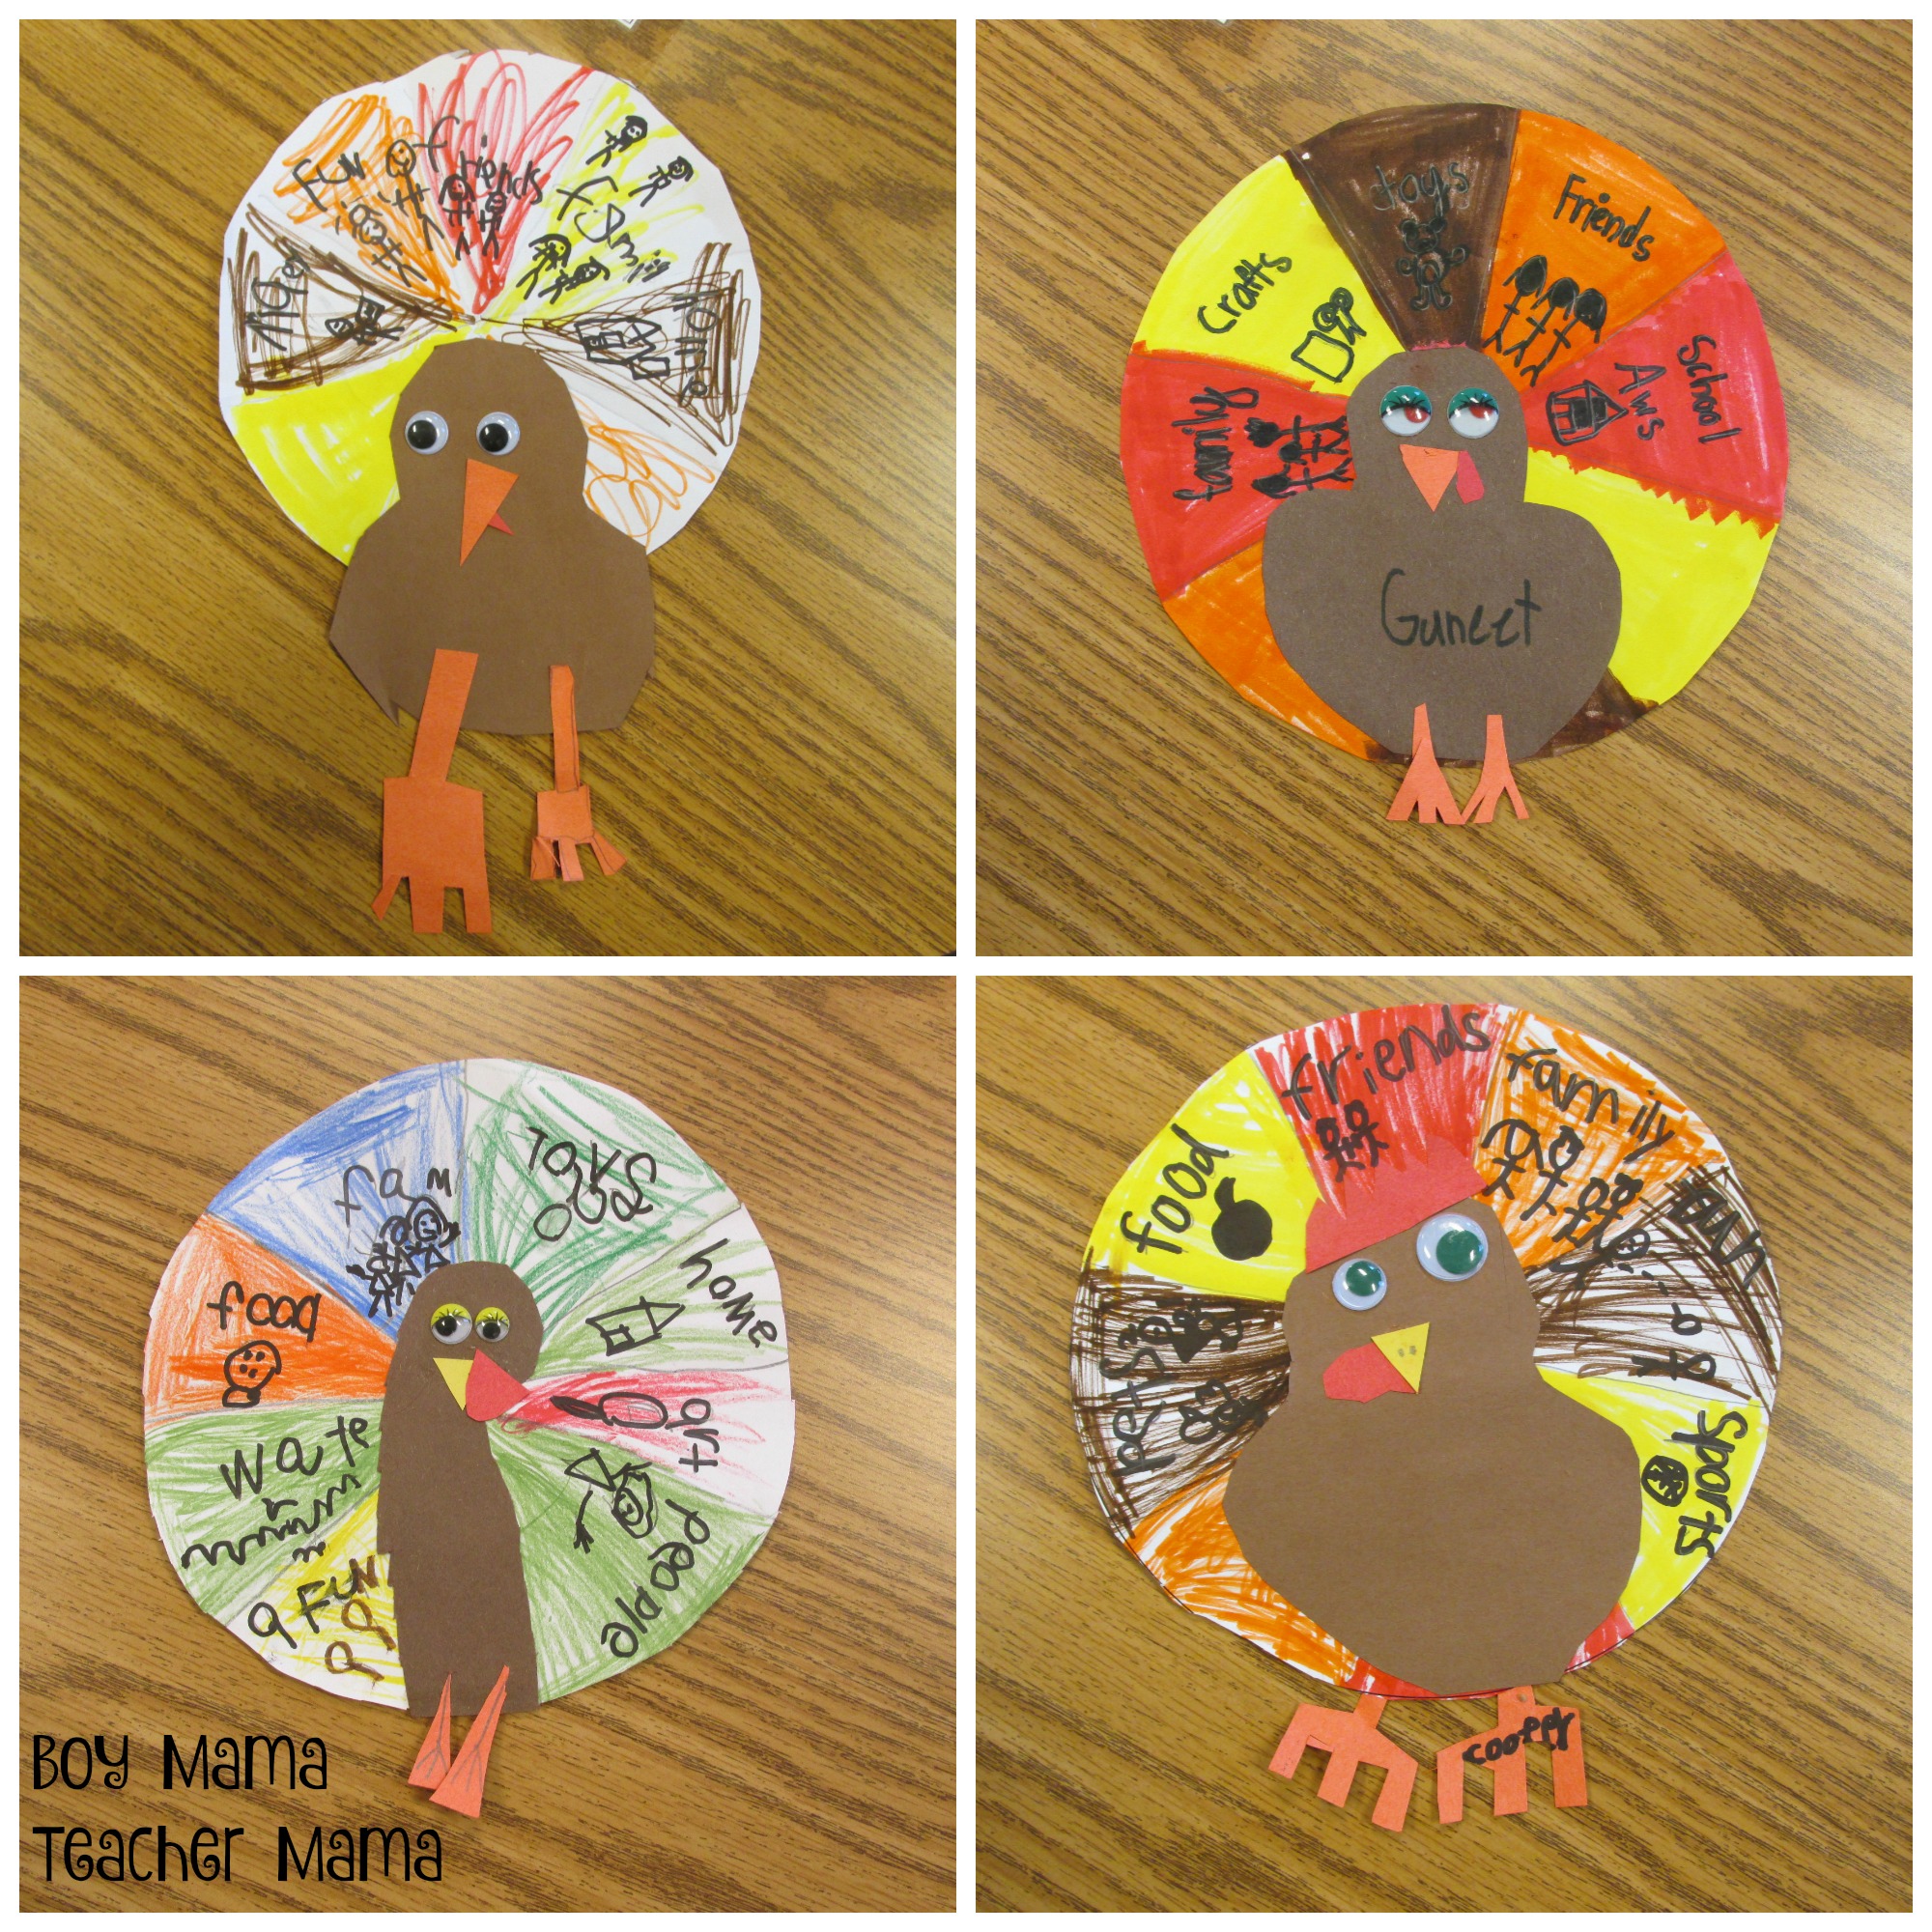
Next, have students create the turkey’s body. I didn’t tell my students exactly how to make theirs—I simply provided the colored construction paper and googly eyes and let them create!
If students need more guidance, show them how to create a basic turkey body and then have them add eyes, a beak, a wattle, and feet.
Glue the turkey body onto the center of the feathers before students begin writing so none of their words or pictures end up hidden underneath it.
I Am Thankful For… Writing
Finally, have students draw and/or write one thing they are thankful for on each feather. They can also color the background of each section.
Once they’re finished, have students go over their writing with a black marker so it stands out. This is why I recommend markers or colored pencils instead of crayons—the black marker won’t write well over crayon.
Ways to Adapt the Thankful Turkey Craft
Make fewer folds for younger students so they don’t need to come up with as many ideas. You can even pre-fold the circles if you’d like!
Have younger students dictate what they are thankful for and add an illustration.
Have students draw what they are thankful for, label their pictures, and/or write a complete sentence.
Wrapping Up
That’s it! It’s a simple Thanksgiving craft that combines a little creativity with writing and gratitude—and the finished turkeys make a great Thanksgiving bulletin board or decoration to send home. 💚
Looking for more Thanksgiving classroom activities?
Check out my Thanksgiving Activities for the Classroom roundup for more easy writing, math, and craft ideas to use before Thanksgiving break!

If this is your first time visiting Boy Mama Teacher Mama, welcome!
Did you know that you can also find us on Facebook, Instagram, Pinterest, and Teachers Pay Teachers?
© Boy Mama Teacher Mama 2026
All Rights Reserved