
Easy Witch Hat Glyph
📝 This post, Witch Hat Glyph, was originally published in 2012 and has been updated with new information and resources.
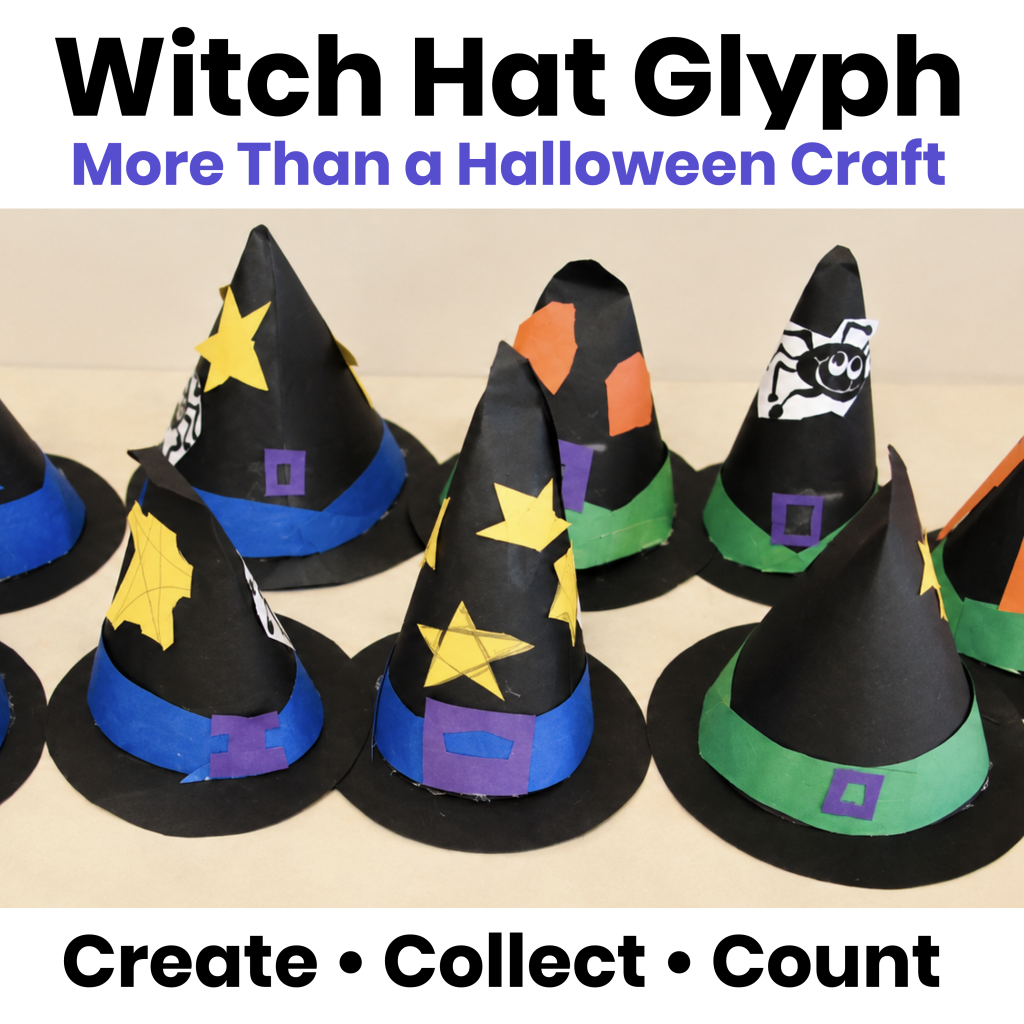
Witch hats are such a fun Halloween decoration! I love all the different styles and the Halloween colors! And don’t get me started on the witch’s feet decorations… So I decided to use a witch’s hat as inspiration for a new Halloween craft-tivity—a Witch Hat Glyph!
Glyphs are a fun way to introduce students to collecting, organizing, and interpreting data. Each part of the witch hat represents an answer to a question, so when the hats are finished, students can use them to learn more about their classmates—and do some pretty interesting math along the way!
Preparing the Witch Hat Glyph
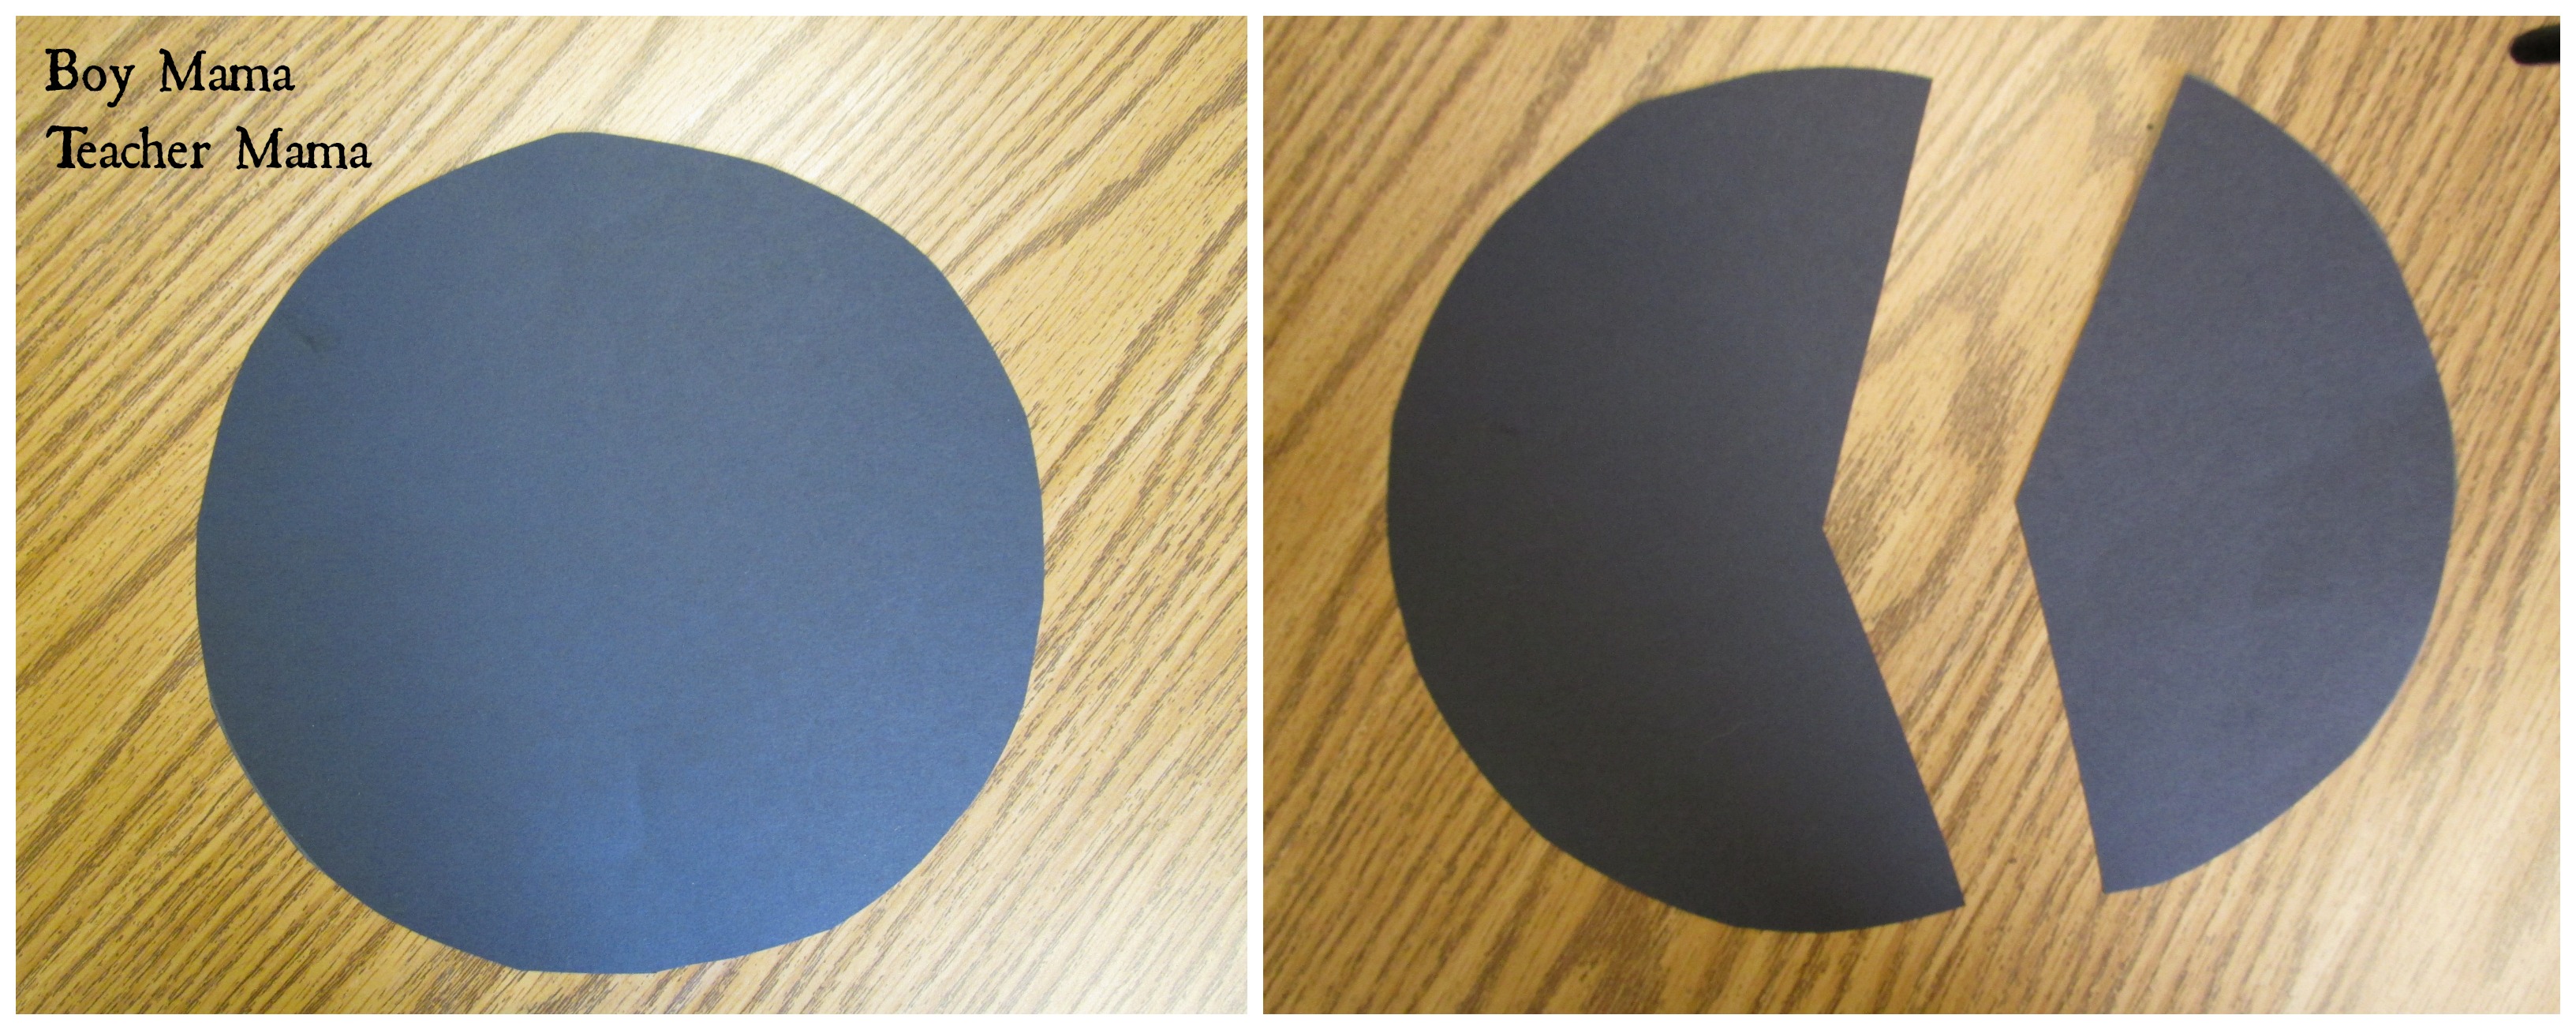
Before beginning, cut large circles from black, purple, and orange construction paper. I made mine about the size of a dinner plate. You’ll probably need mostly black, but have some of each color available.
You will also need some spiders. Stickers work well, or students can draw a spider and cut it out themselves.
Creating the Witch Hat Glyphs
Begin by asking students the first question about their Halloween costumes. Their answers determine the color of paper they’ll use to create their hats.
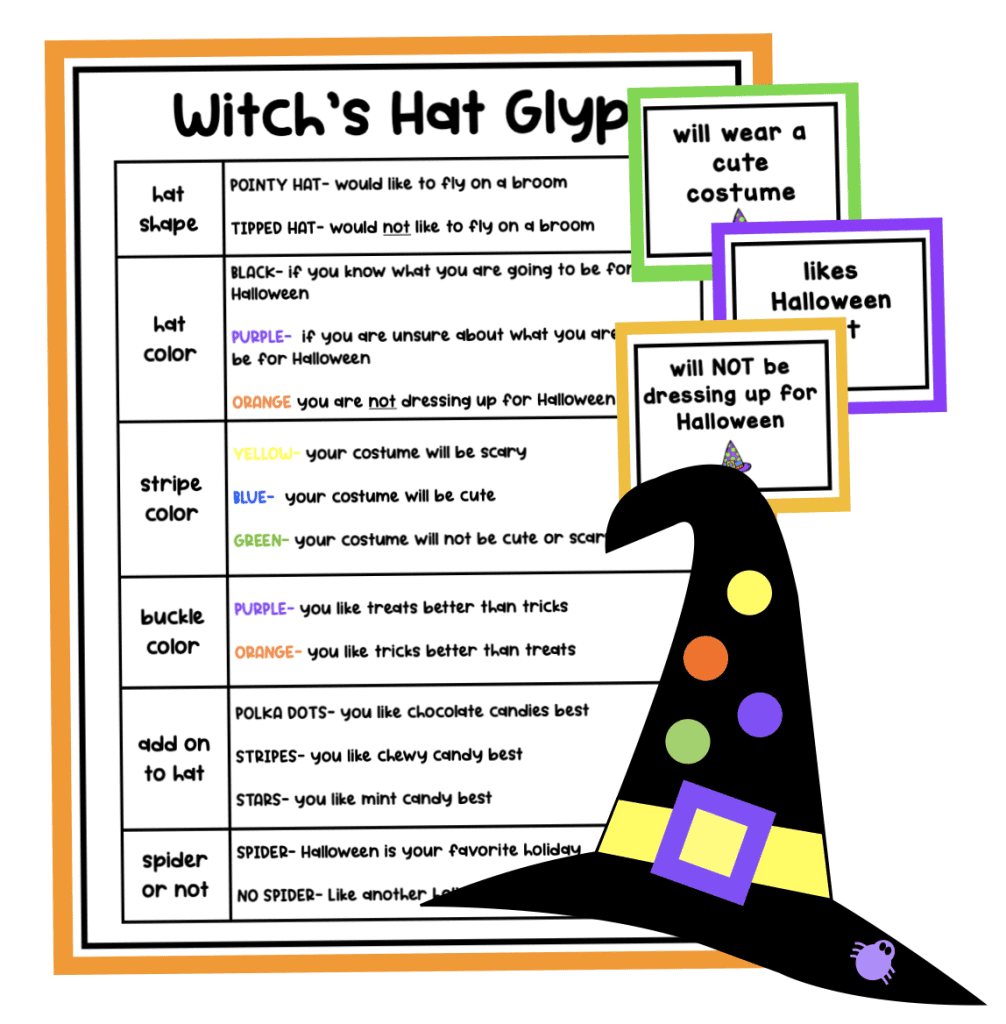
🧙 Know what your Halloween costume will be: black
🧙 Unsure what your costume will be: purple
🧙 Not dressing up for Halloween: orange
As you can probably imagine, most of my students knew exactly what they were going to be and chose black. Only one student was unsure, and no one was skipping the costume that year!
Once students have their paper, they cut the circle as shown below and roll it into a cone shape to create the top of the witch hat.
Continue through the glyph questions, with each answer determining another feature students add to their hats.
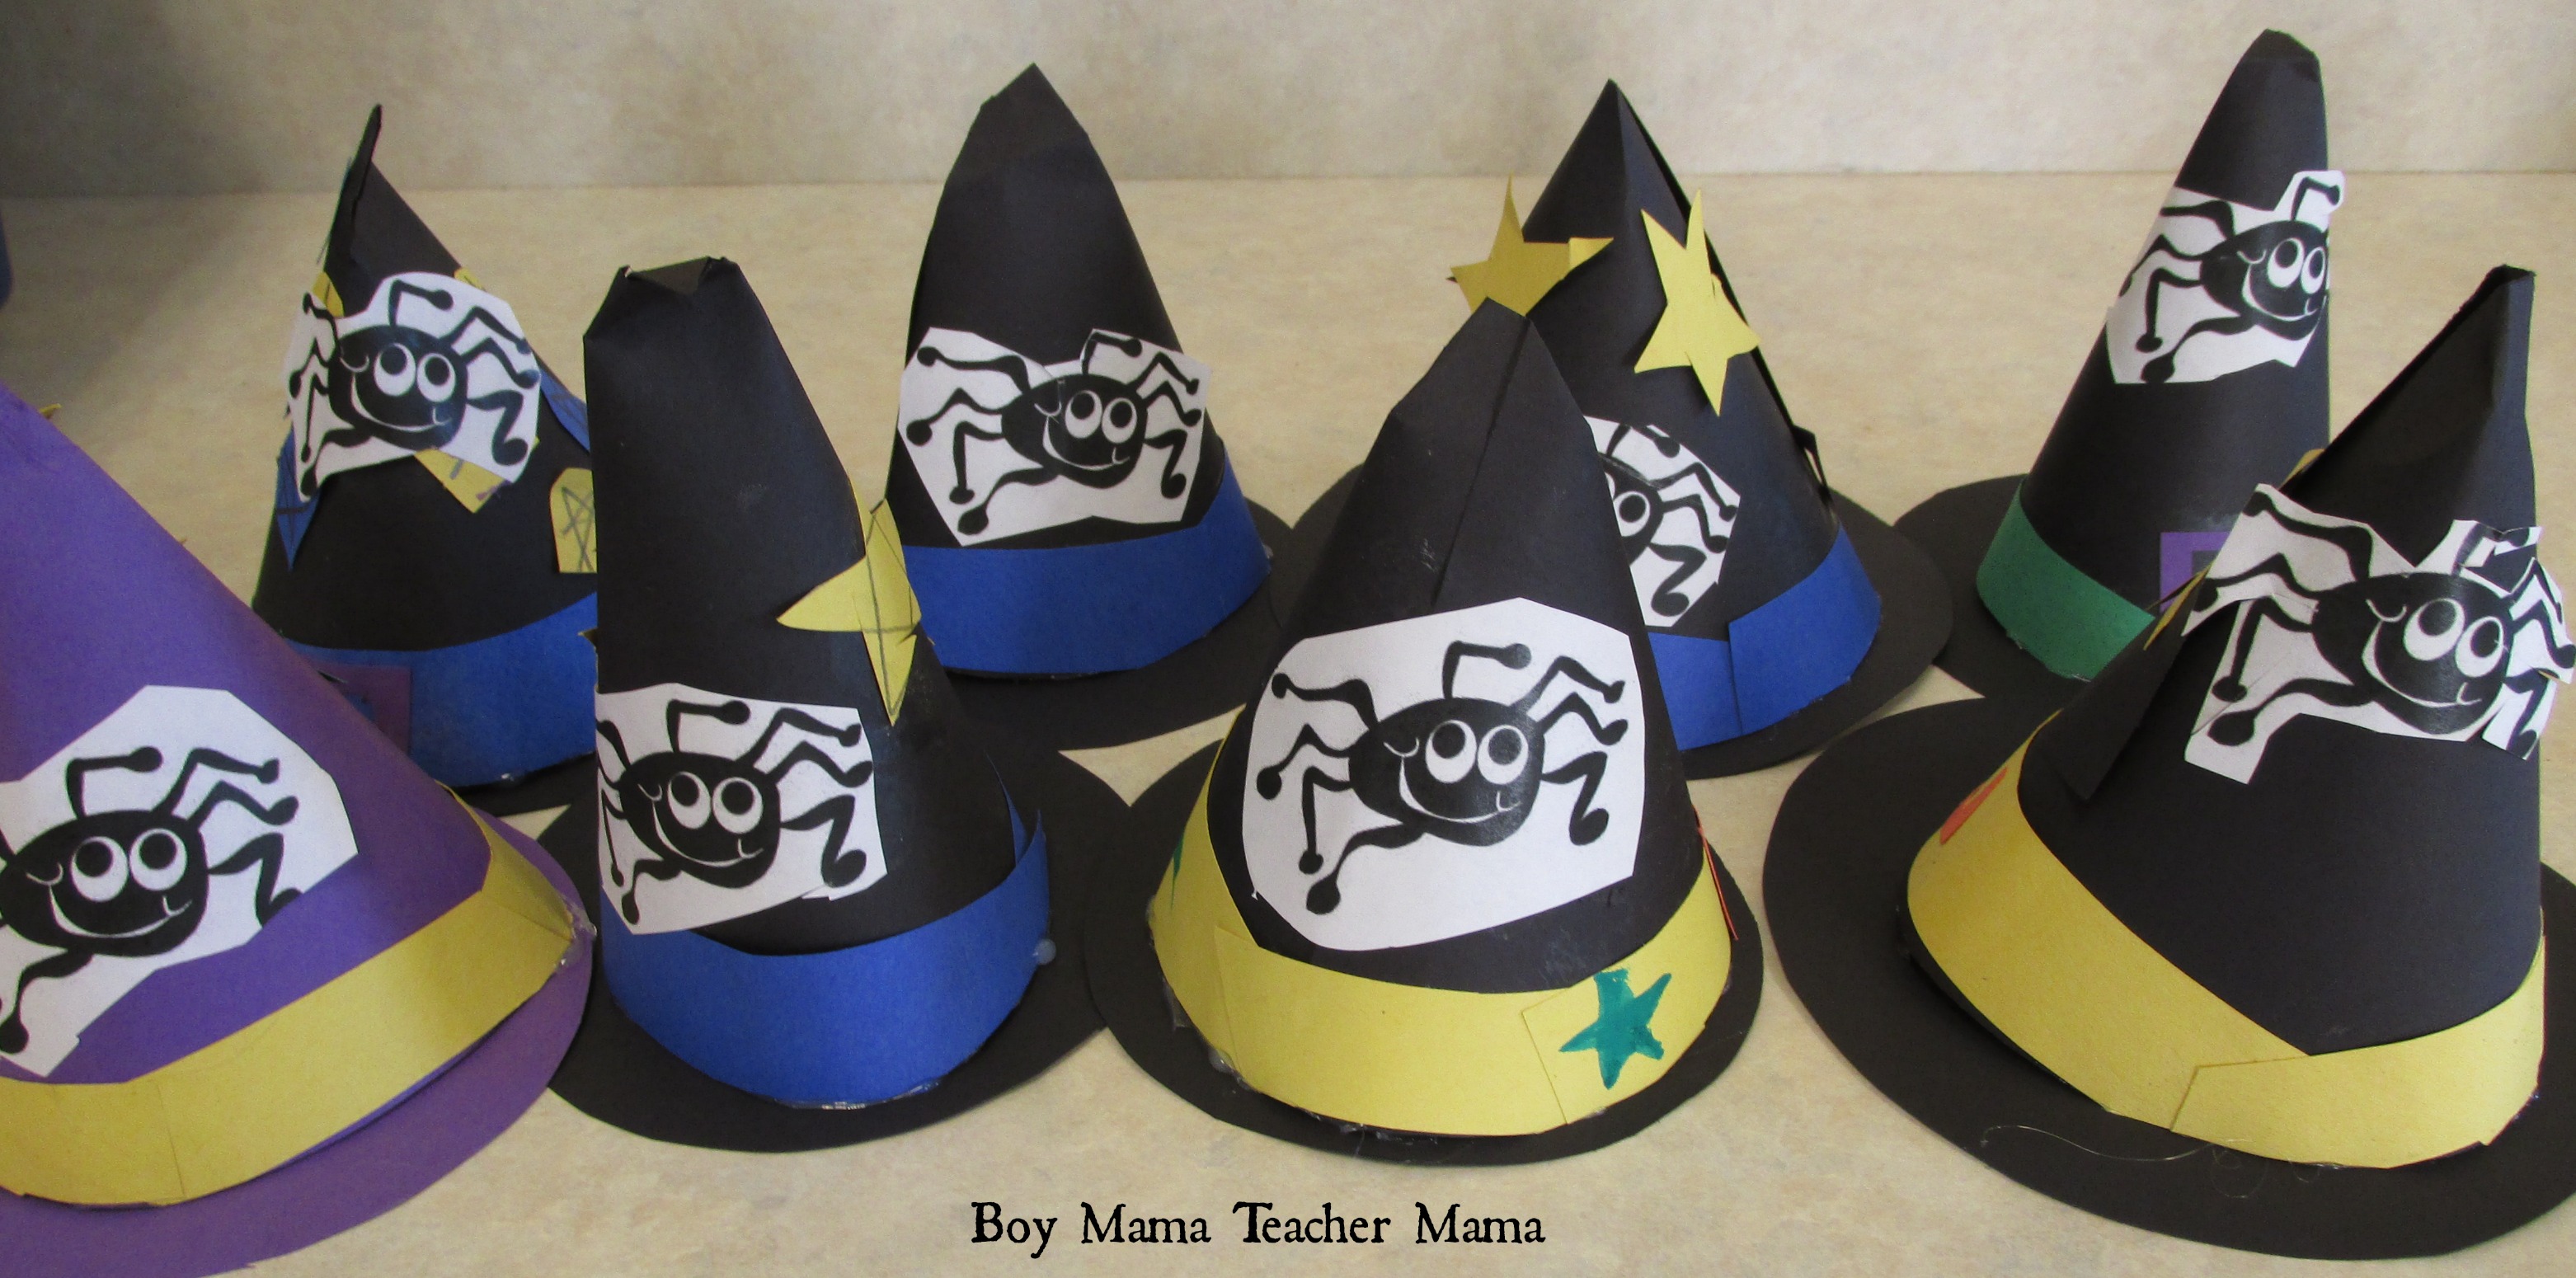
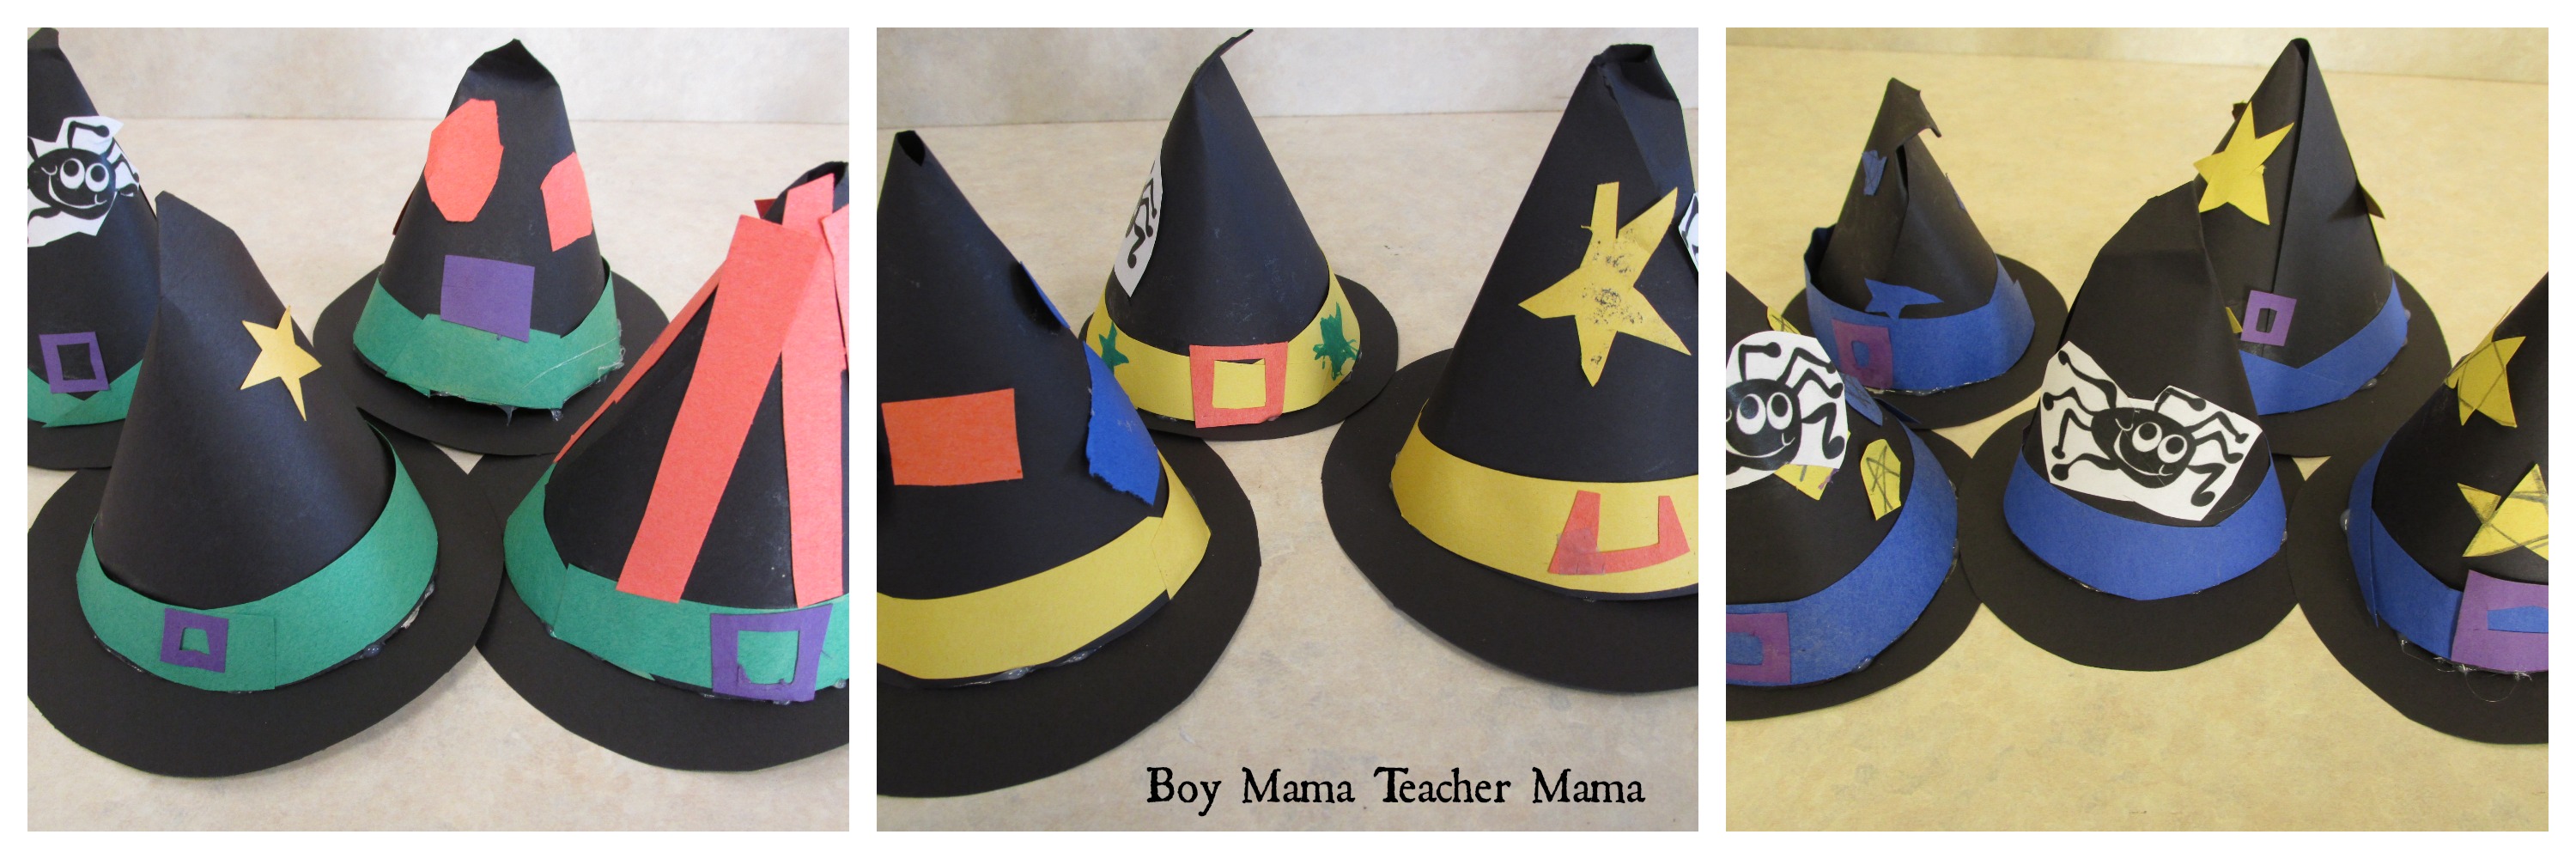
For example, students answered whether their Halloween costume would be scary, cute, or pretty. Their answers determined the color of the band around the hat:
🧙 Scary = yellow
🧙 Cute = blue
🧙 Pretty = green
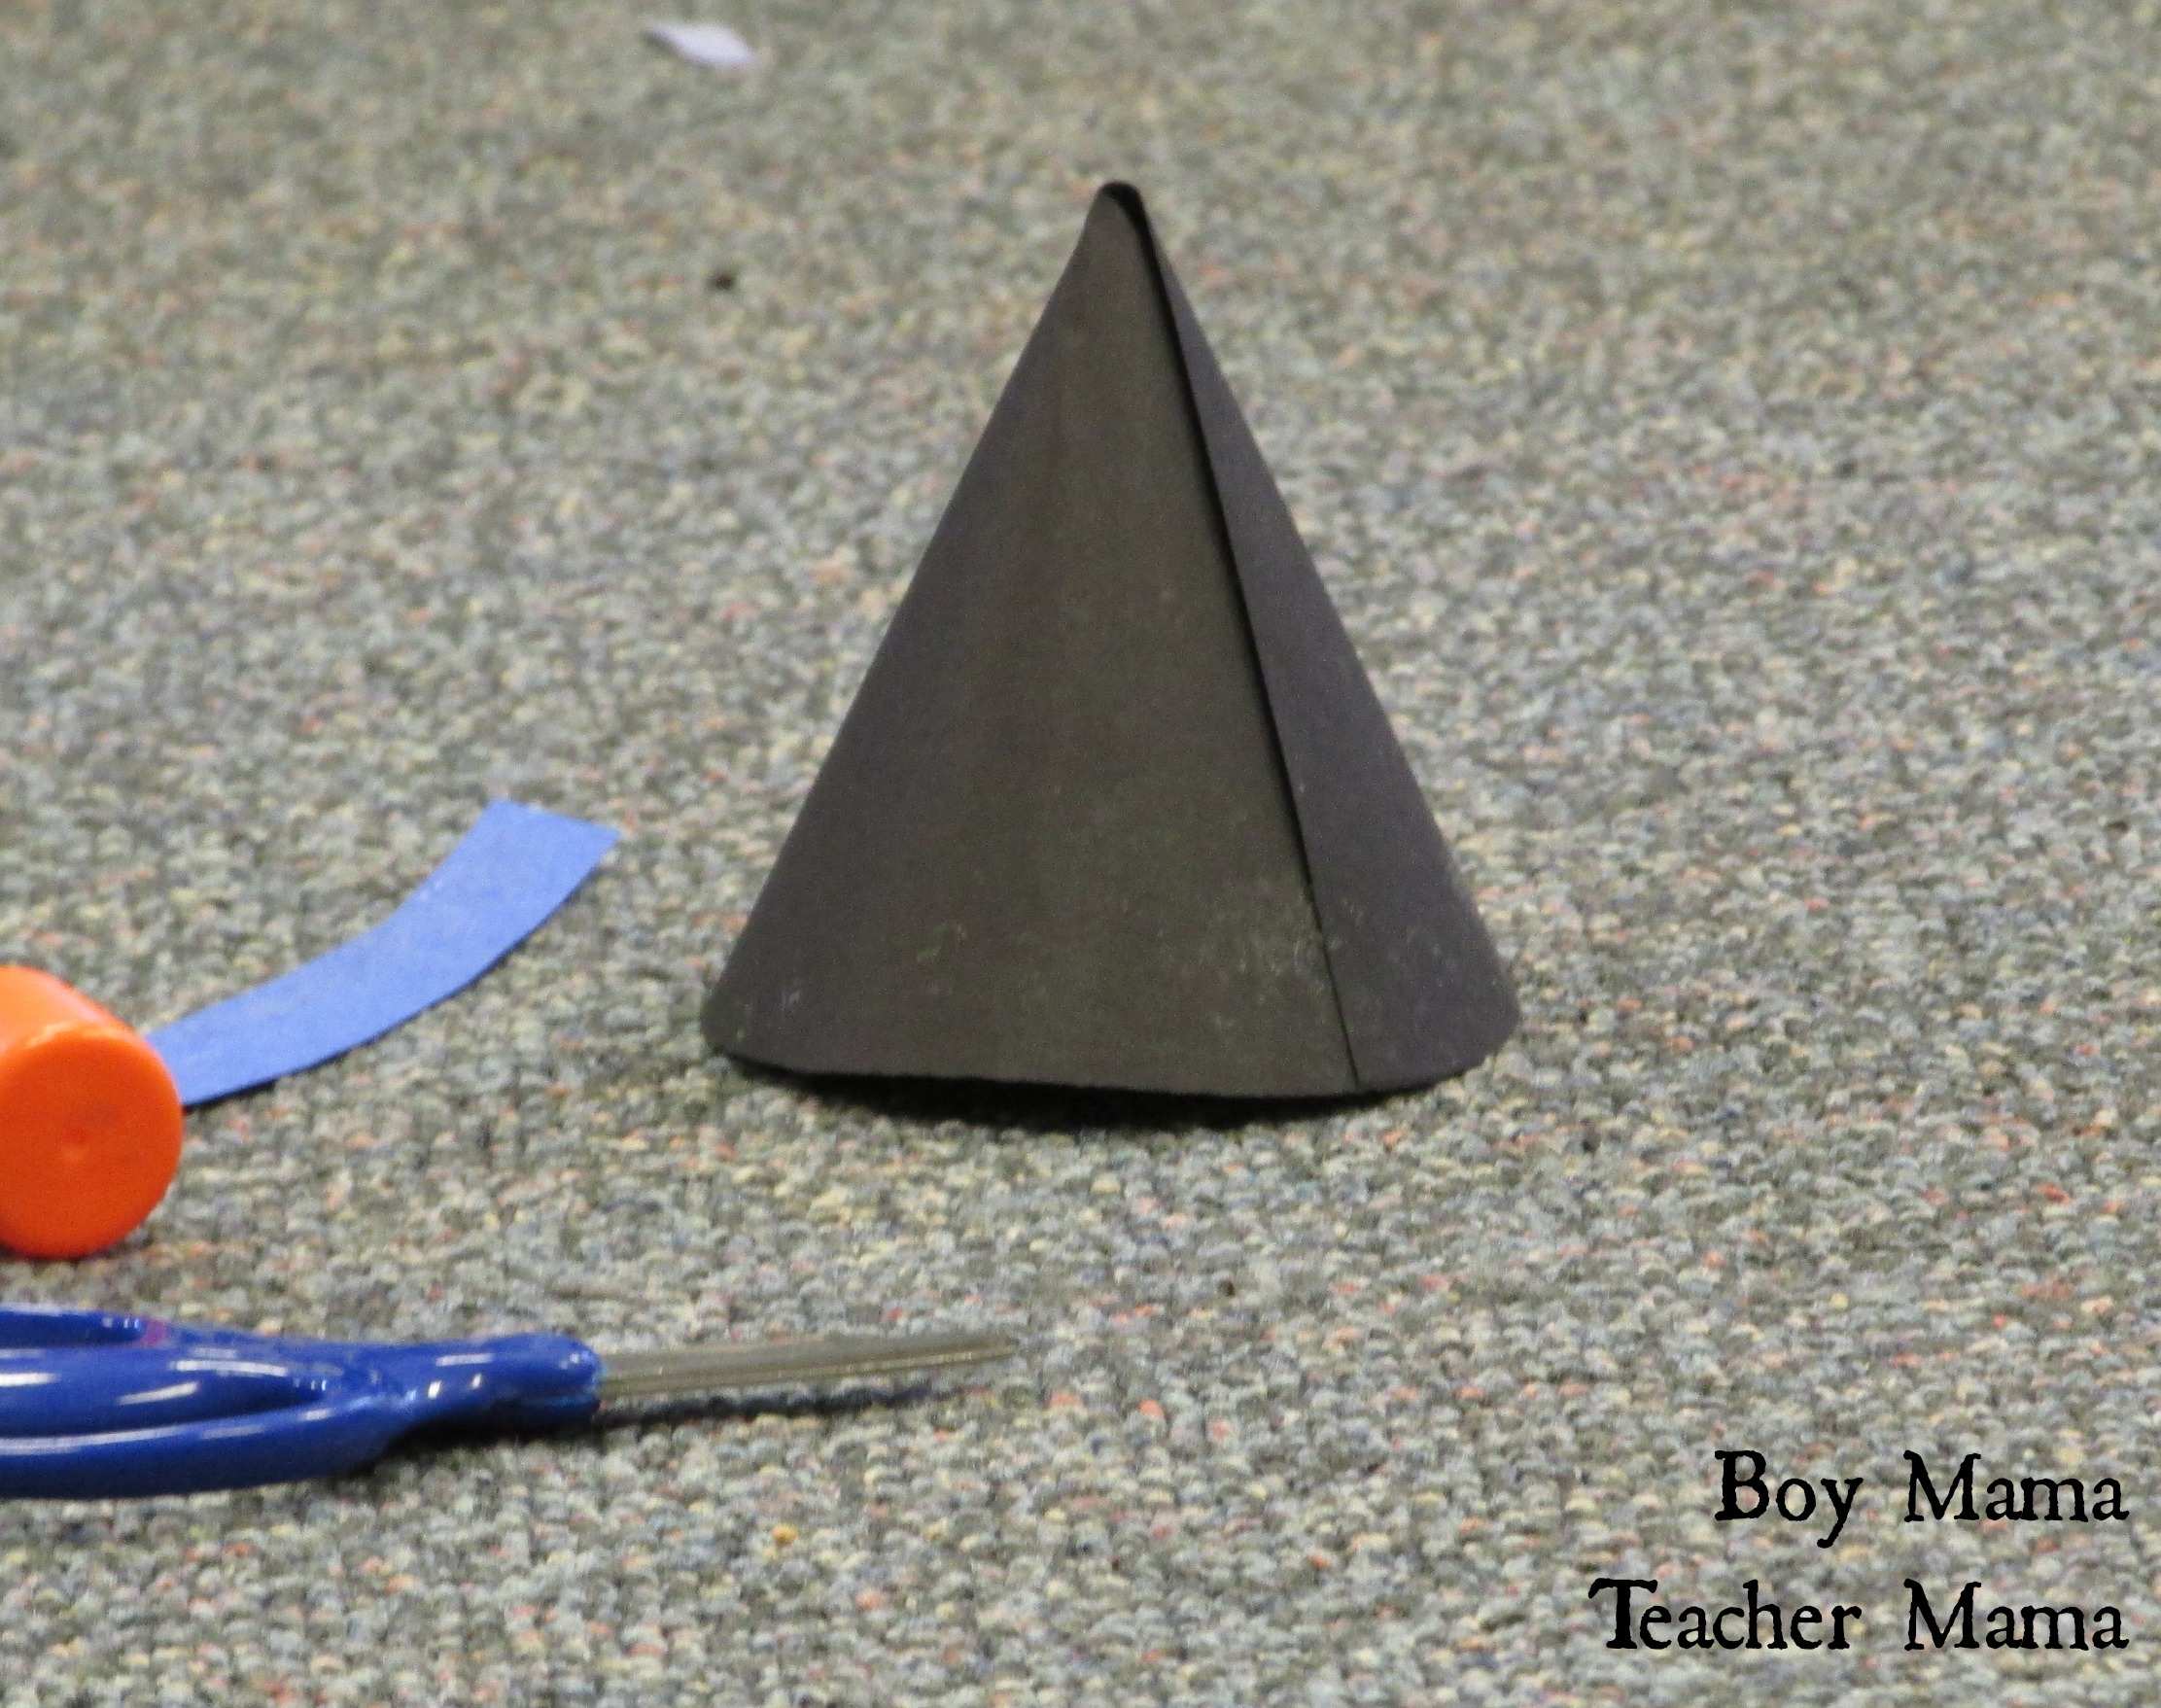
📝 Note: Adding the bands was a little tricky for my students to do independently, but with some help and problem-solving, everyone was able to get one onto their hat.

Gathering Data from the Witch Hat Glyphs
Making the hats was fun, but this is where the real learning begins.
Because every part of the hat represents information, students can sort and compare the finished hats to collect data about their classmates.
For example, the buckle tells us whether students prefer tricks or treats. A purple buckle means the student likes treats better than tricks, while an orange buckle means they prefer tricks.
The spider gives us another piece of information. Students who chose Halloween as their favorite holiday added a spider to their hats. Students who preferred another holiday did not.
We can also sort the hats by band color to see how many students described their costumes as scary, cute, or pretty.
Suddenly, all those witch hats become a classroom data set!
Taking the Data Collection Further
Once students understand what each part of the glyph represents, they can use the finished hats to answer questions about the class data.
Start with simple questions about one feature and then move on to more challenging questions that combine two or more pieces of information.
Using our completed hats, we asked questions such as:
🧙 Of the students whose costumes will be cute, how many like Halloween best?
🧙 Of the students whose costumes will be scary, how many like tricks better than treats?
🧙 Of the students whose costumes will be pretty, how many like treats better than tricks and like Halloween best?
The updated resource includes question cards with both simple and more complex questions. Teachers can choose a card for the class to answer, or students can pick a card themselves and use the data from the completed witch hats to find the answer.
Students can sort, count, compare groups, and even use the information they collect to create graphs.
That’s one of my favorite things about glyphs—the craft is only the beginning!
No Time for the 3D Witch Hats?
If creating the 3D hats isn’t something you have time for, you can still do the same activity.
The resource also includes paper witch hat pages that students can complete using the same glyph questions. You still get the data collection and discussion without having to construct the 3D hats.
Bring the Witch Hat Glyph to Your Classroom
If you’d like to try this activity with your own students, I’ve put everything together for you in the Halloween Witch Hat Glyph resource. It includes the 3D witch hat glyph directions and templates, printable witch hat pages for a simpler option, and a Halloween question page and question cards students can use to analyze the data from their finished glyphs.
💚 Grab the Witch Hat Glyph from TPT.
Whether you make the 3D version or use the paper hats, it’s a fun way to bring data collection, sorting, comparing, and graphing into the Halloween season.

If this is your first time visiting Boy Mama Teacher Mama, welcome!
Did you know that you can also find us on Facebook, Instagram, Pinterest, and Teachers Pay Teachers?
© Boy Mama Teacher Mama 2026
All Rights Reserved

Pingback: Teacher Mama: Clown Glyph and FREE Circus Word Search | Boy Mama Teacher Mama
Yah! Lexie is excited to see her Witch’s Hat!
🙂 I love that she was the only one with a purple hat!!
I’m not sure I ever used glyphs when I was teaching. Clearly we were missing out! Thanks for sharing this idea- looks like a lot of fun!
I love glyphs, they are SO good for a crowd of kids. Yours look so creative. Thanks for co-hosting Afterschool!
I LOVE Glyphs and this is just adorable. My second grader will love it. I saw you had an afterschool linky up, but didn’t see these hats on the linky on our site, so glad I stopped by. Now I will have something to do with my kiddo when she gets home from school tomorrow.
Thanks for stopping by! I just finally linked up my post. Long day! Enjoy!